This post may contain affiliate links. Please see my disclosure policy for details.
Traditional Christmas Tree Decor: Your Complete Guide to Creating a Timeless Holiday Centerpiece
Contents
- Traditional Christmas Tree Decor: Your Complete Guide to Creating a Timeless Holiday Centerpiece
- Why Your Tree Might Be Missing the Mark (And How to Fix It)
- What Makes a Tree “Traditional” Anyway?
- Quick Facts Before We Start
- The Color Palette That Always Works
- Essential Tools and Materials You Actually Need
- The Step-by-Step Styling Method That Actually Works
- Step 1: Prep Your Space (Don’t Skip This)
- Step 2: Fluff Your Tree Like Your Life Depends On It
- Step 3: Lights First, Always First
Traditional Christmas tree decor never goes out of style, and I’m here to show you exactly how to nail that warm, nostalgic look that makes everyone feel like they’ve stepped into a holiday movie.
You know that feeling when you walk into someone’s home and their Christmas tree just works? The colors blend perfectly, the ornaments sit just right, and everything feels intentionally cozy without looking cluttered? That’s what we’re creating today.
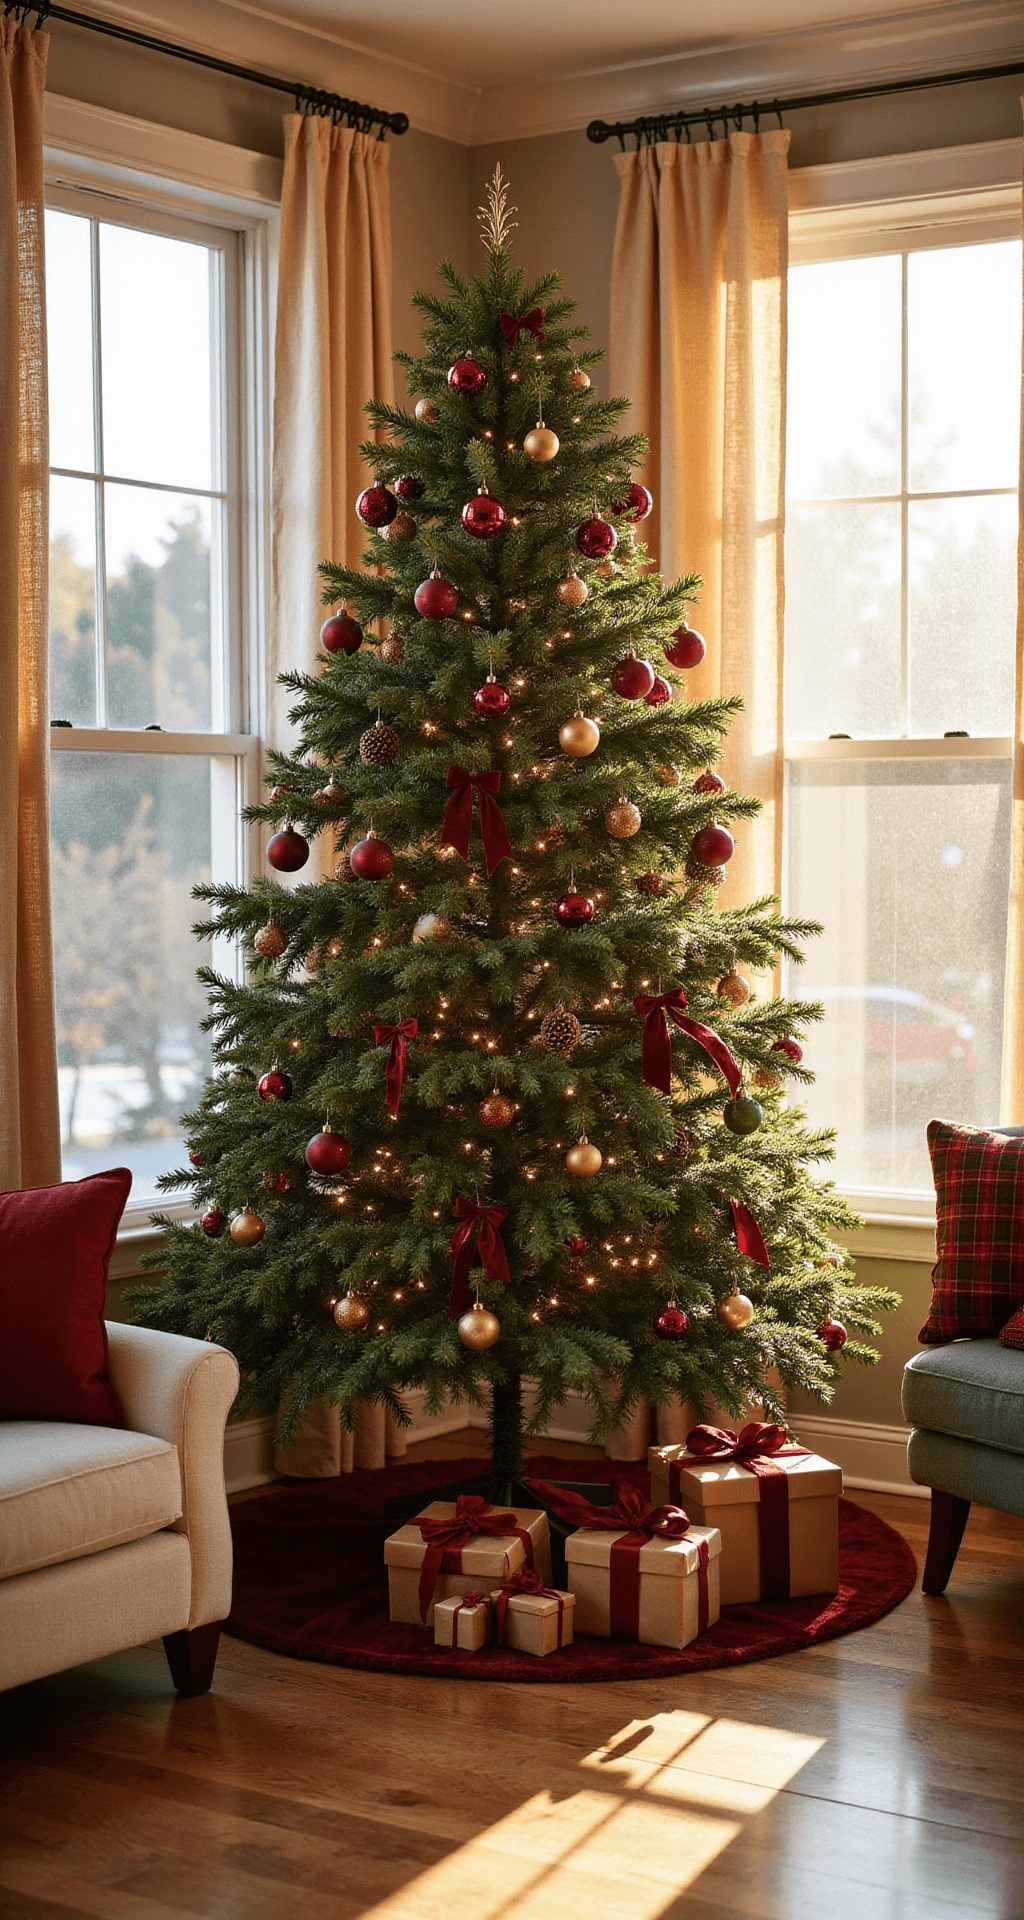
I’ve spent years photographing holiday homes and styling trees for content, and I’m sharing every trick I’ve learned. No fluff, no unnecessary steps—just the good stuff that actually makes a difference.
Why Your Tree Might Be Missing the Mark (And How to Fix It)
Before we dive in, let’s talk about the most common mistakes I see.
Your tree probably looks “off” because of one of these issues:
- Lights installed after ornaments (never do this—always lights first)
- All your ornaments clustered at the tips of branches instead of creating depth
- Color overload in one section while another looks bare
- Skipping the ribbon entirely (huge mistake for traditional styling)
- Using every ornament you own instead of curating intentionally
Don’t worry—I used to make all these mistakes too.
What Makes a Tree “Traditional” Anyway?
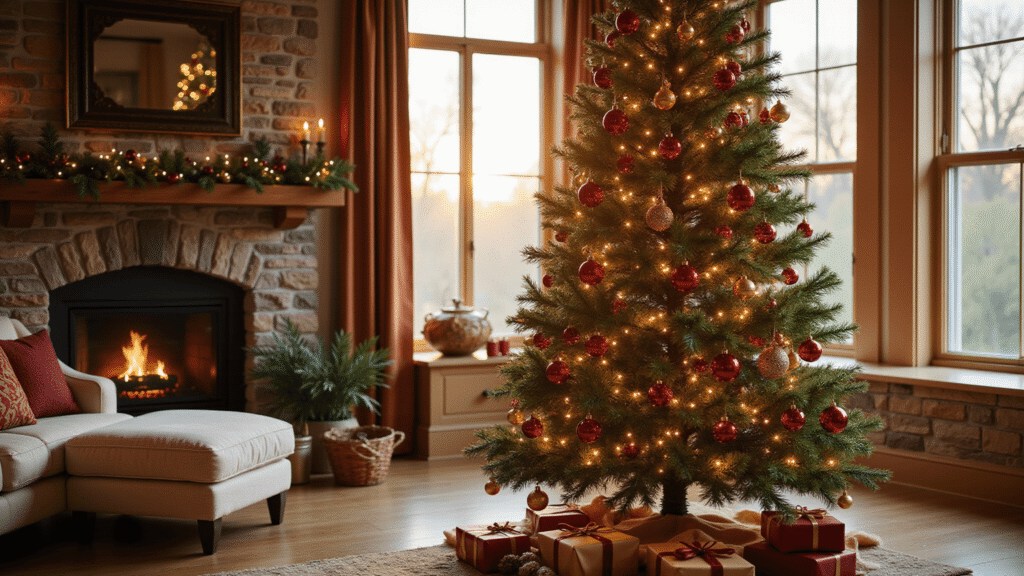
A traditional Christmas tree centers on classic red, green, gold, and white with heirloom-style ornaments that feel timeless.
Think of your grandmother’s tree, but elevated for modern content creation.
You’re aiming for:
- Warmth that makes people want to curl up with hot cocoa
- Nostalgia that triggers happy childhood memories
- Abundance without looking chaotic
- Cohesion where every element belongs
Quick Facts Before We Start
Let me set realistic expectations.
Time investment:
- Tree assembly and decoration: 1–2 hours for a 7-8 foot tree
- Photography and content creation: 3–5 hours including editing
- Total project: Plan for a full afternoon or evening
Space requirements:
- Medium to large living room works best
- 7–9 foot ceilings are ideal
- Leave at least 2–3 feet of clearance around the tree for photography angles
Budget reality: If you’re starting from scratch, expect to spend $150–$400 for quality ornaments, ribbon, a tree skirt, and signature pieces. Reusing ornaments from previous years obviously cuts costs dramatically.
Skill level: Complete beginner-friendly. If you can hang an ornament on a hook, you can do this.
The Color Palette That Always Works
Here’s where most people overthink things.
Core colors:
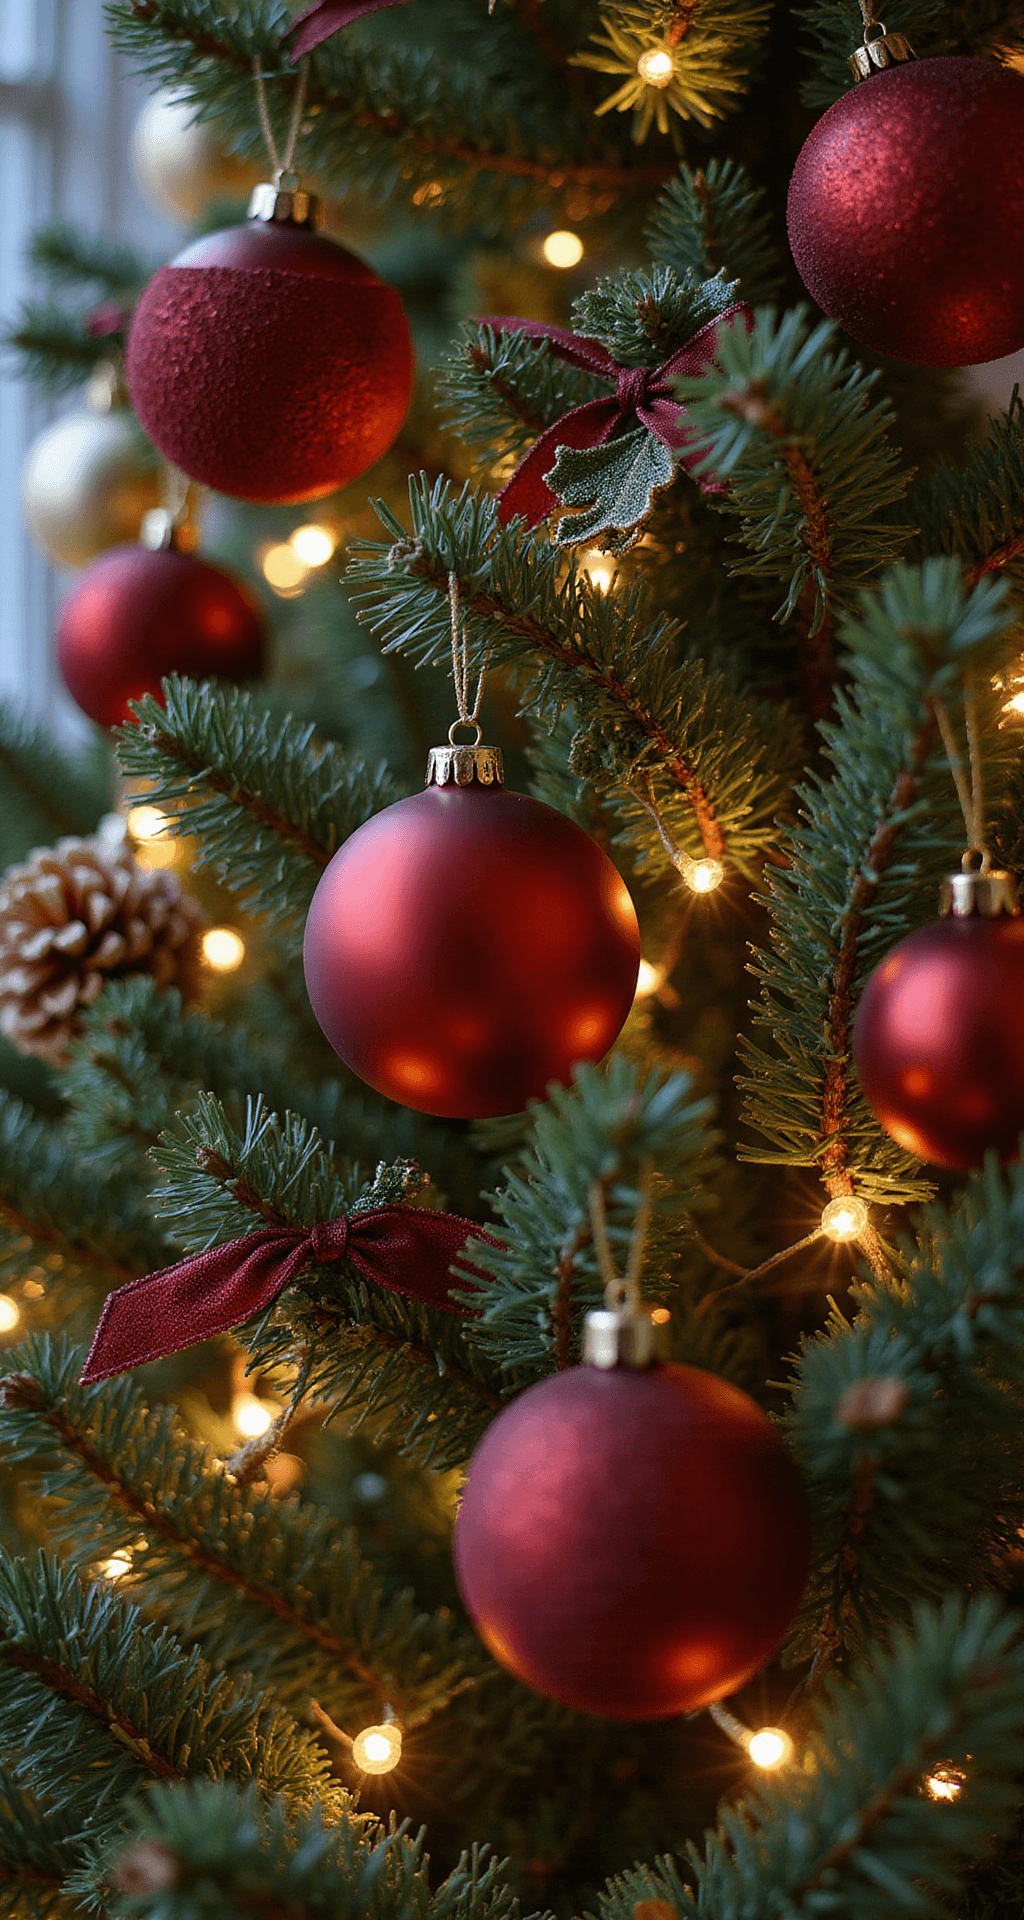
- Red (various shades from burgundy to bright red)
- Green (forest green to emerald)
Essential accents:
- Gold (metallic ornaments, ribbon, bells)
- White or ivory (to brighten and balance)
Optional depth colors:
- Deeper burgundy for richness
- Rose gold for a modern twist
- Natural wood tones from ornaments or pinecones
The secret? Stick to these colors in everything—your wrapping paper, your throw pillows, your tree skirt, even the garland on your mantel.
This color coordination creates visual flow that photographs beautifully.
Essential Tools and Materials You Actually Need
For the tree itself:
- Pre-lit artificial tree or unlit tree plus quality string lights
- Wired ribbon (at least 3 spools for a 7-foot tree—trust me on this)
- Classic ornaments in varied sizes
- Star or angel topper
- Tree skirt or collar
For photography:
- Your smartphone is honestly enough
- Natural window light (your best friend)
- Optional: simple ring light for evening shots
Styling props that elevate everything:
- Velvet or plaid ribbon in 2-3 coordinating patterns
- Glass ball ornaments in your color palette
- Vintage or vintage-style ornaments (thrift stores are gold mines)
- Character ornaments (Santa, reindeer, snowmen)
- Natural elements (pinecones, faux berry picks, holly)
- Wrapped gifts in coordinating paper
For editing: I use Lightroom Mobile for quick edits. Snapseed works great too and it’s free. Canva handles all my Pinterest graphics.
The Step-by-Step Styling Method That Actually Works
I’m breaking this down exactly how I do it for client shoots.
Step 1: Prep Your Space (Don’t Skip This)
Move furniture back. You need clear sightlines from at least three angles for good content.
Clean your background. Remove random wall art, hide cords, straighten that crooked picture frame.
Sort your ornaments before you start. Group them by size: large, medium, small. This saves so much time later.
Step 2: Fluff Your Tree Like Your Life Depends On It
This takes 20-30 minutes and makes a massive difference.
Start from the inside and work outward. Separate every branch cluster. Fan them out in different directions. Shape the tips upward slightly for a fuller look.
A well-fluffed tree needs fewer ornaments because it already looks abundant.
Step 3: Lights First, Always First
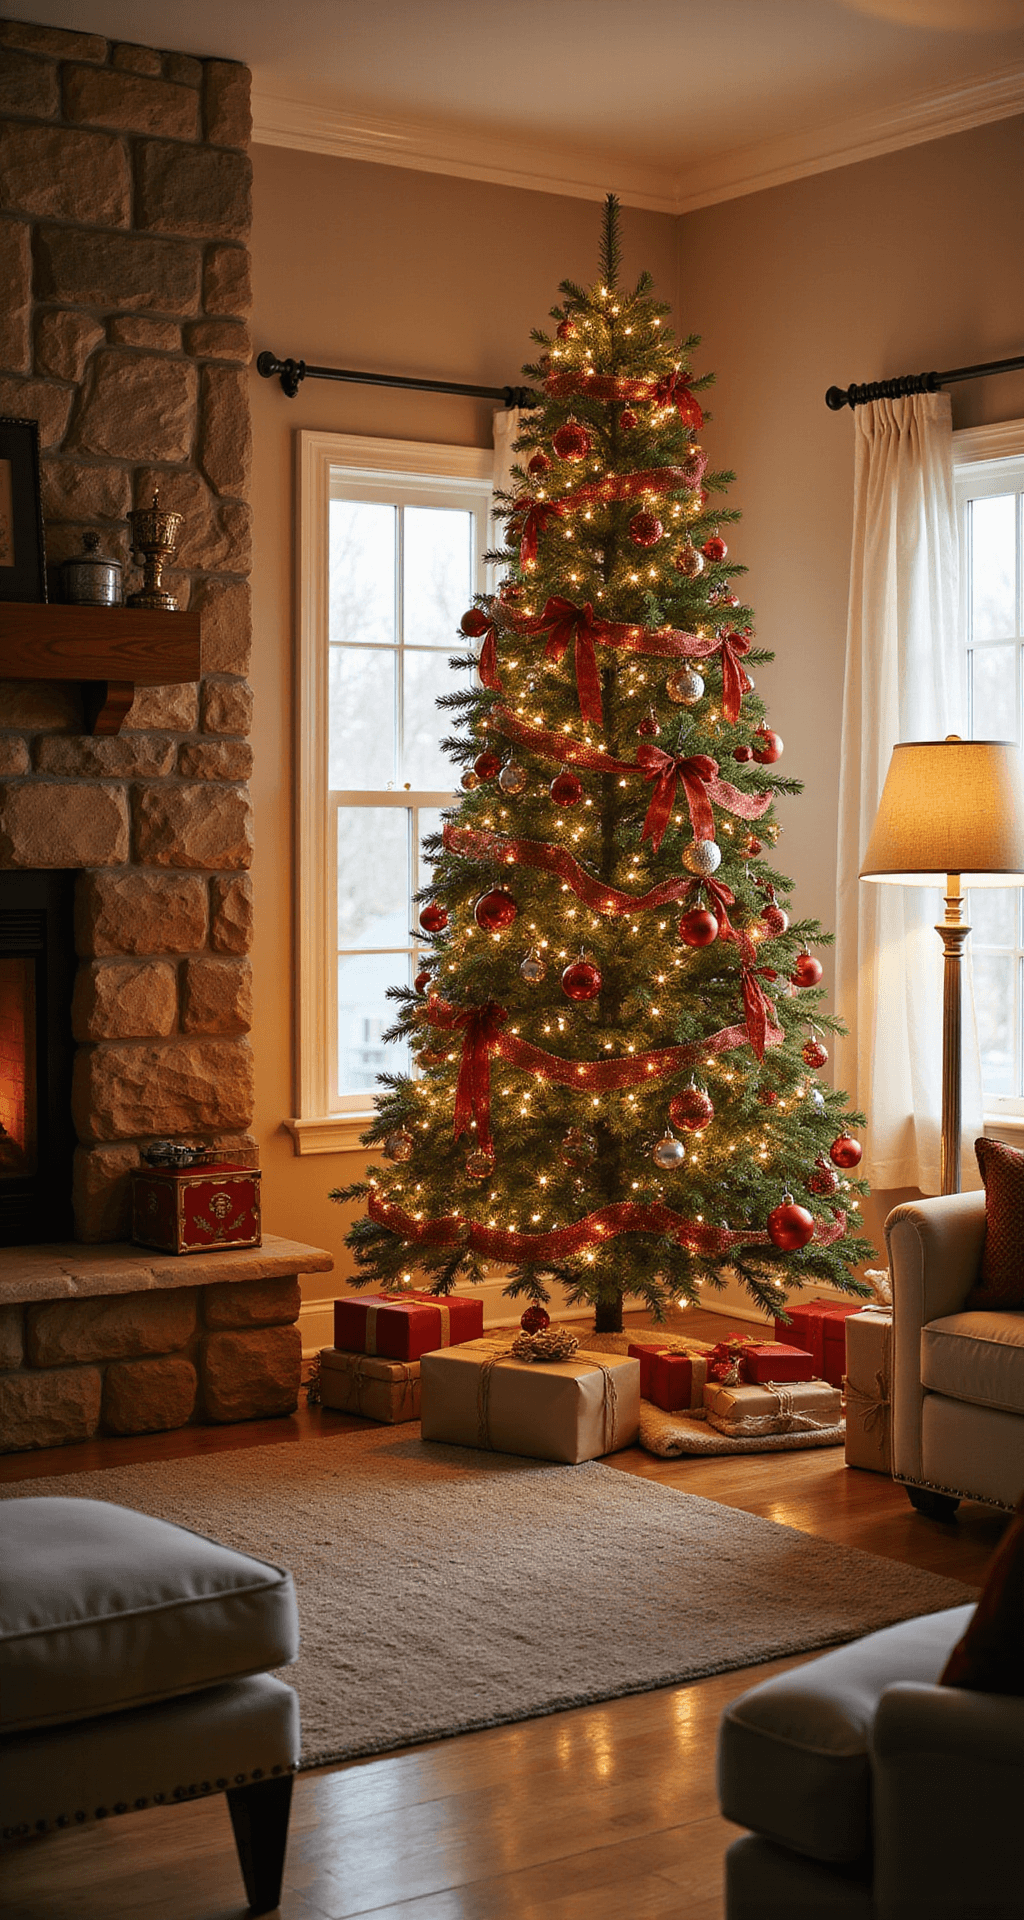
Start at the bottom near the trunk. Weave lights in and out as you spiral upward. Push some strands deeper into the tree to create that magical glow from within.
I prefer warm white lights for traditional trees—they photograph better and feel cozier.
Use about 100 lights per vertical foot of tree as a baseline.