

This post may contain affiliate links. Please see my disclosure policy for details.
28 DIY Front Porch Sign Ideas That’ll Make Your Neighbors Jealous
Contents
DIY front porch sign ideas have completely transformed the way I think about curb appeal.
I used to walk past my own front door without giving it a second thought. Blank. Boring. Forgettable.
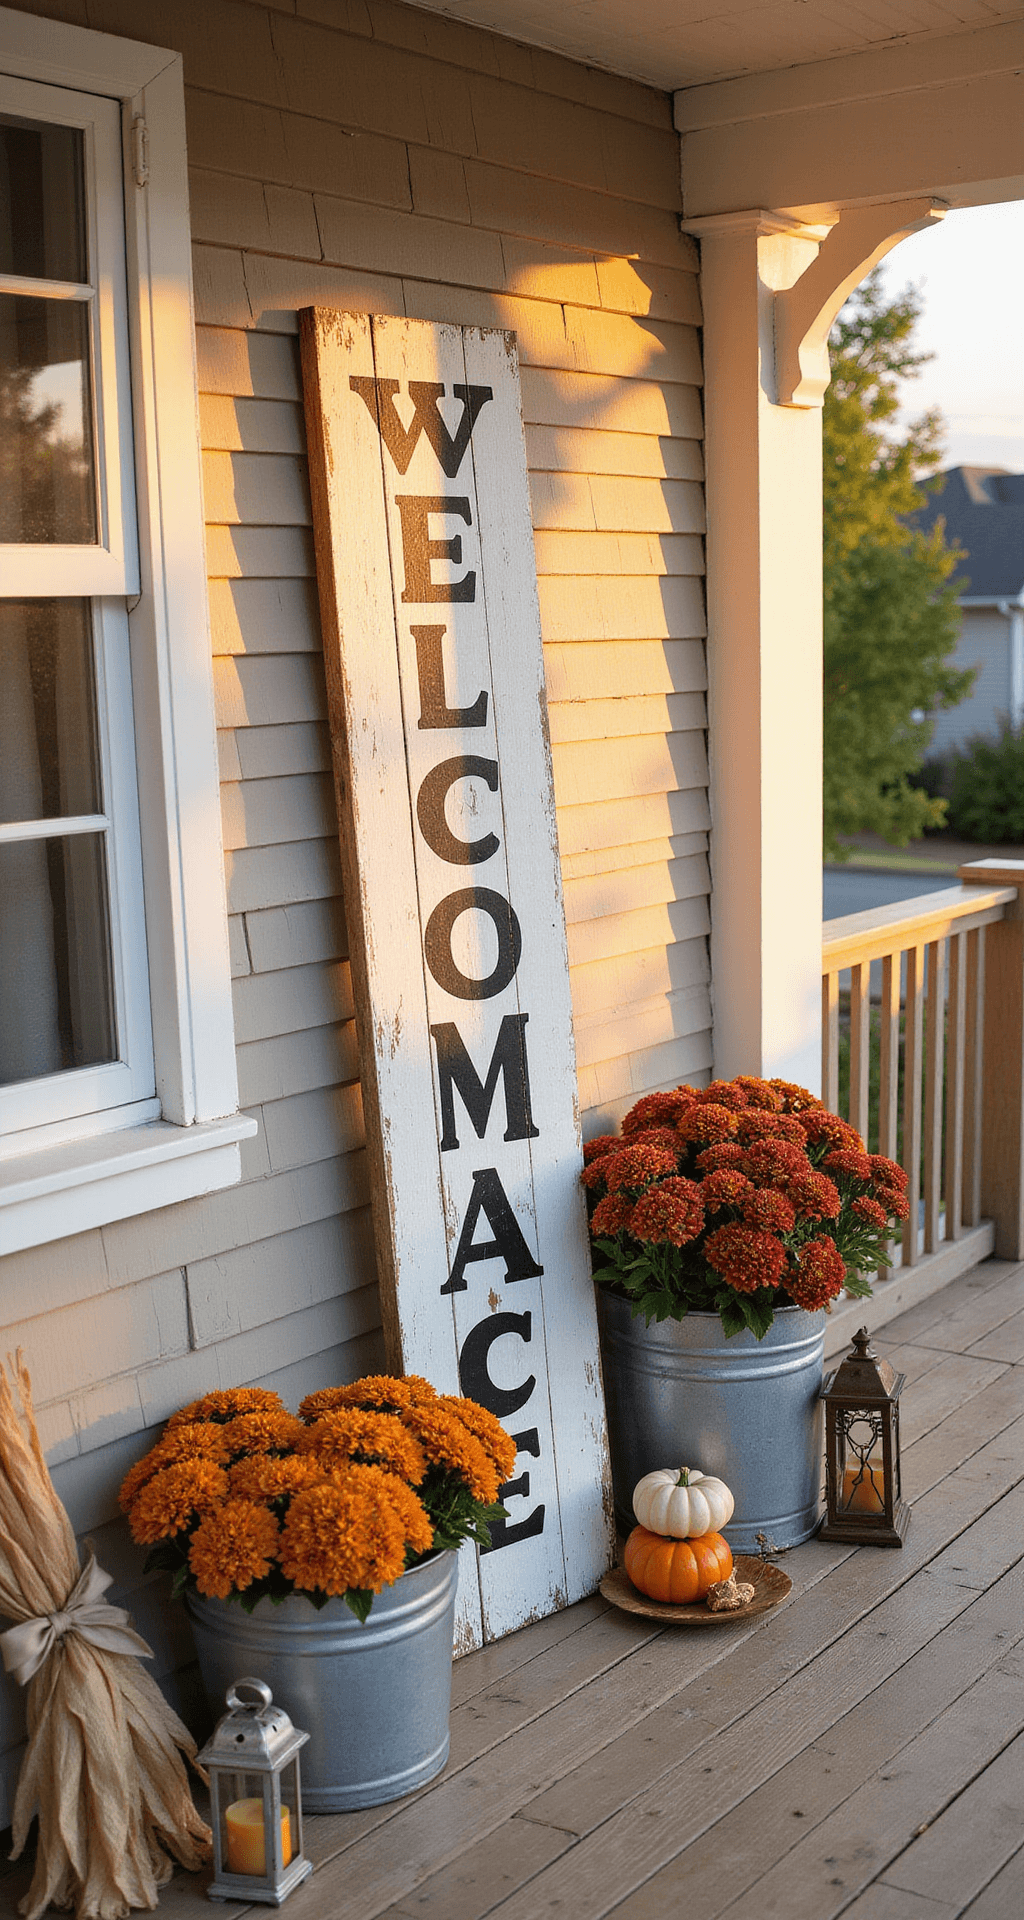
Then I saw my neighbor’s gorgeous “Welcome” sign leaning against her porch railing, surrounded by pumpkins and mums, and something clicked.
Why was my entrance so… lifeless?
Why Your Front Porch Needs a Statement Sign (Like, Yesterday)
Here’s what nobody tells you about front porch signs.
They’re not just decoration.
They’re the first impression of your home, the handshake before anyone even knocks.
I’ve created dozens of porch signs over the past three years, and I’ve learned that the right sign changes everything about how your home feels to visitors and even to you when you come home after a long day.
What’s Holding You Back?
Let me guess your concerns:
- “I’m not artistic enough to paint a sign”
- “Won’t it look cheap and DIY-obvious?”
- “I don’t have the right tools”
- “What if I pick the wrong style for my house?”
- “How do I make it weatherproof?”
I had every single one of these worries.
Spoiler alert: None of them matter once you understand the basics.
The 5 Porch Sign Styles You Need to Know
Before you grab wood and paint, let’s talk styles.
Your porch sign needs to match your home’s vibe, or it’ll stick out like a flamingo at a funeral.
Farmhouse Signs (My Personal Favorite)
Clean lines. Black lettering on distressed white or natural wood. Simple phrases like “Welcome” or “Gather.”
This style works with literally any home exterior because it’s so neutral and timeless.
I made my first farmhouse sign using reclaimed wood boards from my garage, and it’s still going strong three years later.
Key features:
- Distressed or whitewashed finish
- Bold, readable fonts
- Minimal embellishments
- Neutral color palette
Rustic Signs
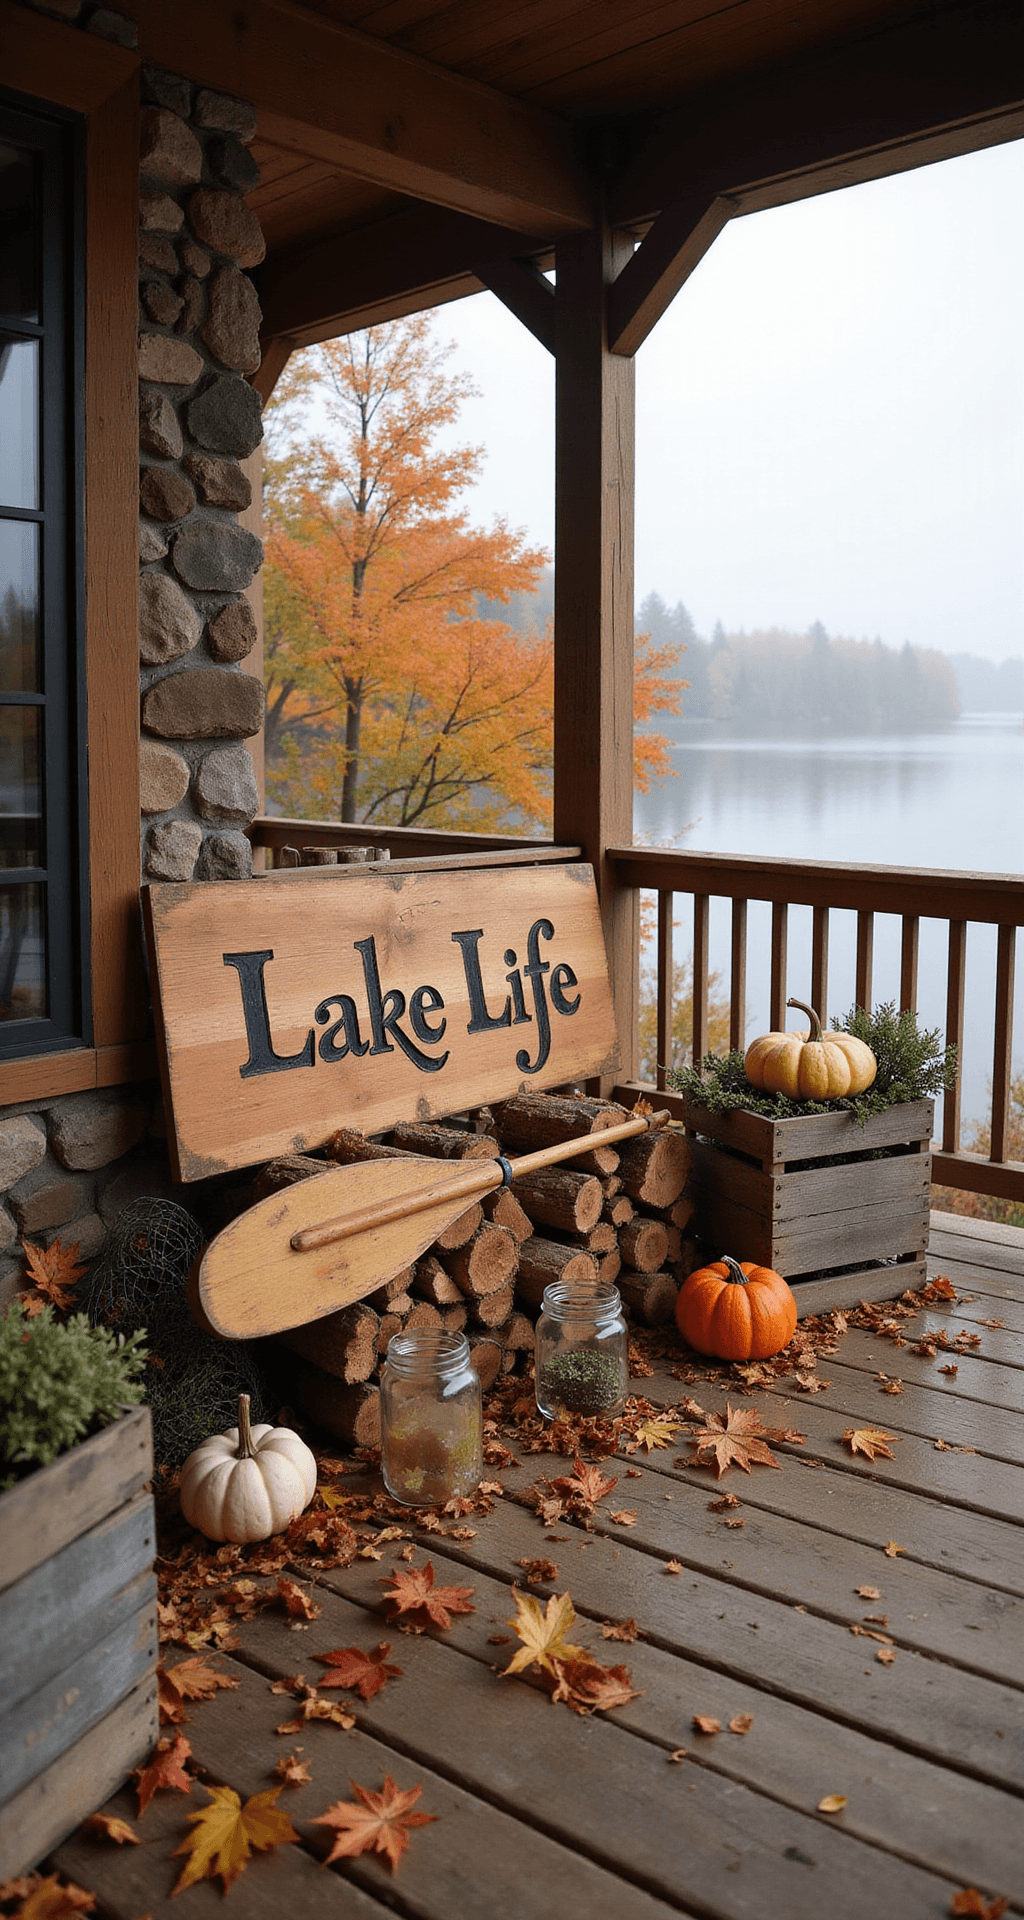
Think cabin vibes. Natural wood grain showing through. Earthy tones. Sometimes rope or twine accents.
I created a rustic “Lake House” sign last summer using cedar planks, and the natural wood smell alone was worth the project.
Modern Minimalist Signs
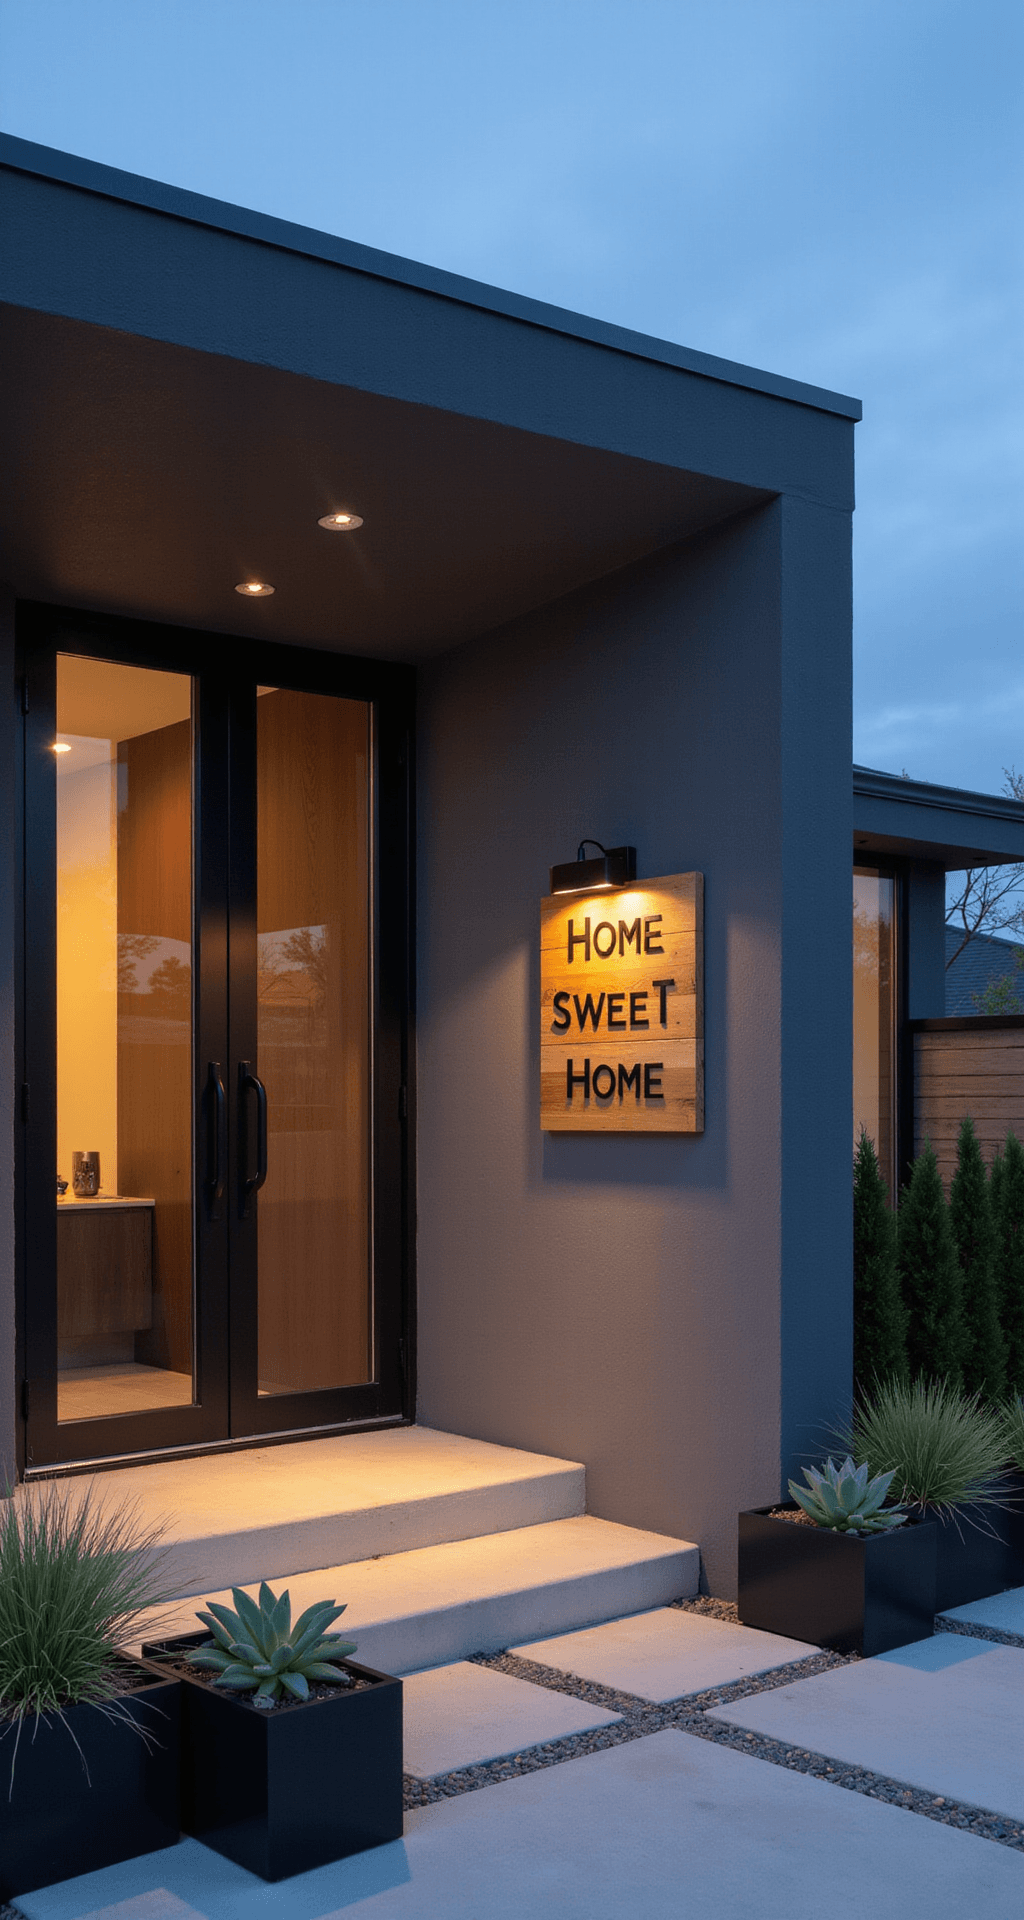
Sleek. No distressing. Solid colors. Clean sans-serif fonts.
These work beautifully on contemporary homes where farmhouse style would clash.
Seasonal Signs
This is where it gets fun.
I rotate my porch sign four times a year now, and my mail carrier has commented on every single change.
- Fall: “Happy Fall Y’all” with orange accents
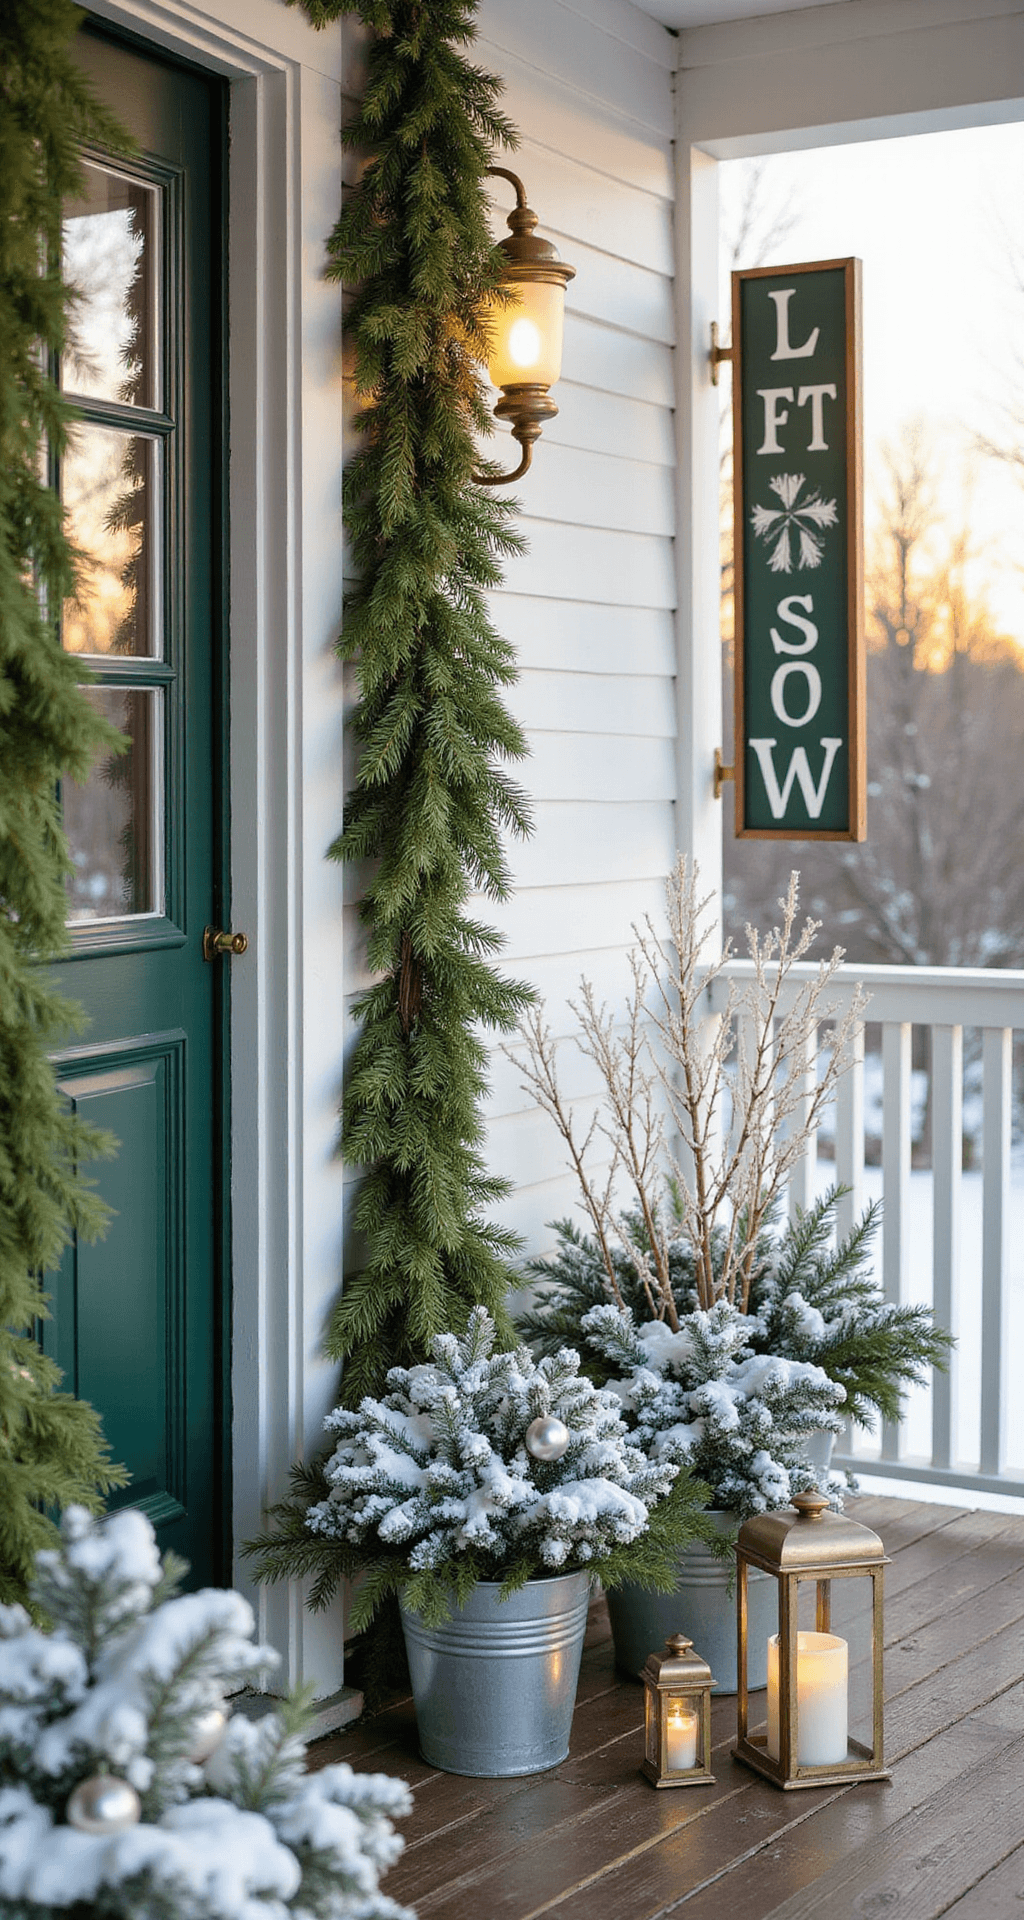
- Winter: “Let It Snow” with snowflakes
- Spring: “Bloom Where You’re Planted” with florals
- Summer: “Life Is Better at the Beach” (even though I’m landlocked)
Interchangeable System Signs
Game. Changer.
I built one base sign with a magnetic backing system, and now I swap out seasonal inserts monthly.
No storage issues. No making entirely new signs. Maximum impact with minimal effort.
Materials That Actually Work (And What to Avoid)
I’ve wasted money on materials that warped, cracked, or faded within weeks.
Learn from my expensive mistakes.
Wood Choices That Last
Cedar is my top pick. Naturally weather-resistant. Beautiful grain. Doesn’t need as much sealing.
Pine works fine if you seal it properly. Cheaper than cedar. Takes paint beautifully. Needs multiple coats of outdoor sealer.
Avoid particle board or MDF for outdoor signs. They absorb moisture like a sponge. Warping and swelling guaranteed.
I recommend starting with pre-cut pine boards if you don’t have woodworking tools.
Paint That Survives the Elements
Regular craft paint? It’ll fade in three weeks flat.
Use outdoor acrylic paint or porch and patio paint.
I learned this the hard way when my beautiful hand-painted “Welcome” turned into “Wel e” after one rainstorm took off the paint.
Outdoor acrylic paint sets are affordable and come in every color you need.
Sealers That Actually Seal
Polyurethane outdoor sealer is non-negotiable.
I apply three coats minimum. Wait 24 hours between coats. Reapply annually.
Skip this step, and your sign becomes firewood.
My Step-by-Step Process for Creating Porch Signs
I’ve refined this down to a simple system that works every time.
Phase 1: Planning (Don’t Skip This)
Measure your porch space.
A sign that’s too small gets lost. Too large looks overwhelming.
Standard sizes that work:
- 4 feet tall x 12 inches wide (vertical leaners)
- 24 inches wide x 12 inches tall (horizontal hanging)
- 18 inches x 18 inches (square statements)
Choose your phrase.
Keep it short. Three to five words maximum. People should be able to read it from the street.
Phase 2: Wood Prep
Sand everything.
I use 120-grit sandpaper first, then 220-grit for smoothness.
Your fingers will know when it’s ready—no snags or rough spots.
Wipe down with a damp cloth to remove dust.
Let it dry completely before painting.