This post may contain affiliate links. Please see my disclosure policy for details.
Why Bows Matter in Christmas Decorating
Contents
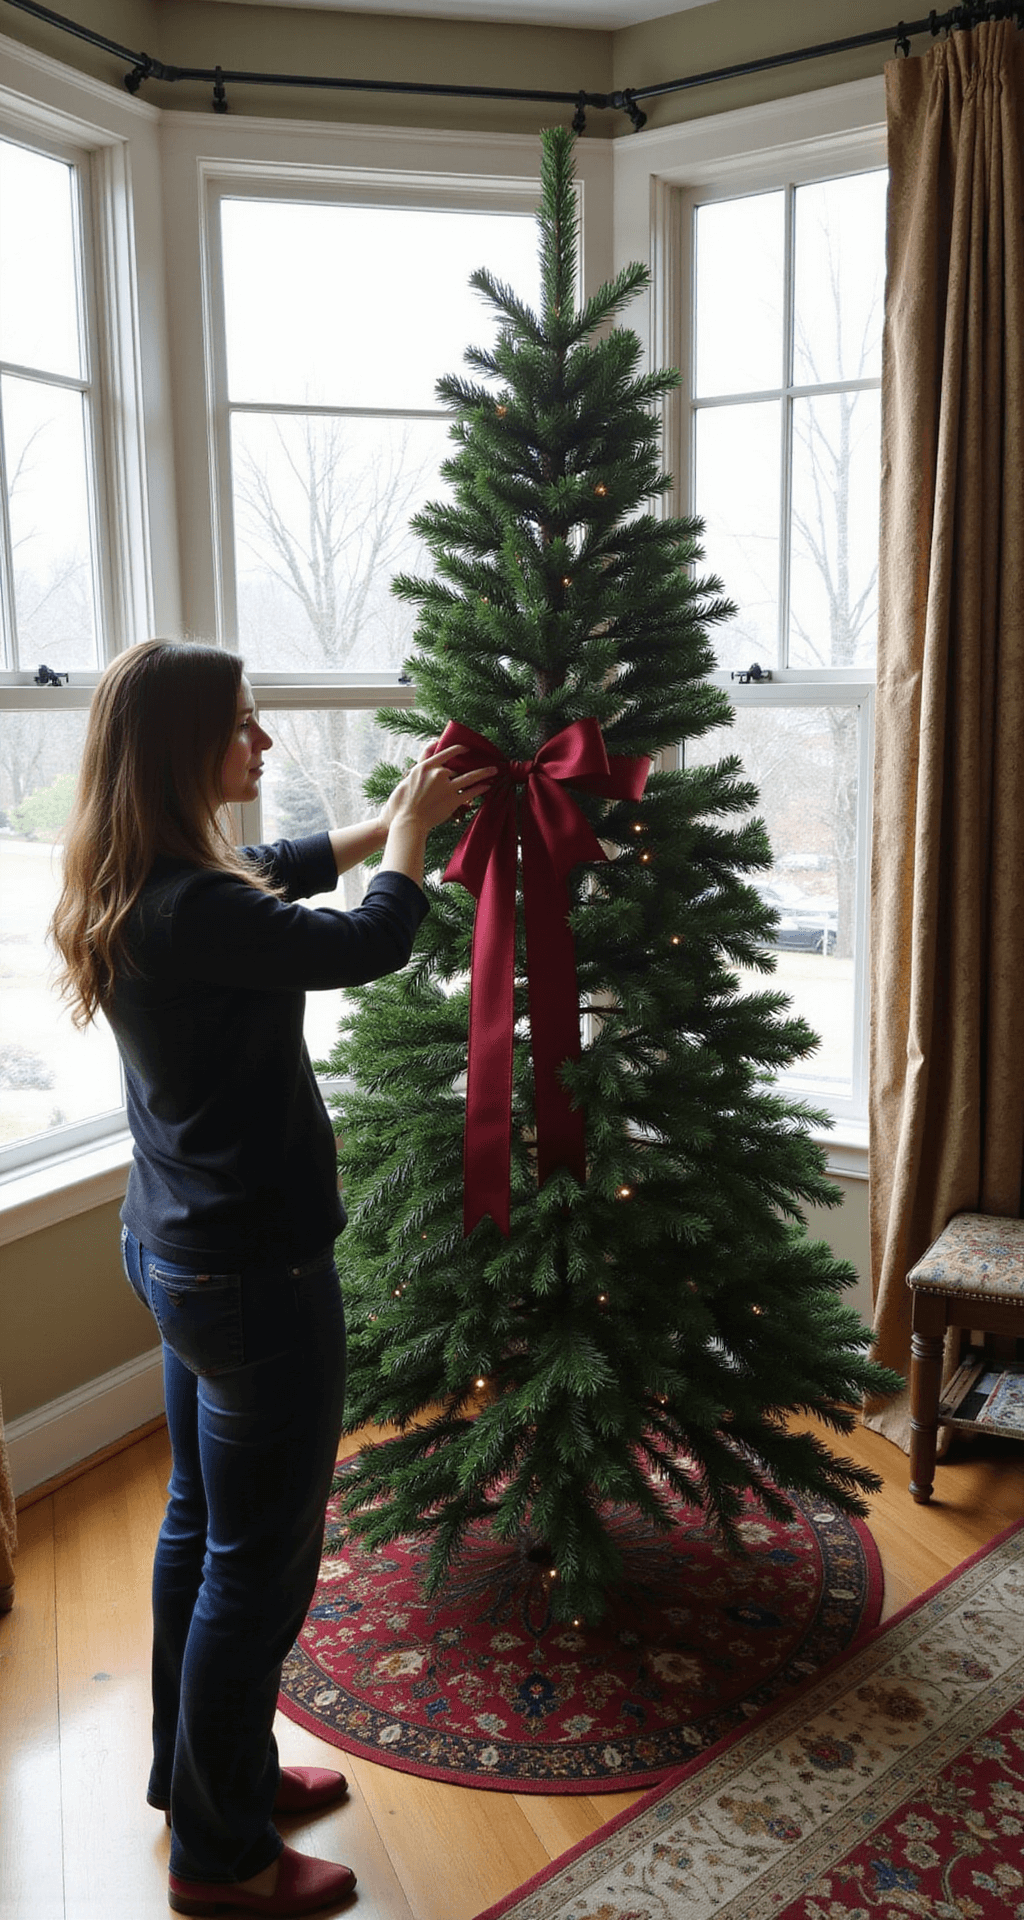
Every Christmas tree tells a story, and bows are the punctuation marks that make that story pop. Whether you’re aiming for elegant simplicity or dramatic flair, the right bow can elevate your entire holiday look.
Essential Materials You’ll Need
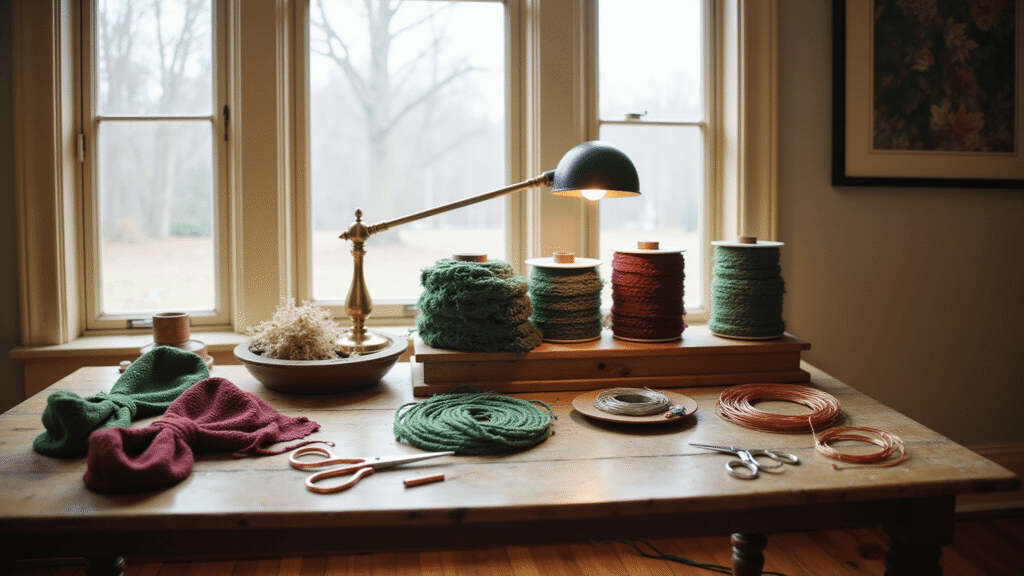
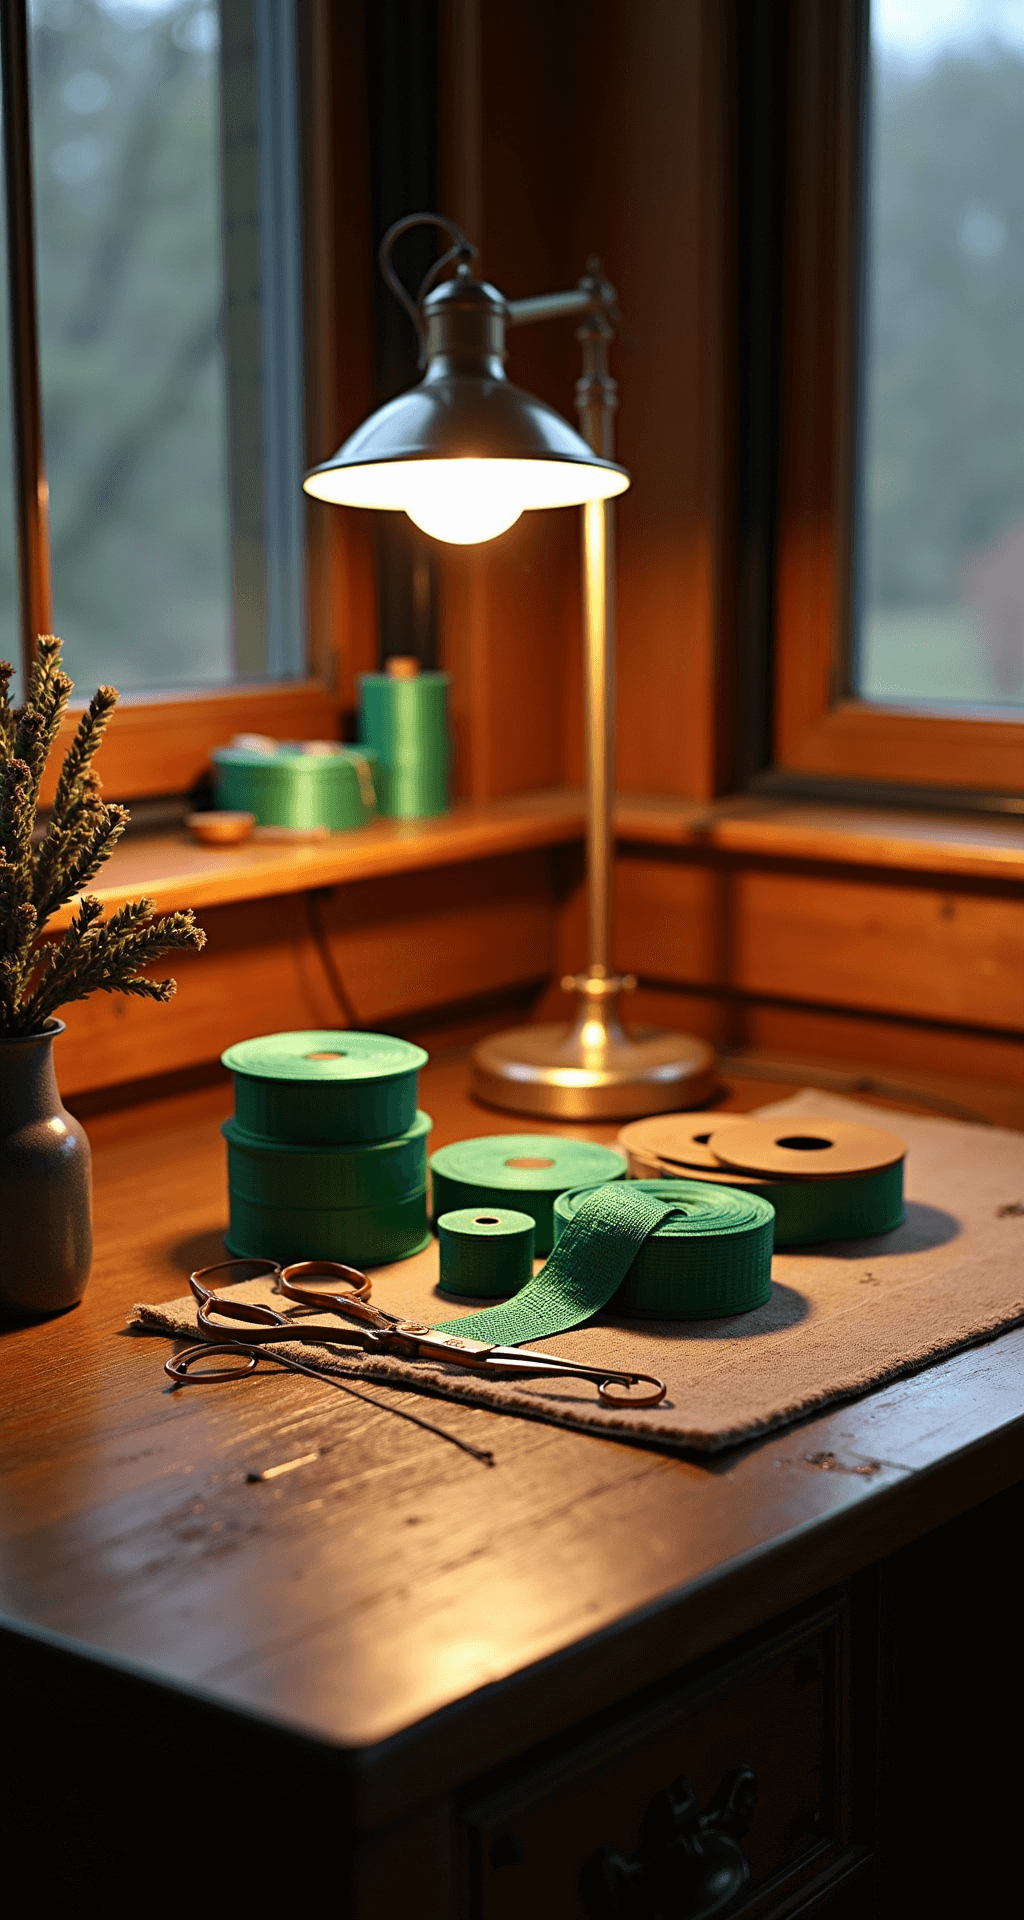
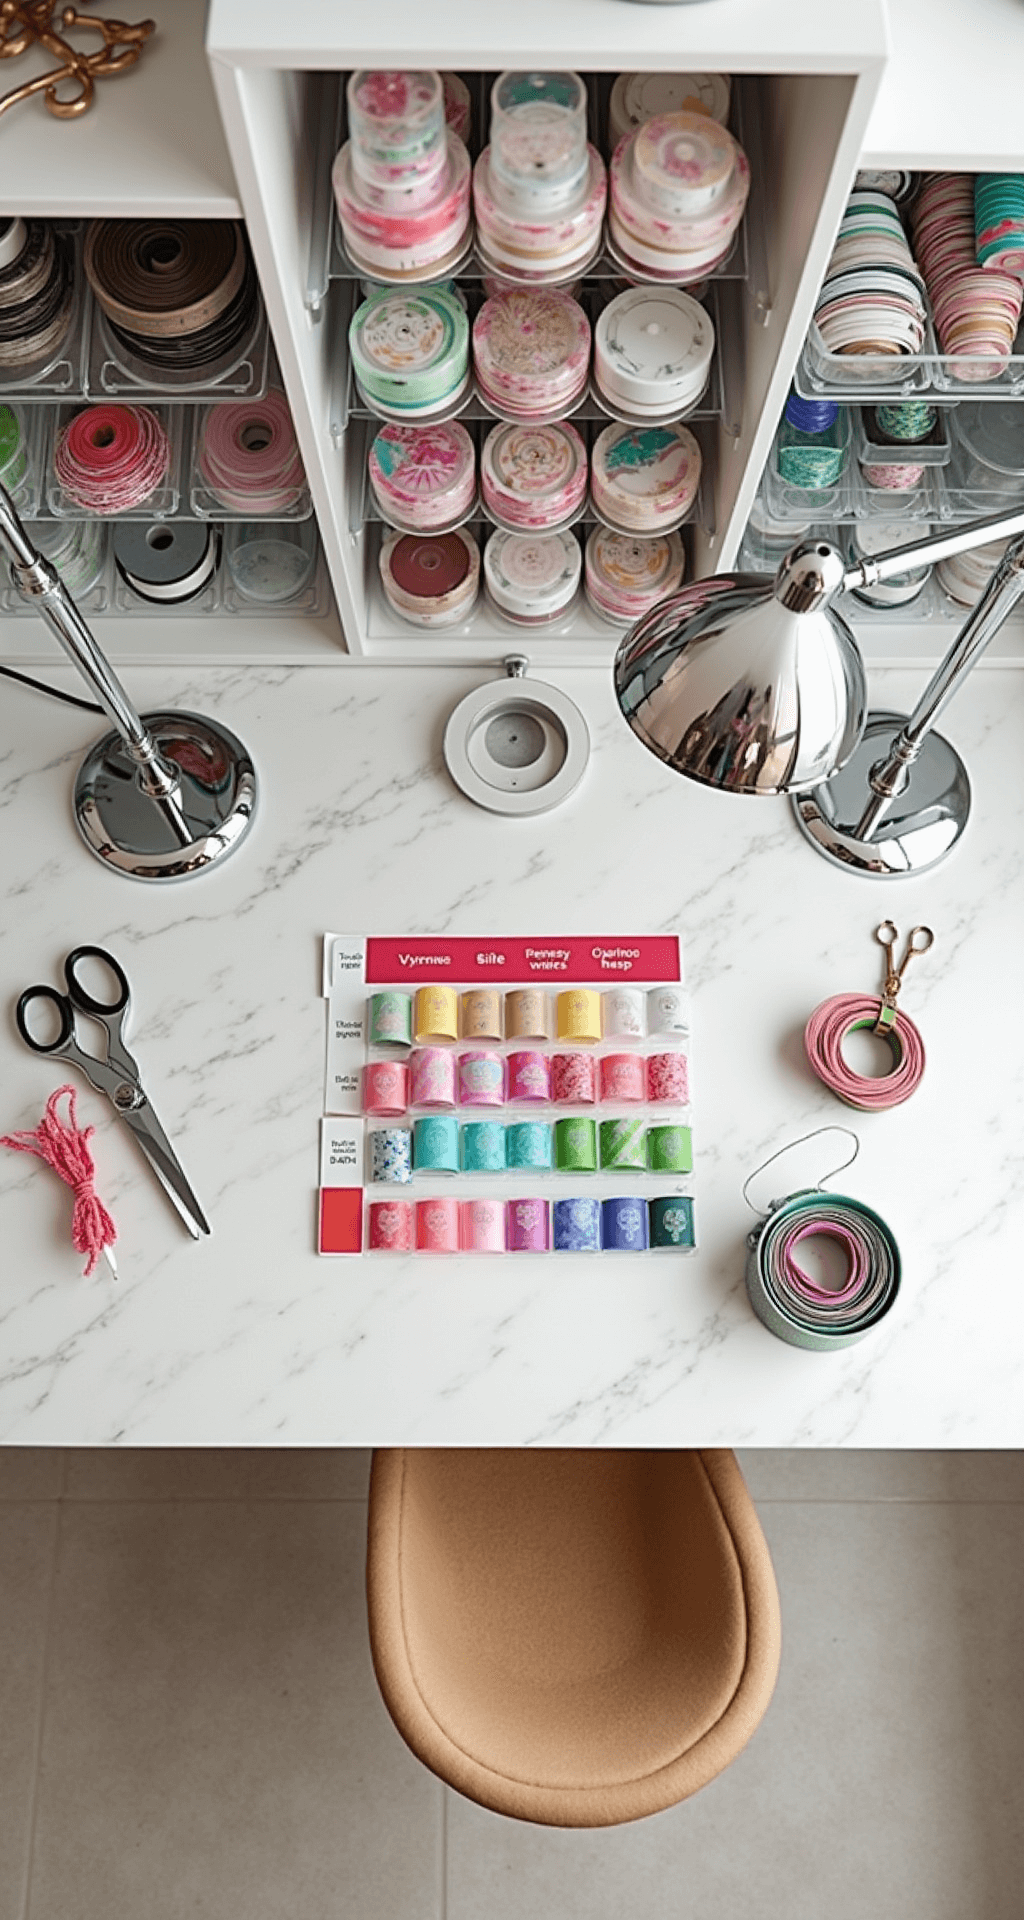
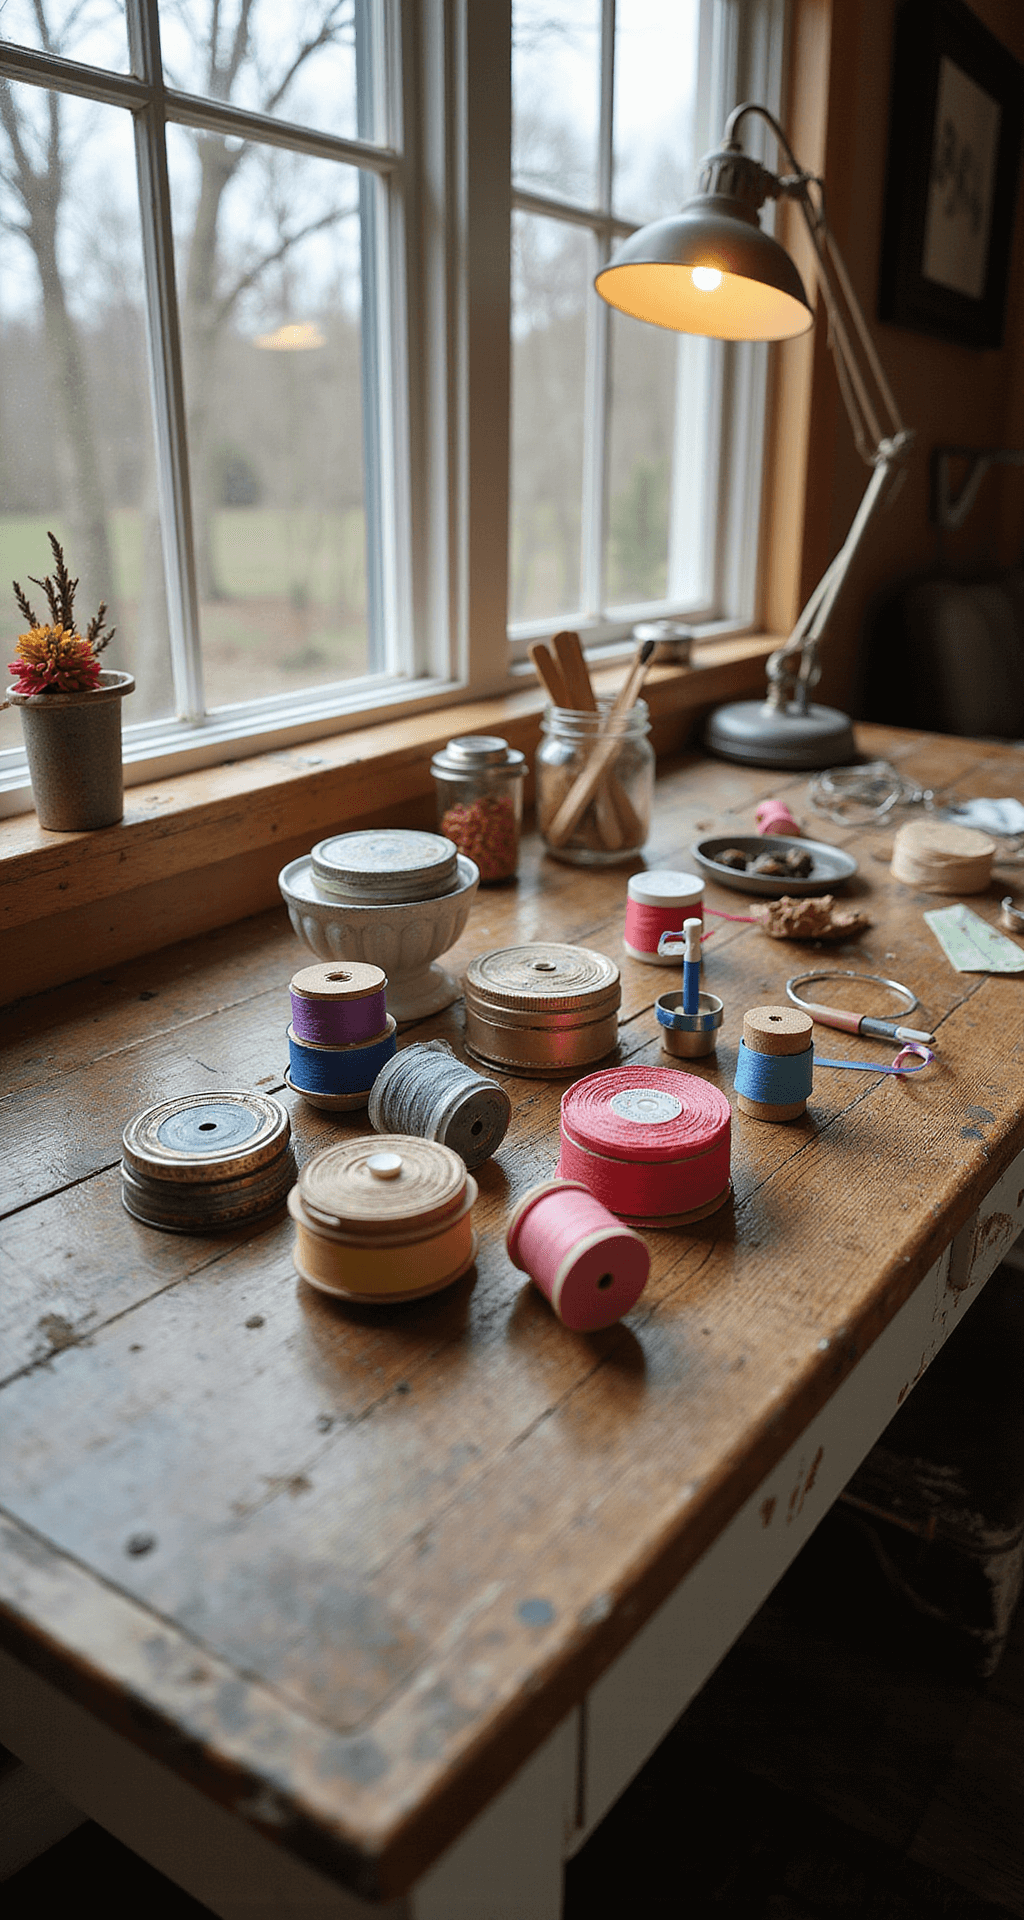
Gather these must-have supplies before you start:
- Wired ribbon (2.5-inch width)
- Pipe cleaners
- Floral wire
- Scissors
- Zip ties (optional)
The Classic Three-Loop Bow Technique
Here’s my foolproof method for creating stunning bows:
- Start with 3-4 inches of ribbon for the tail
- Pinch the starting point tightly
- Create 8-9 inch loops, folding back each time
- Make three identical loops
- Secure the center with a pipe cleaner
- Fluff and shape your loops
Pro Tip: Match your pipe cleaner to your ribbon color for a seamless look.
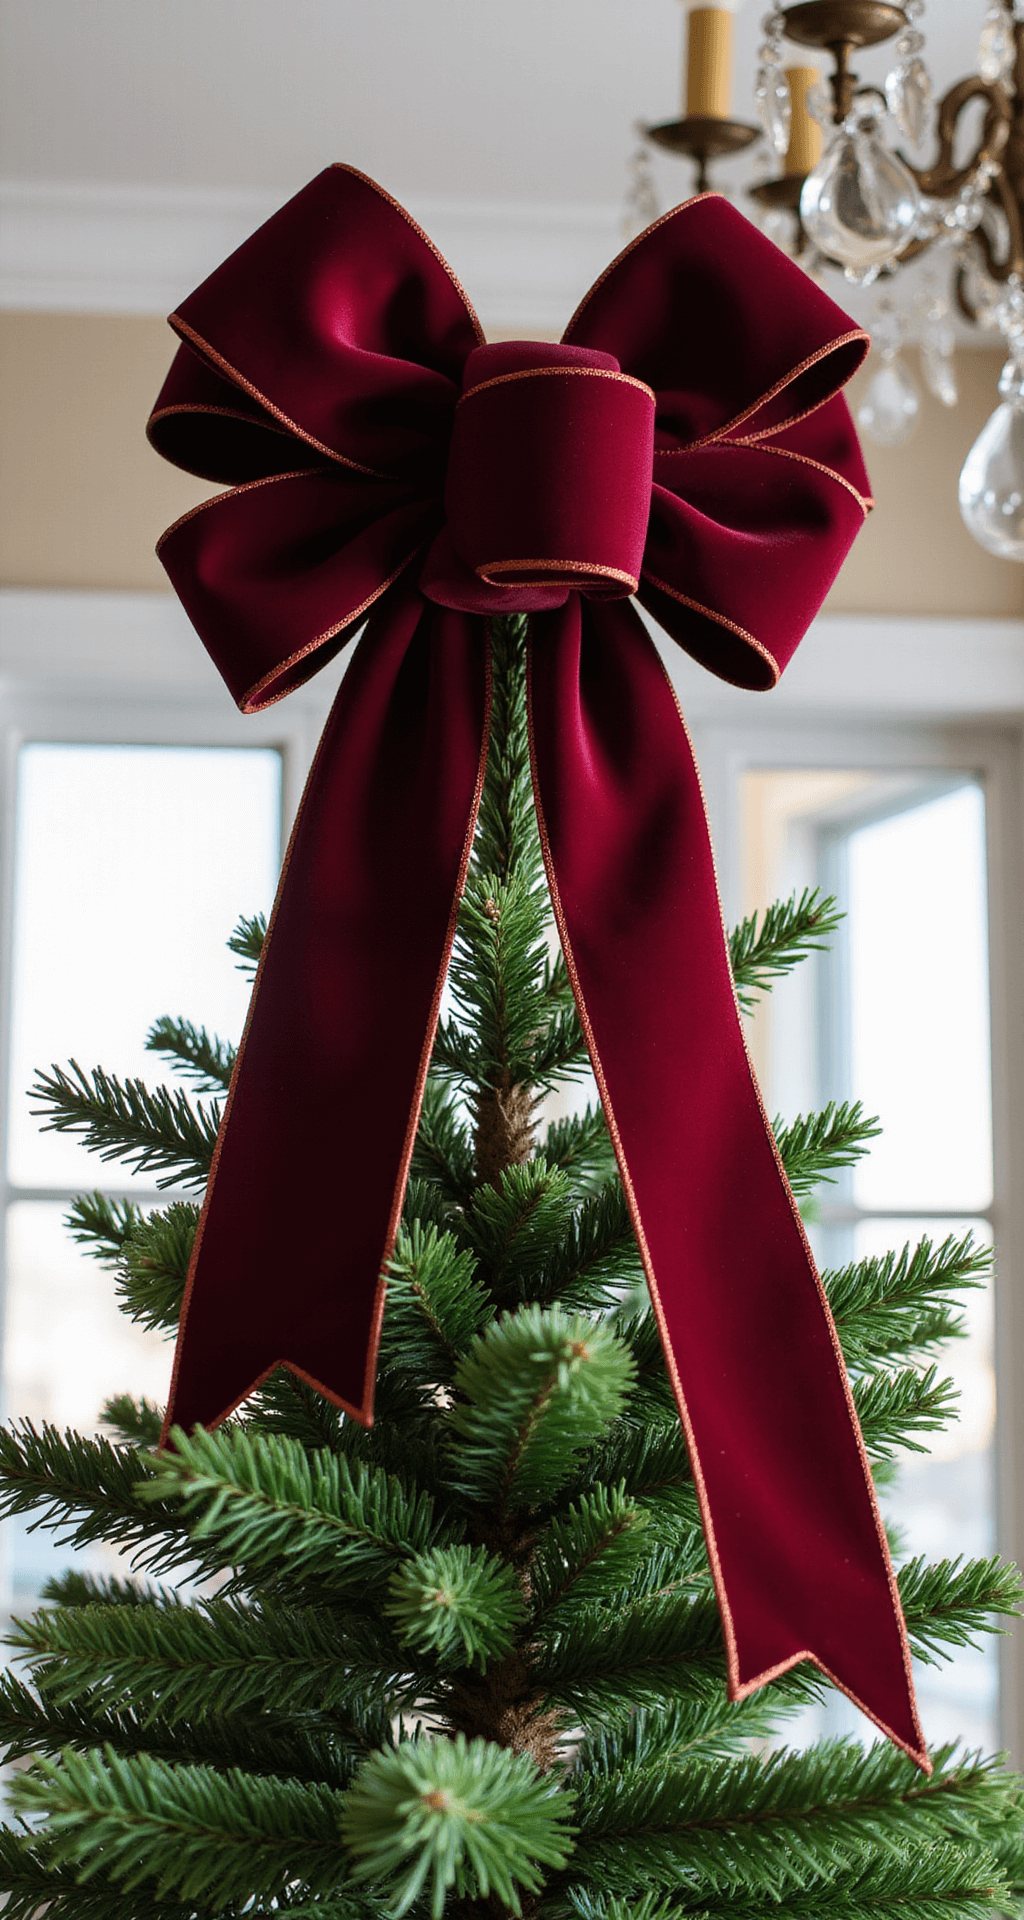
Creating a Show-Stopping Tree Topper Bow
Want to make a statement? Here’s how to craft a spectacular tree topper:
- Create 12 loops of seven inches each
- Start with a long tail
- Alternate loop sides for balance
- Use a zip tie to secure the center
- Attach with floral wire
- Fluff each loop for maximum volume
Styling Tricks for Maximum Impact
Placement Strategies
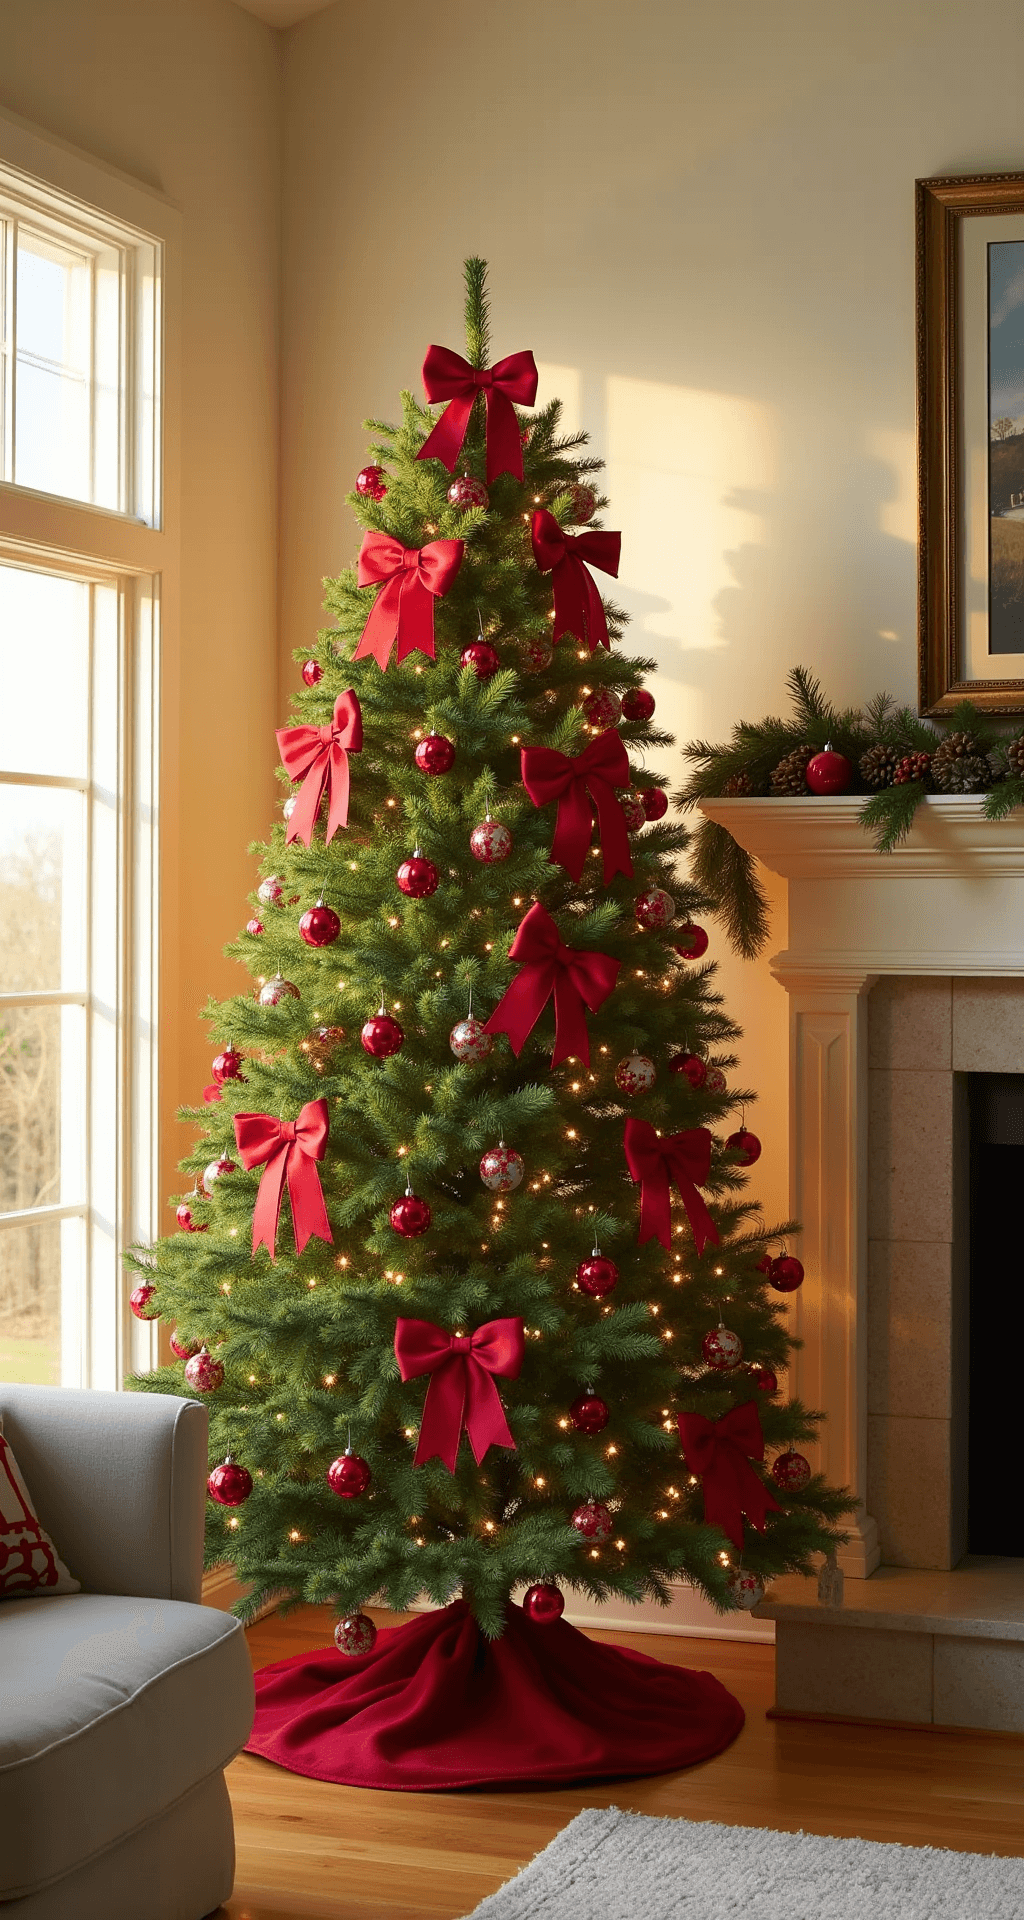
- Tuck bows into branch gaps
- Create cascading ribbon effects
- Use different sized bows for visual interest
Creative Ribbon Techniques
- Wrap and tuck method
- Ribbon waterfall technique
- Ribbon ornament accents
Budget-Friendly Decorating
The best part? These bows are incredibly cost-effective. A single roll of ribbon can create multiple bows, giving you a high-end look without the designer price tag.
Final Bow-Making Tips
- Practice makes perfect
- Don’t stress about absolute symmetry
- Have fun and let your creativity shine
Decorative Christmas tree ribbon can transform your holiday decor from simple to spectacular. With these techniques, you’ll become a bow-making pro in no time!

