This post may contain affiliate links. Please see my disclosure policy for details.
Fall Dining Room Table Decor: Transform Your Space in Under 2 Hours
Contents
Fall dining room table decor doesn’t have to drain your wallet or take all weekend to pull off.
I’m sitting here with my third cup of coffee, staring at photos from last September when I tried to style my dining table for the first time. What a disaster that was. Pumpkins everywhere like a harvest explosion, candles that looked more “birthday party” than “cozy autumn,” and a color scheme that screamed “I grabbed everything orange at HomeGoods.”
Let me save you from making the same mistakes I did.
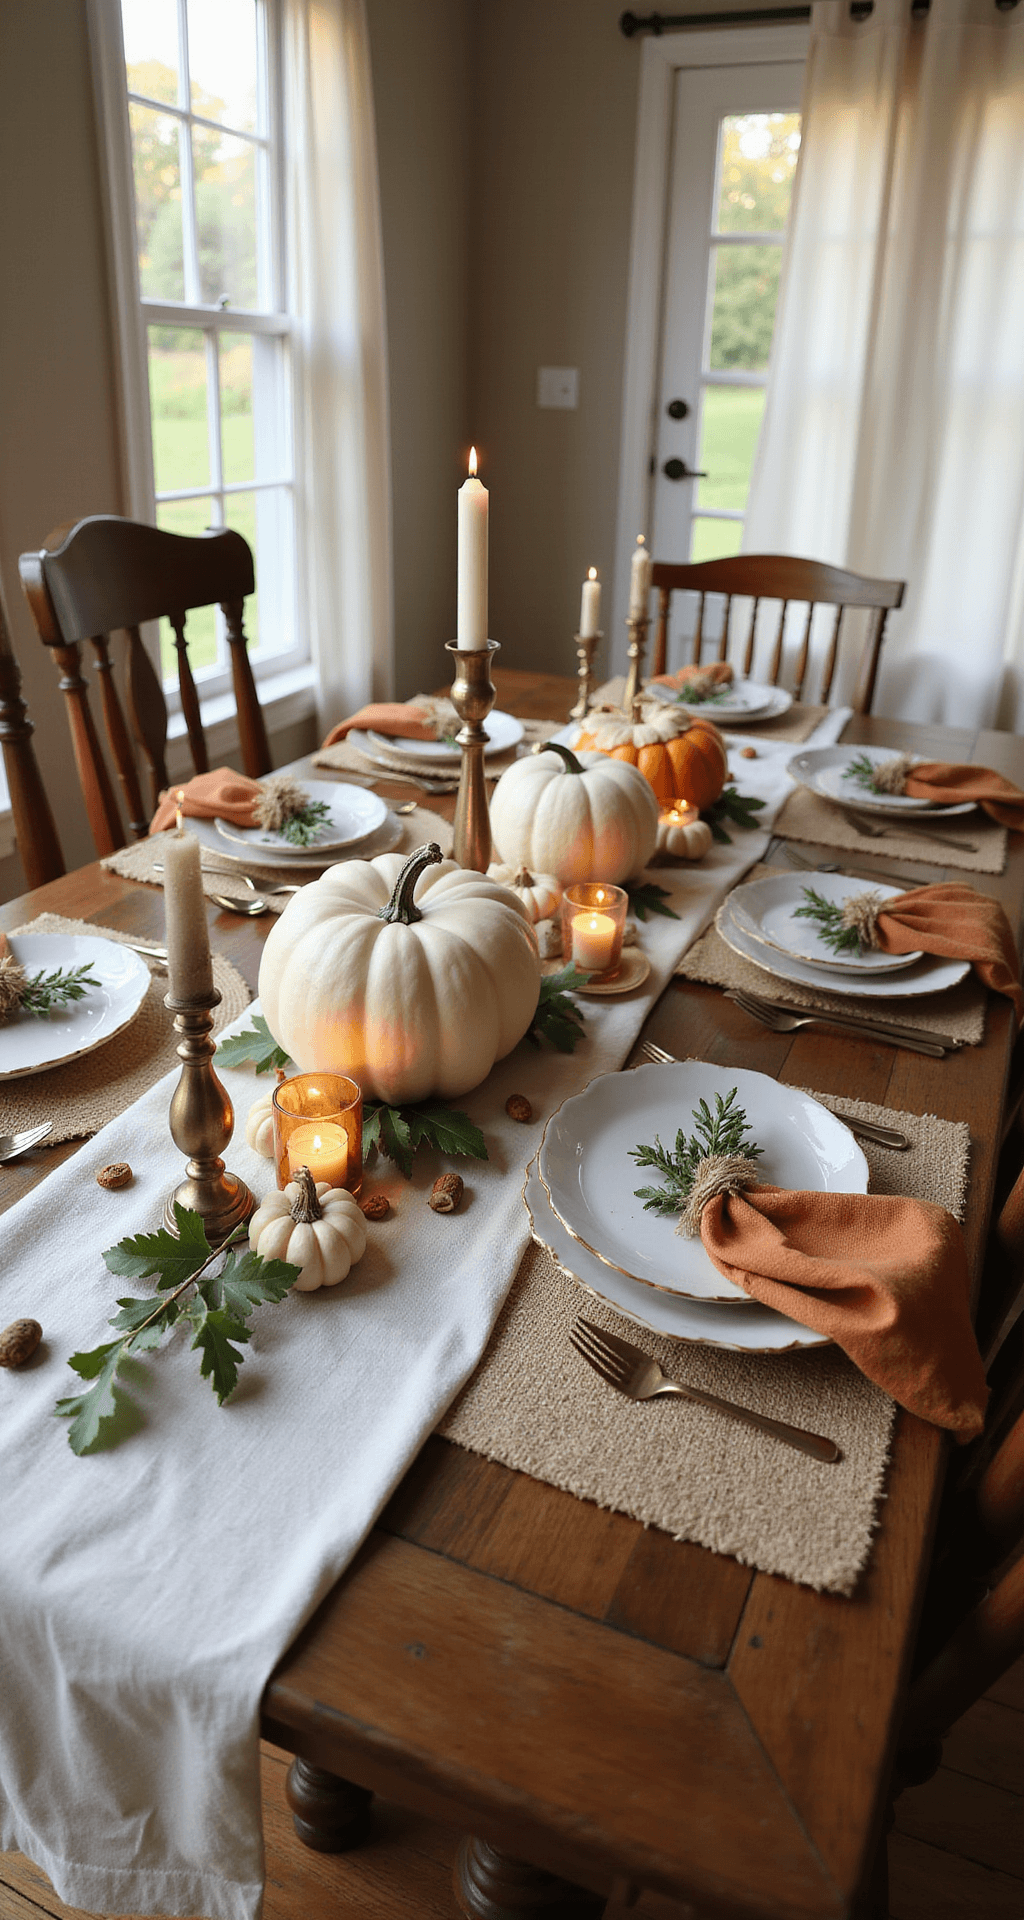
Why Your Fall Table Probably Looks… Off
You know that feeling when something just doesn’t look right but you can’t pinpoint why?
Here’s what’s usually going wrong:
The centerpiece is blocking everyone’s face. Nothing kills dinner conversation faster than talking to someone through a wall of sunflowers.
Everything’s the same height. Flat tables look boring in photos and in real life.
The colors are fighting each other. Bright orange pumpkins next to burgundy napkins next to yellow mums creates visual chaos, not cozy vibes.
There’s either too much stuff or not enough. You’ve gone full maximalist chaos or sad minimalist desert—no in-between.
I’ve been styling tables for content creation for three years now, and I promise you don’t need a design degree to nail this.
What You Actually Need (And What You Don’t)
The Non-Negotiables
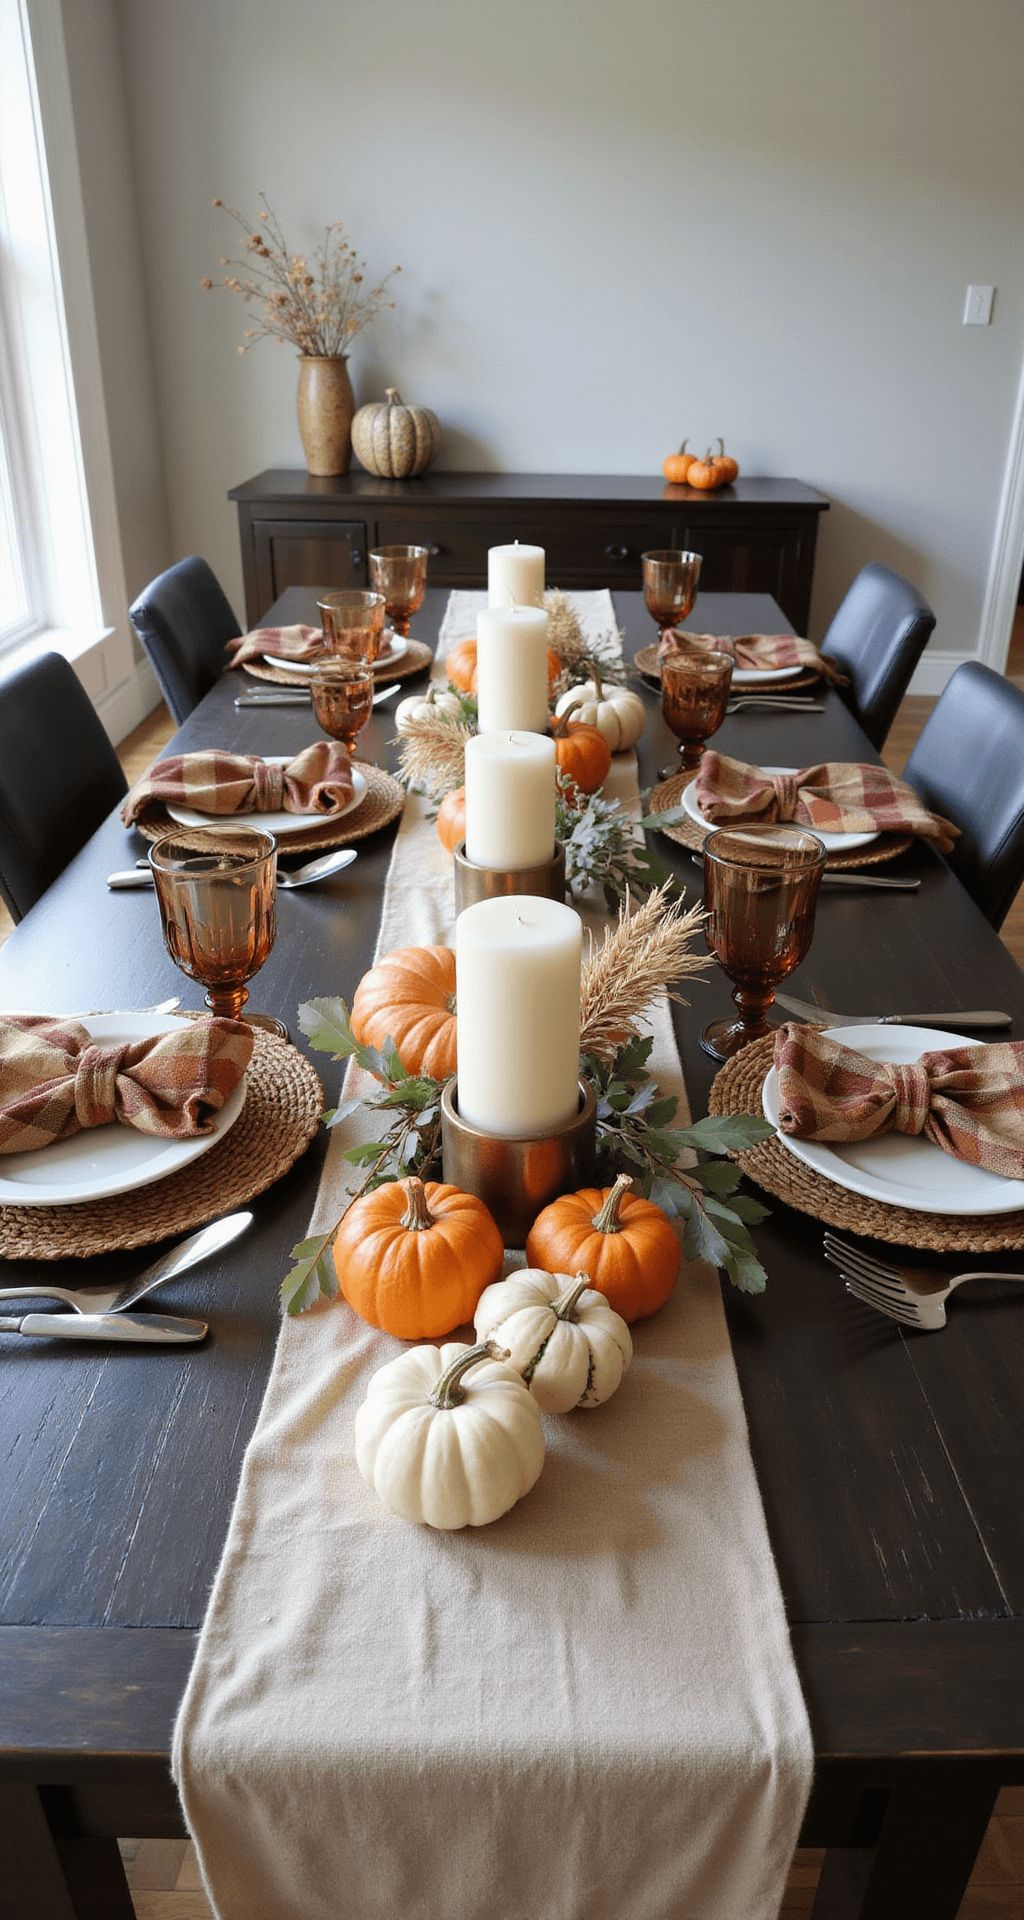
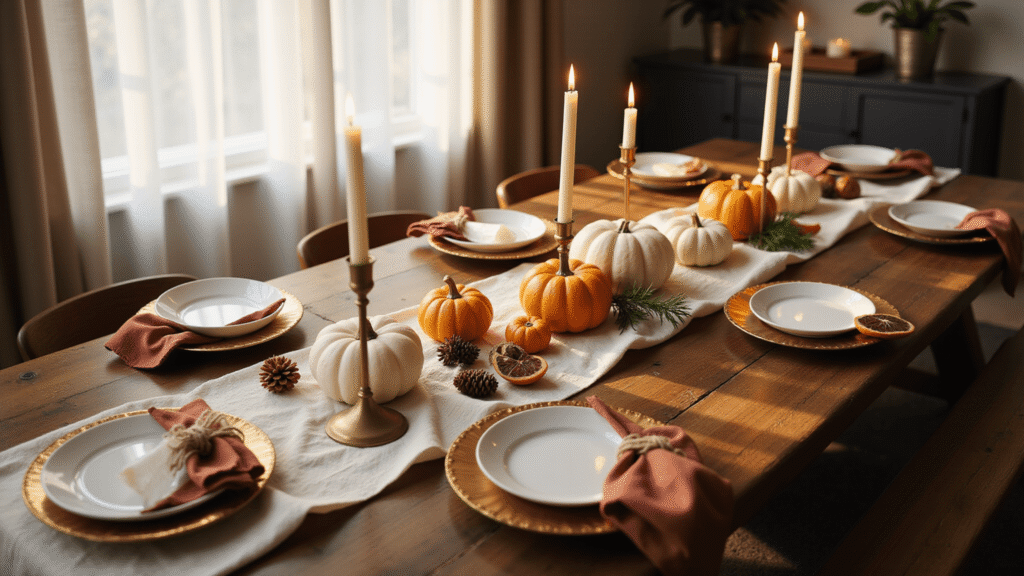
Table runner or tablecloth – This is your foundation. I learned the hard way that skipping this makes everything look like it’s just sitting on a table (because it is). A neutral linen table runner in cream, tan, or even a textured burlap works beautifully.
Pumpkins in varying sizes – Not all the same color, please. Mix white, cream, and traditional orange. The mini ones from Trader Joe’s are perfect and cost about $2 each. Faux pumpkins are my secret weapon because I can reuse them year after year without that sad rotting situation.
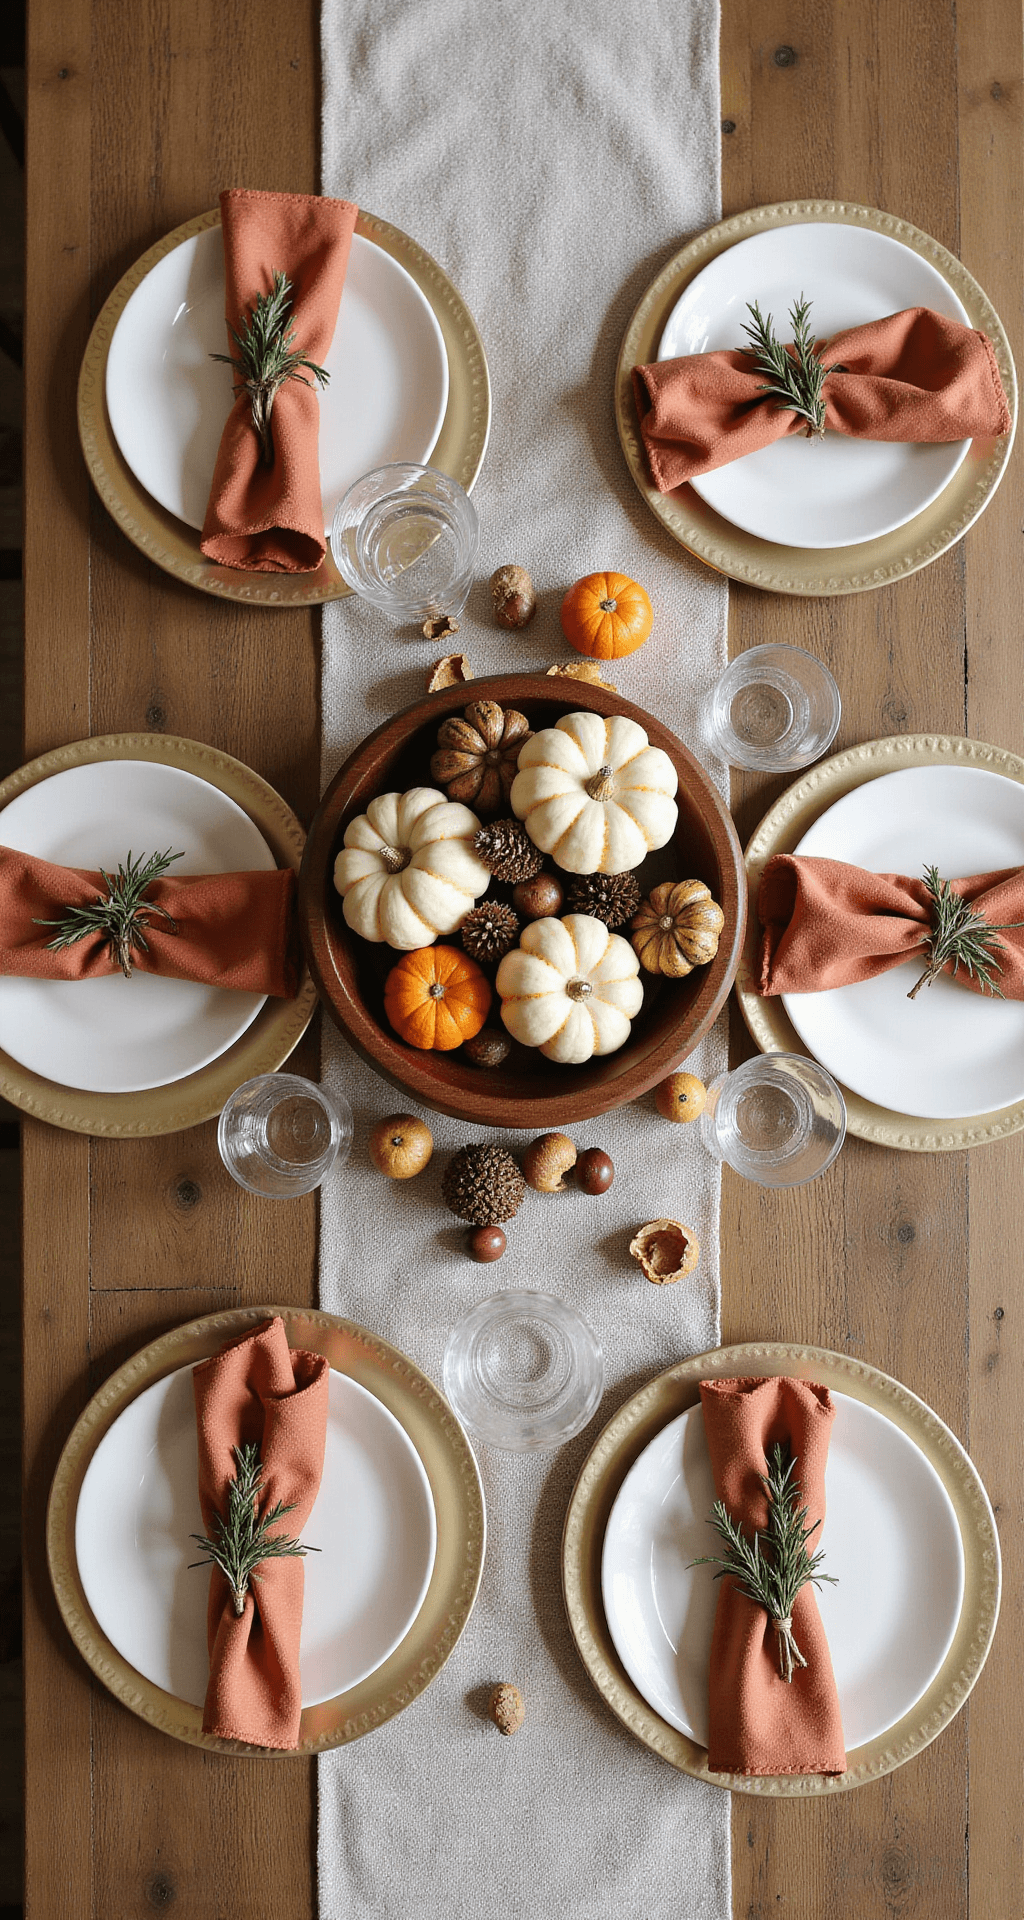
Candles at different heights – This is where the magic happens. Taper candles in brass holders give you height, while votives or tea lights tucked between pumpkins create that warm glow everyone screenshots for their inspiration boards.
Something natural and foraged – Branches, acorns, pinecones, actual fall leaves. Walk outside. Seriously, go outside and pick up pretty things. Free decor is the best decor.
Layered textiles – Placemats under plates, cloth napkins (not paper—we’re not animals), maybe chargers if you’re feeling fancy.
The Nice-to-Haves
- Fresh or faux fall florals (mums, dahlias, or dried pampas grass)
- A dough bowl or wooden tray to corral your centerpiece
- Gold or copper chargers for that elevated look
- Seasonal fruit like figs, pears, or pomegranates
- Small decorative elements (acorns, wheat stalks, dried orange slices)
Save Your Money On
- Matching everything perfectly (you’re not a catalog)
- Expensive fresh flowers that’ll die in three days
- Those weird scarecrow figurines (unless that’s your vibe, then go wild)
- Glittery anything (it gets everywhere and looks dated)
Budget Reality Check
Under $50: Hit up the grocery store for mini pumpkins ($10), grab a simple runner ($15-20), use what you own for plates, buy a pack of fall-colored cloth napkins ($12-15), forage the rest.
$75-$150: Add quality faux pumpkins that’ll last years, invest in better candle holders, pick up a wooden dough bowl, maybe splurge on one beautiful faux floral arrangement.
$150-$200: This is where you add the fancy stuff—chargers, nicer linens, multiple floral elements, premium candles that actually smell good.
I typically spend about $100 because I reuse my neutrals (runner, chargers, candle holders) every year and just refresh the pumpkins and natural elements.
Setting Up Your Table (The Actually Practical Way)
Step 1: Start With Your Base Layer
Clear everything off your table. Everything.
Lay down your tablecloth or runner. I usually do a runner down the center rather than a full cloth because it’s less fussy and easier to photograph.
If your table is dark wood, a light runner creates beautiful contrast. Light table? Try a textured burlap or darker tone.
Step 2: Define Your Place Settings
Before you touch a single pumpkin, put down your placemats or chargers.
This tells you how much center-table real estate you’re working with. You need at least 18-24 inches clear at each end of the table so people can actually, you know, eat.
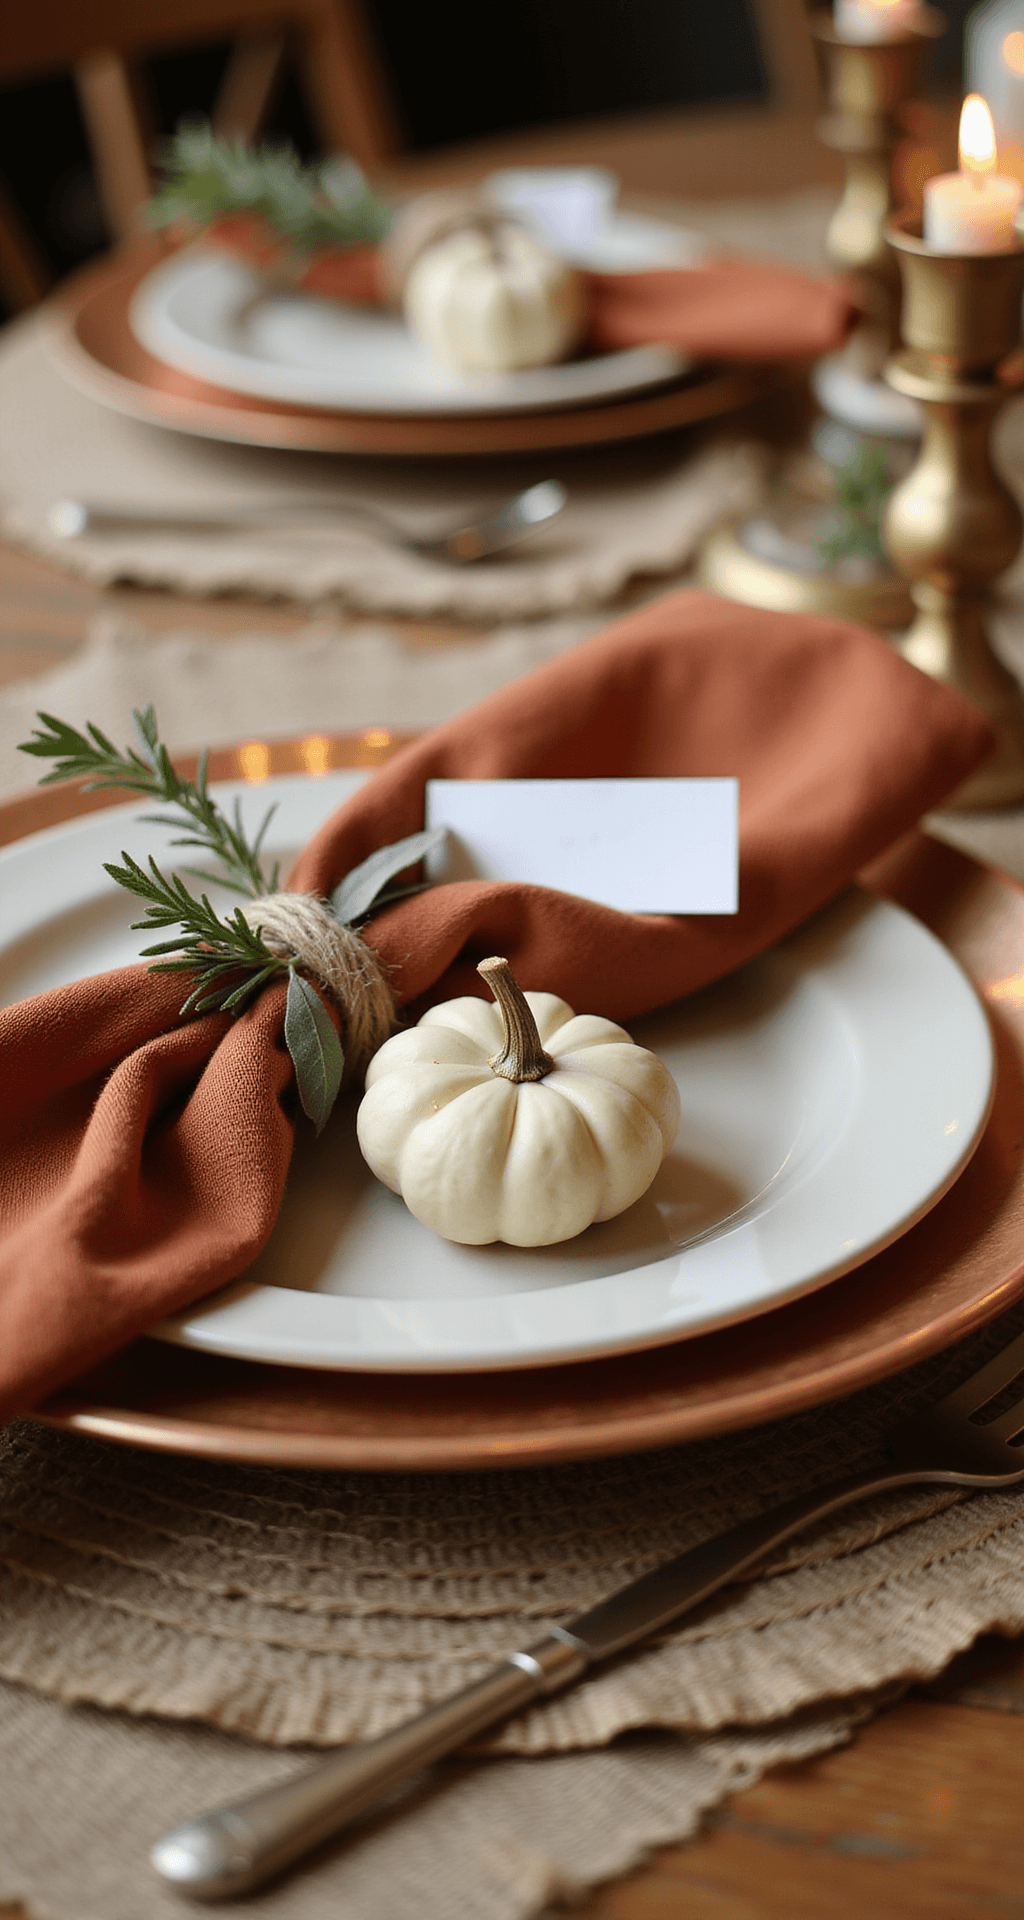
Stack your plates: dinner plate first, then a salad plate on top if you want dimension. White dinner plates with seasonal salad plates in rust or sage look incredible without being matchy-matchy.
Fold or tie your napkins and place them on the plates. I do a simple fold with the napkin slightly off-center on the plate—less stuffy than the fancy restaurant folds nobody can figure out.
Step 3: Build Your Centerpiece (This Is Where People Mess Up)
Here’s the thing about centerpieces: they should never be taller than 12-14 inches unless you hate the people sitting across from you.
Option A: The Pumpkin Line
Line 3-5 pumpkins down the center of your runner, varying sizes and colors. White pumpkins look modern and photograph beautifully. Mix in mini pumpkins around them.
Tuck in foraged leaves, acorns, and small branches between the pumpkins. This is called “scatter” in the styling world, and it makes everything look intentional instead of “I just plopped pumpkins down.”
Add candles between the pumpkins—alternate tapers and votives.