This post may contain affiliate links. Please see my disclosure policy for details.
Anthropologie-Inspired Christmas Decor: How I Transformed My Home Into a Whimsical Winter Wonderland
Contents
- Anthropologie-Inspired Christmas Decor: How I Transformed My Home Into a Whimsical Winter Wonderland
- What Makes Anthropologie Christmas Decor So Different?
- How Much Time and Money Are We Really Talking?
- The Tools That Actually Matter
- Budget-Friendly Alternatives That Don’t Look Cheap
- Creating Your First Anthropologie-Inspired Vignette
Anthropologie-inspired Christmas decor has completely changed how I approach holiday styling, and I’m about to show you exactly how to recreate that signature whimsical-meets-cozy look without dropping your entire paycheck at the store.
Look, I get it. You scroll through Pinterest, see those gorgeous Anthropologie holiday displays, and think “There’s no way I can pull that off in my apartment.” You’re worried about the cost. You’re concerned your space is too small. You’re not sure where to even start with all those layers and textures.
I felt exactly the same way two years ago when I attempted my first Anthro-inspired Christmas and ended up with what looked like a craft store exploded in my living room.
But here’s what I’ve learned: that elevated, collected-over-time aesthetic is totally achievable when you understand the formula.
What Makes Anthropologie Christmas Decor So Different?
Forget the matchy-matchy big-box store look.
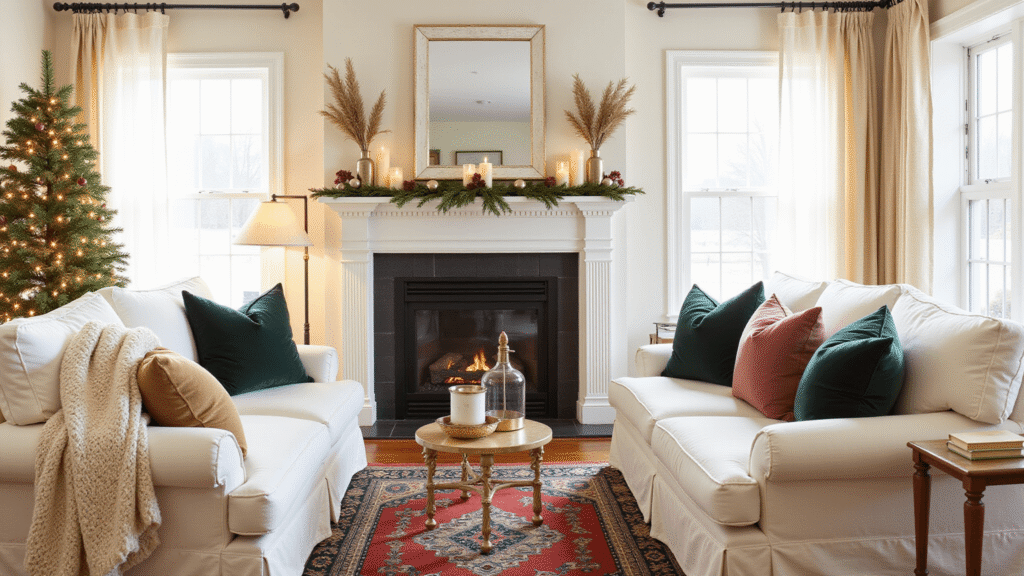
Anthropologie’s approach to holiday decorating is all about layering unexpected textures, mixing whimsical elements with sophisticated neutrals, and creating spaces that feel both elevated and lived-in.
The color palette doesn’t scream “Christmas” from across the room. Instead, you’re working with:
- Warm neutrals as your base: cream, camel, soft taupe, warm white
- Nature-inspired greens: forest, cedar, spruce (not that artificial bright green)
- Unexpected jewel tones: burgundy, mulberry, pomegranate, even dusty blush
- Metallics that whisper, not shout: brushed gold, champagne, touches of copper
I remember the first time I swapped my traditional red-and-green scheme for this palette. My mother-in-law walked in and said, “Is this Christmas or a boutique hotel lobby?”
Mission accomplished.
How Much Time and Money Are We Really Talking?
Let’s be brutally honest about what you’re committing to.
Time investment:
- Basic room styling: 2-4 hours for your first attempt
- Full photo-worthy setup with multiple vignettes: 4-6 hours including tweaking and photography
Budget breakdown (and this is where it gets interesting):
Budget-friendly approach ($75-$150):
- Mix DIY elements with Anthropologie-inspired dupes
- Hit up HomeGoods, Target’s Opalhouse line, and yes, even Dollar Tree for basics
- One or two statement pieces from Anthropologie or Terrain
Mid-range comfort zone ($200-$400):
- Several key Anthropologie or Terrain pieces as focal points
- Quality faux cedar garland and realistic greenery
- Better ornaments and textiles that you’ll use for years
Go-all-out budget ($500+):
- Multiple rooms fully styled
- Investment pieces like large bottlebrush trees and statement wreaths
- Premium textiles and one-of-a-kind vintage finds
I typically land somewhere in the middle, buying one or two splurge pieces each season and building my collection over time.
That approach feels way less painful on the credit card.
The Tools That Actually Matter
You don’t need a professional photography studio.
But you do need decent lighting if you want Instagram-worthy results.
Essential equipment:
- A basic ring light set to warm (this changed my entire content game)
- Small clamp lights for shadowy corners
- Your smartphone (seriously, that’s all I use for 90% of my shots)
The Anthropologie styling essentials:
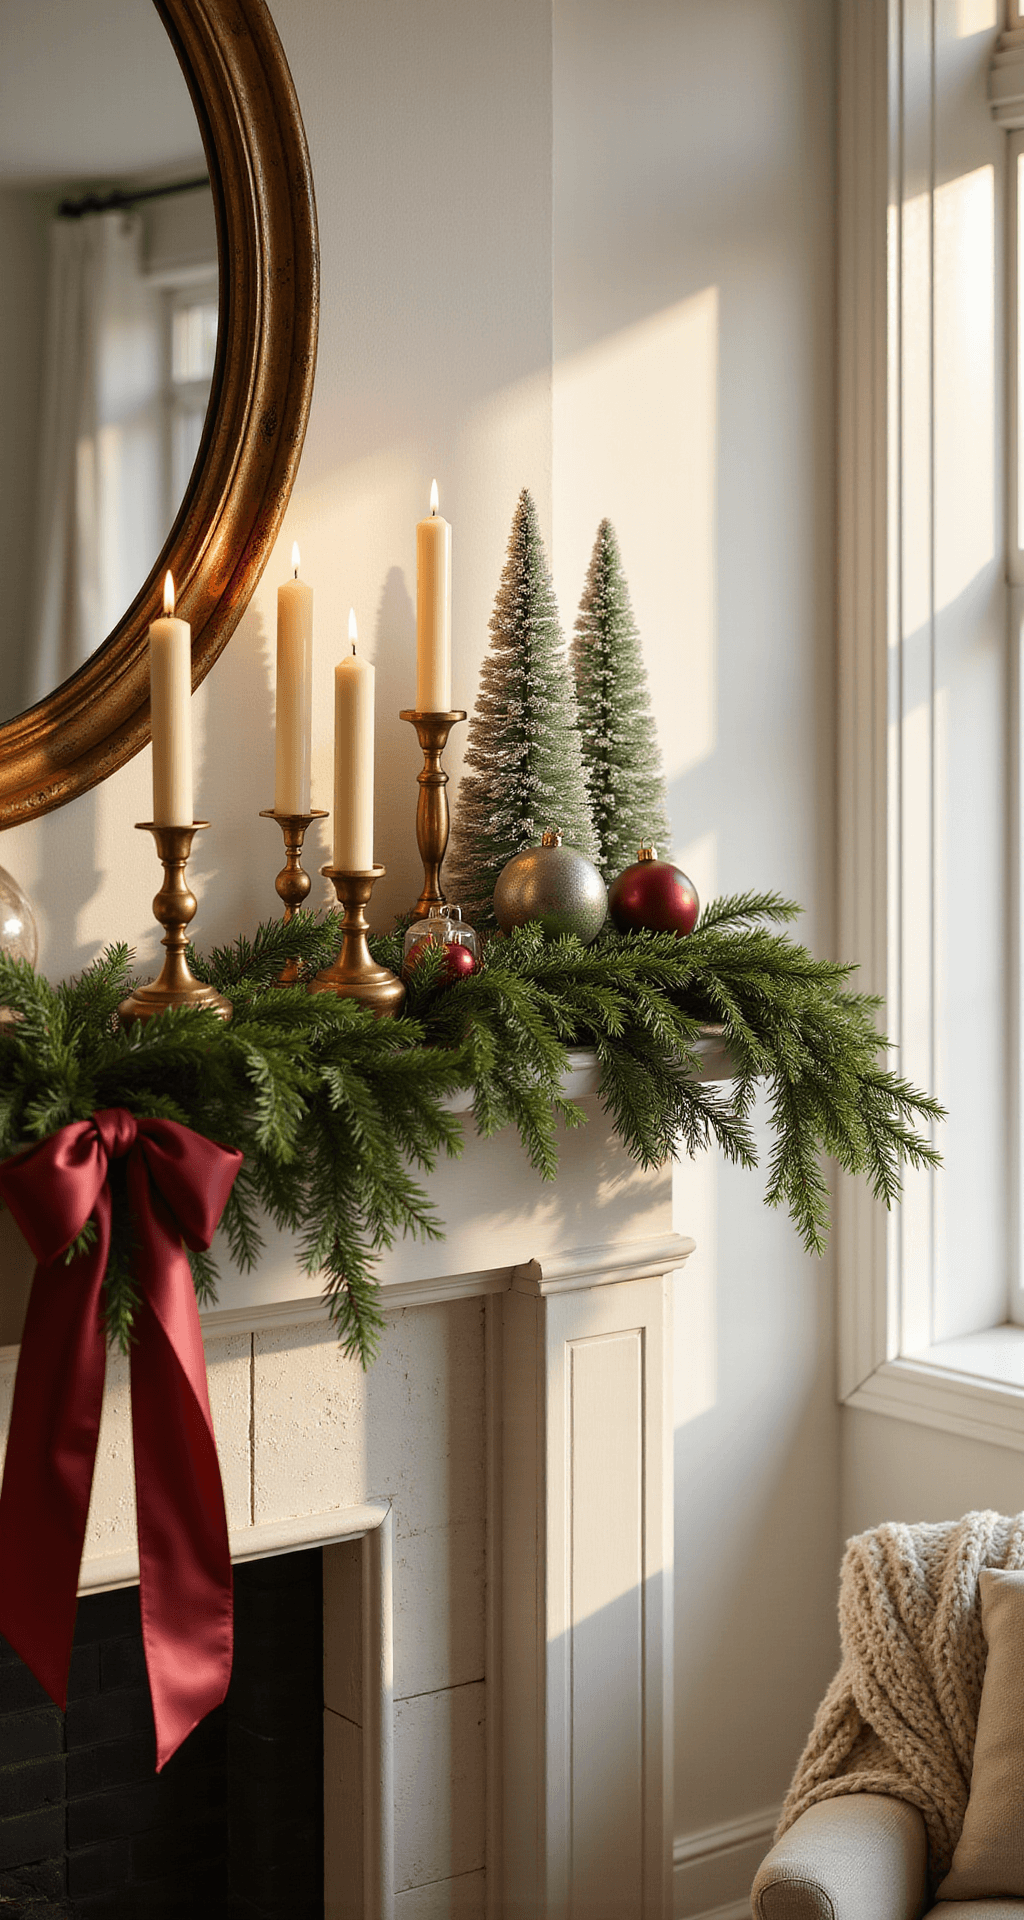
- Realistic faux cedar garland (cheap garland looks cheap—just accept this truth now)
- LED pillar candles in varying heights
- Bottlebrush trees in cream, sage, or natural tones
- Satin ribbon for those signature bow moments
- A curated ornament collection mixing whimsical (think fruit shapes, animals) with elegant glass baubles
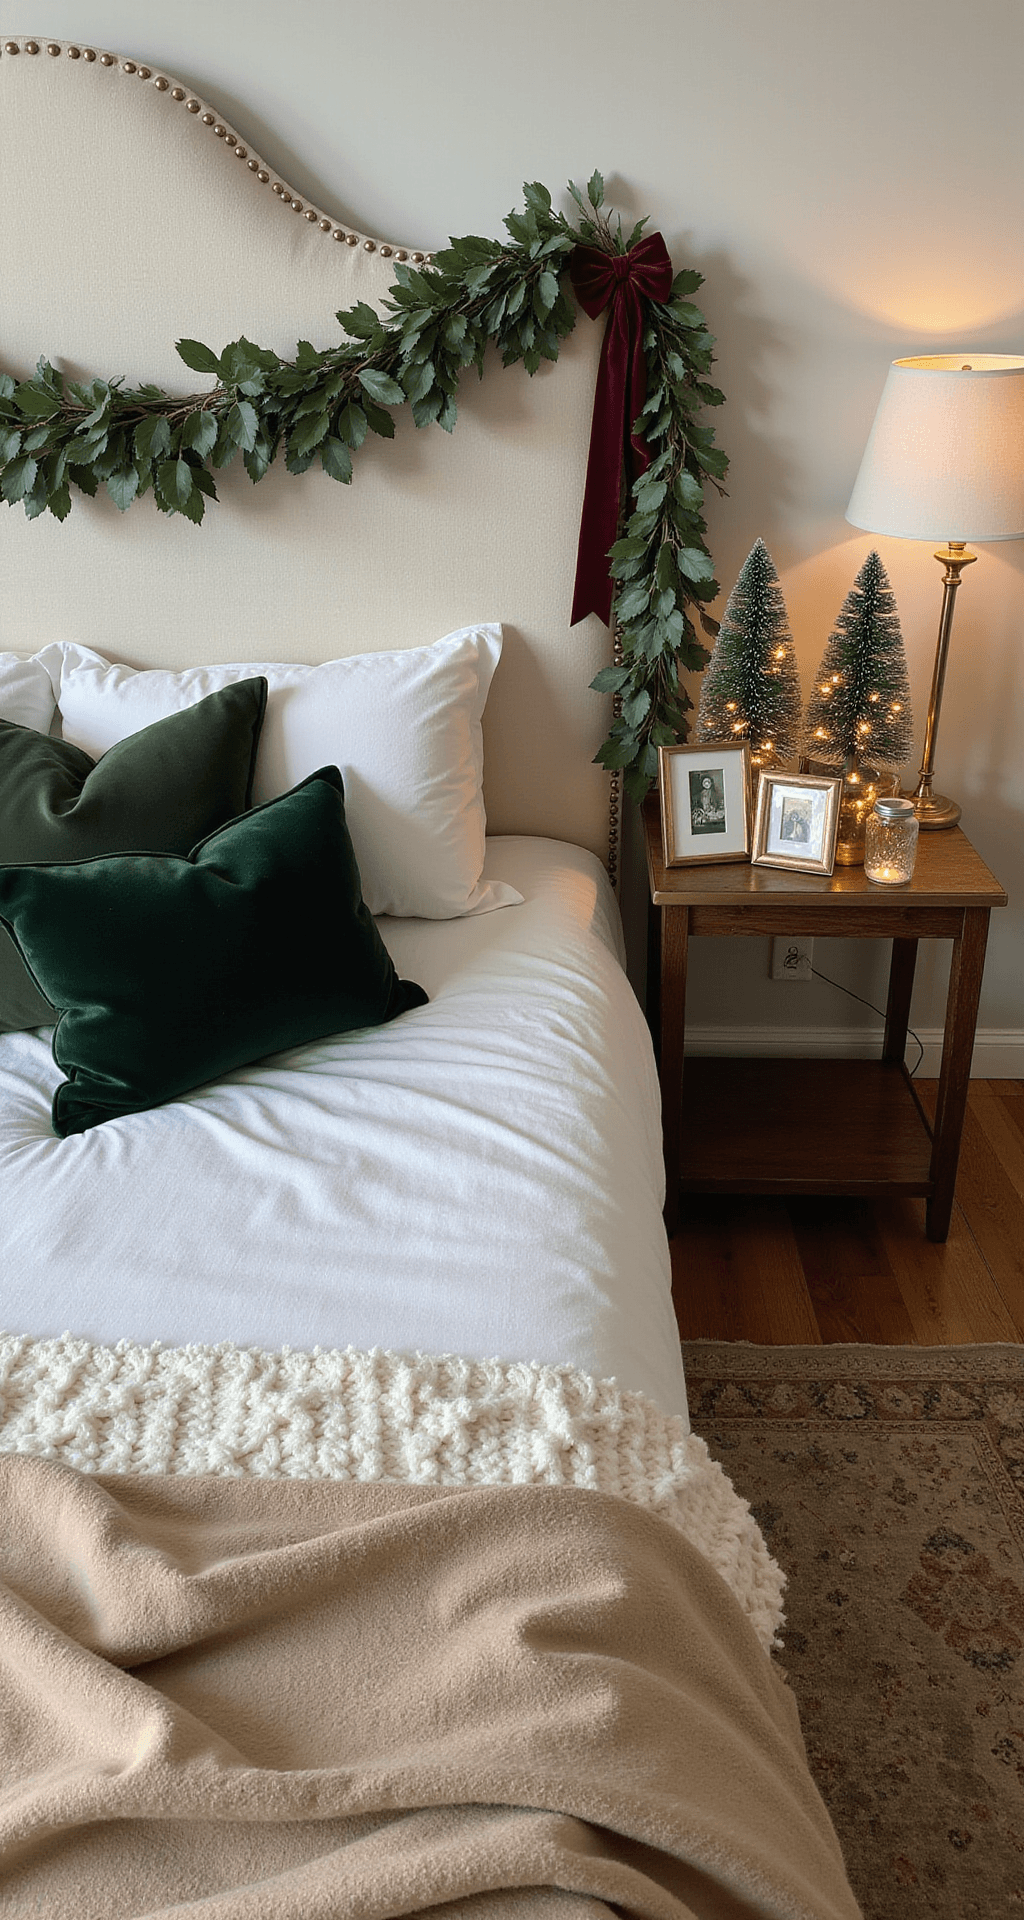
- Textured textiles: chunky knit throws, velvet pillows, interesting quilts
Here’s a rookie mistake I made: buying everything at once.
Start with greenery and lights. Add ornaments and bows. Then layer in the smaller details.
Your credit card will thank you, and you won’t overwhelm yourself trying to style everything in one marathon session.
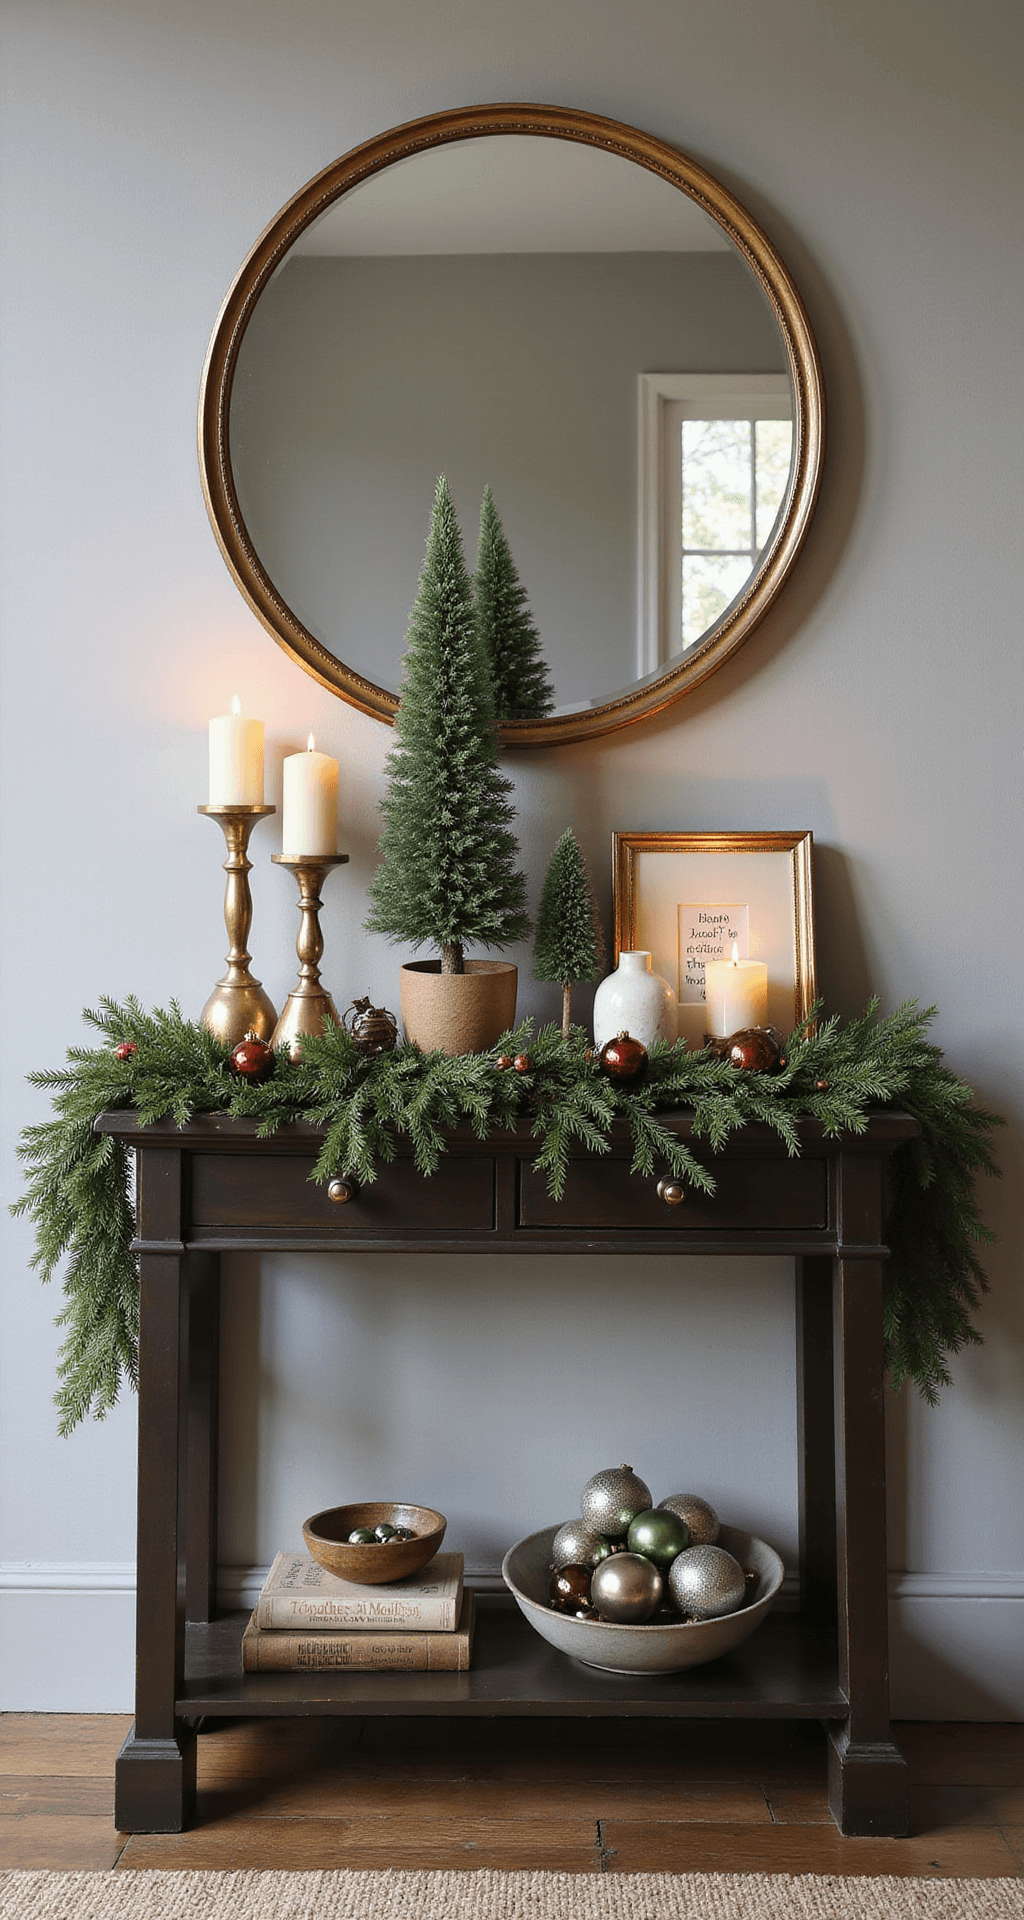
Budget-Friendly Alternatives That Don’t Look Cheap
I’m not about to tell you to spend $400 on a single wreath.
Smart swaps that actually work:
Instead of Anthropologie’s $68 velvet bows: Buy ribbon by the spool and make your own. I’m talking 10 minutes per bow, max. YouTube has a thousand tutorials.
Instead of $45 mercury glass votives: Hit up your local thrift stores in October. I found 12 vintage brass candlesticks for $3 each that look like they came straight from Terrain.
Instead of pricey ornament collections: Dollar Tree has basic glass ball ornaments that you can upgrade. Add ribbon, a touch of glitter, or paint the caps gold. Nobody will know the difference in photos.
For realistic greenery on a budget: HomeGoods and TJ Maxx carry surprisingly decent faux stems. Mix those with real cedar branches from your yard (or your neighbor’s—ask first).
I’ve created entire mantels that look like they cost $600 for under $100 using this approach.
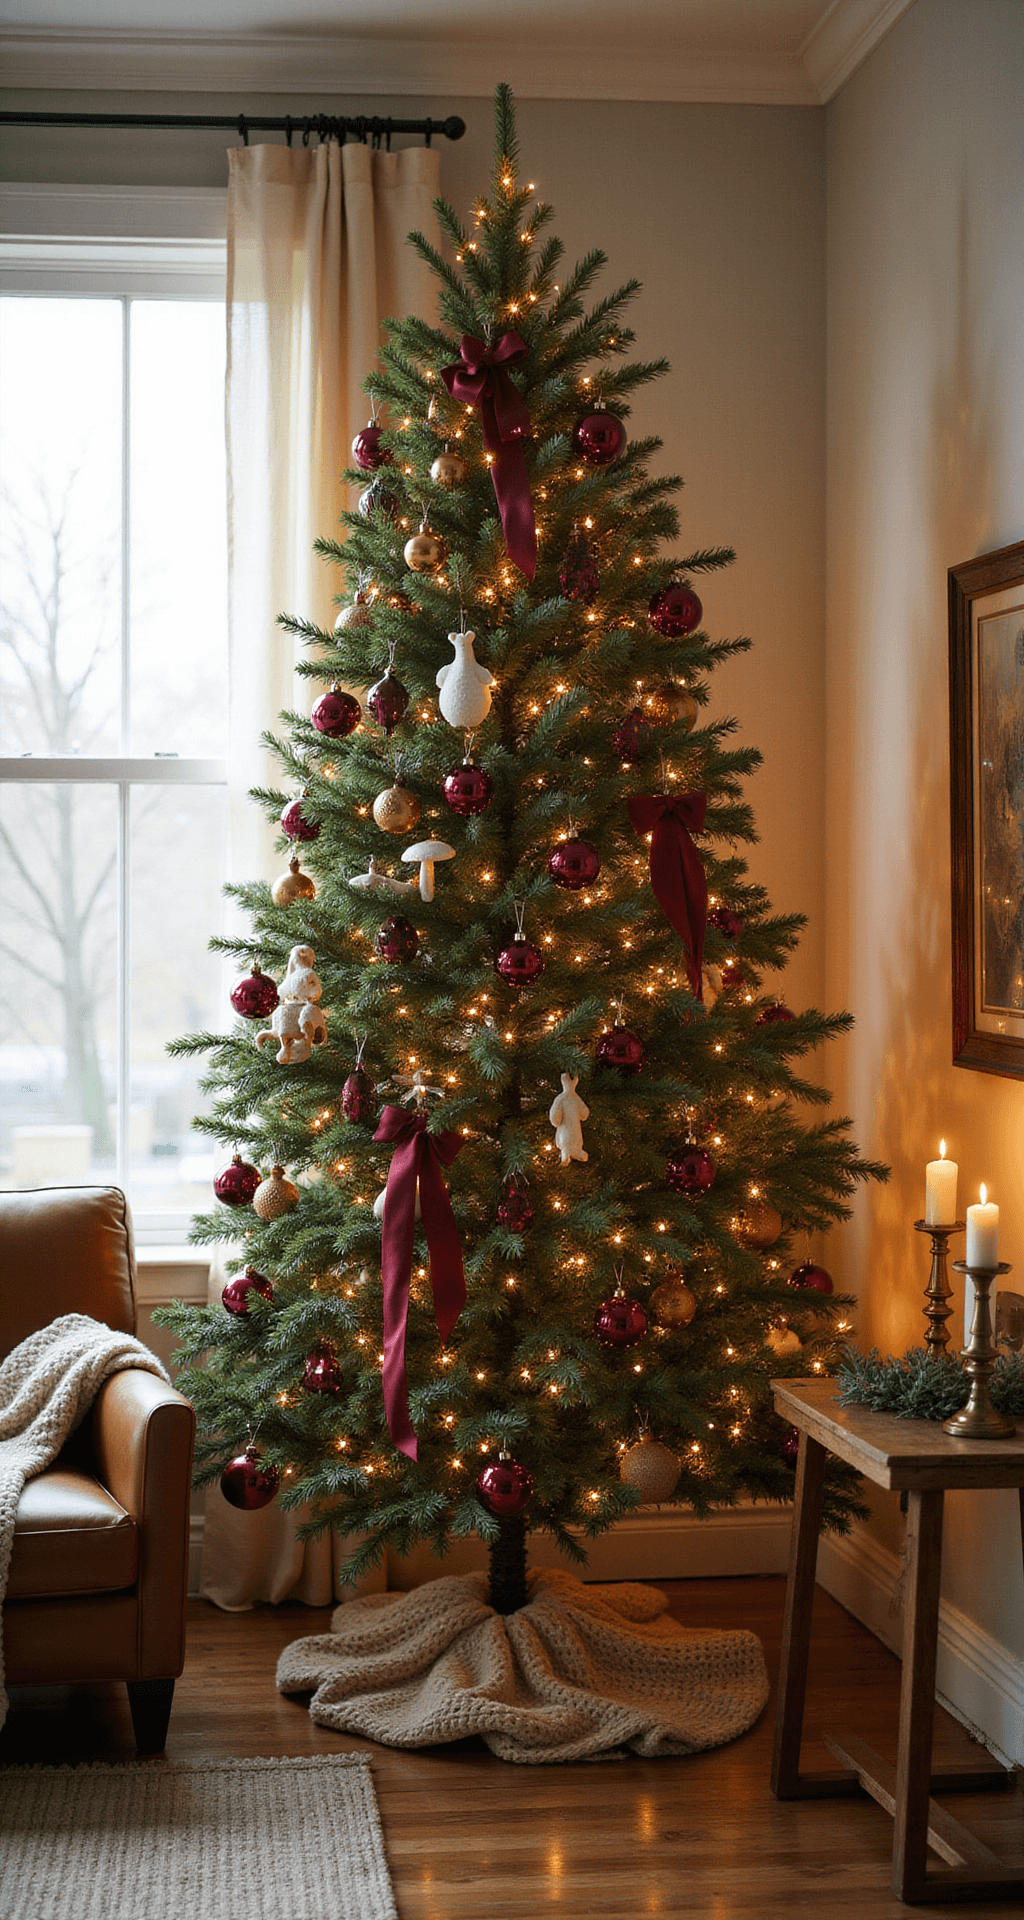
Creating Your First Anthropologie-Inspired Vignette
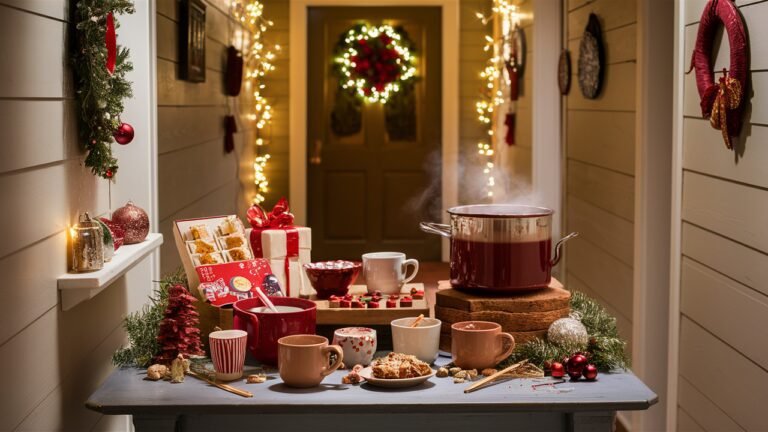
Let’s start with something manageable: a console table or mantel.
This is where most people overthink themselves into paralysis.
My foolproof styling formula: