This post may contain affiliate links. Please see my disclosure policy for details.
Coastal Bathroom Decor That’ll Make Your Followers Double-Tap (And Actually Work in Real Life)
Contents
- Coastal Bathroom Decor That’ll Make Your Followers Double-Tap (And Actually Work in Real Life)
- Why Your Coastal Bathroom Probably Looks Like a Theme Restaurant
- The Real Color Formula (Not the One Everyone Gets Wrong)
- Texture Layering Without Looking Like a Craft Fair
- The Lighting Situation (AKA Why Your Photos Look Terrible)
- The Declutter That Makes or Breaks the Shot
Coastal bathroom decor isn’t just about slapping some shells on your counter and calling it a day.
I learned this the hard way when my first attempt at a “beachy bathroom” looked like a tourist trap gift shop exploded in my powder room.
Shells everywhere. A anchors-and-ropes situation that screamed “2005 called.” And somehow, despite all the blue I’d thrown at the walls, it just felt… wrong.
Here’s the thing nobody tells you: creating a bathroom that actually looks like those drool-worthy Pinterest pins takes more than good intentions and a trip to HomeGoods.
It takes understanding how light works. How to layer textures without creating visual chaos. And knowing when to stop adding stuff (this was my biggest problem).
Why Your Coastal Bathroom Probably Looks Like a Theme Restaurant
Let me guess what happened.
You saw a gorgeous beach-inspired bathroom online. You bought some blue towels, maybe a woven basket or two. You hung some artwork with waves.
And somehow it still doesn’t look right.
The usual suspects ruining your vibe:
- Too many patterns fighting for attention
- That awful yellow overhead light making everything look dingy
- Clutter you don’t even see anymore (I’m looking at you, seventeen half-empty shampoo bottles)
- No clear focal point so your eye doesn’t know where to land
- Props that scream “I’m trying too hard”
I spent three weekends and about $400 learning these lessons.
The Real Color Formula (Not the One Everyone Gets Wrong)
Everyone thinks coastal means “throw blue at everything.”
Wrong.
The secret sauce is actually 60-30-10.
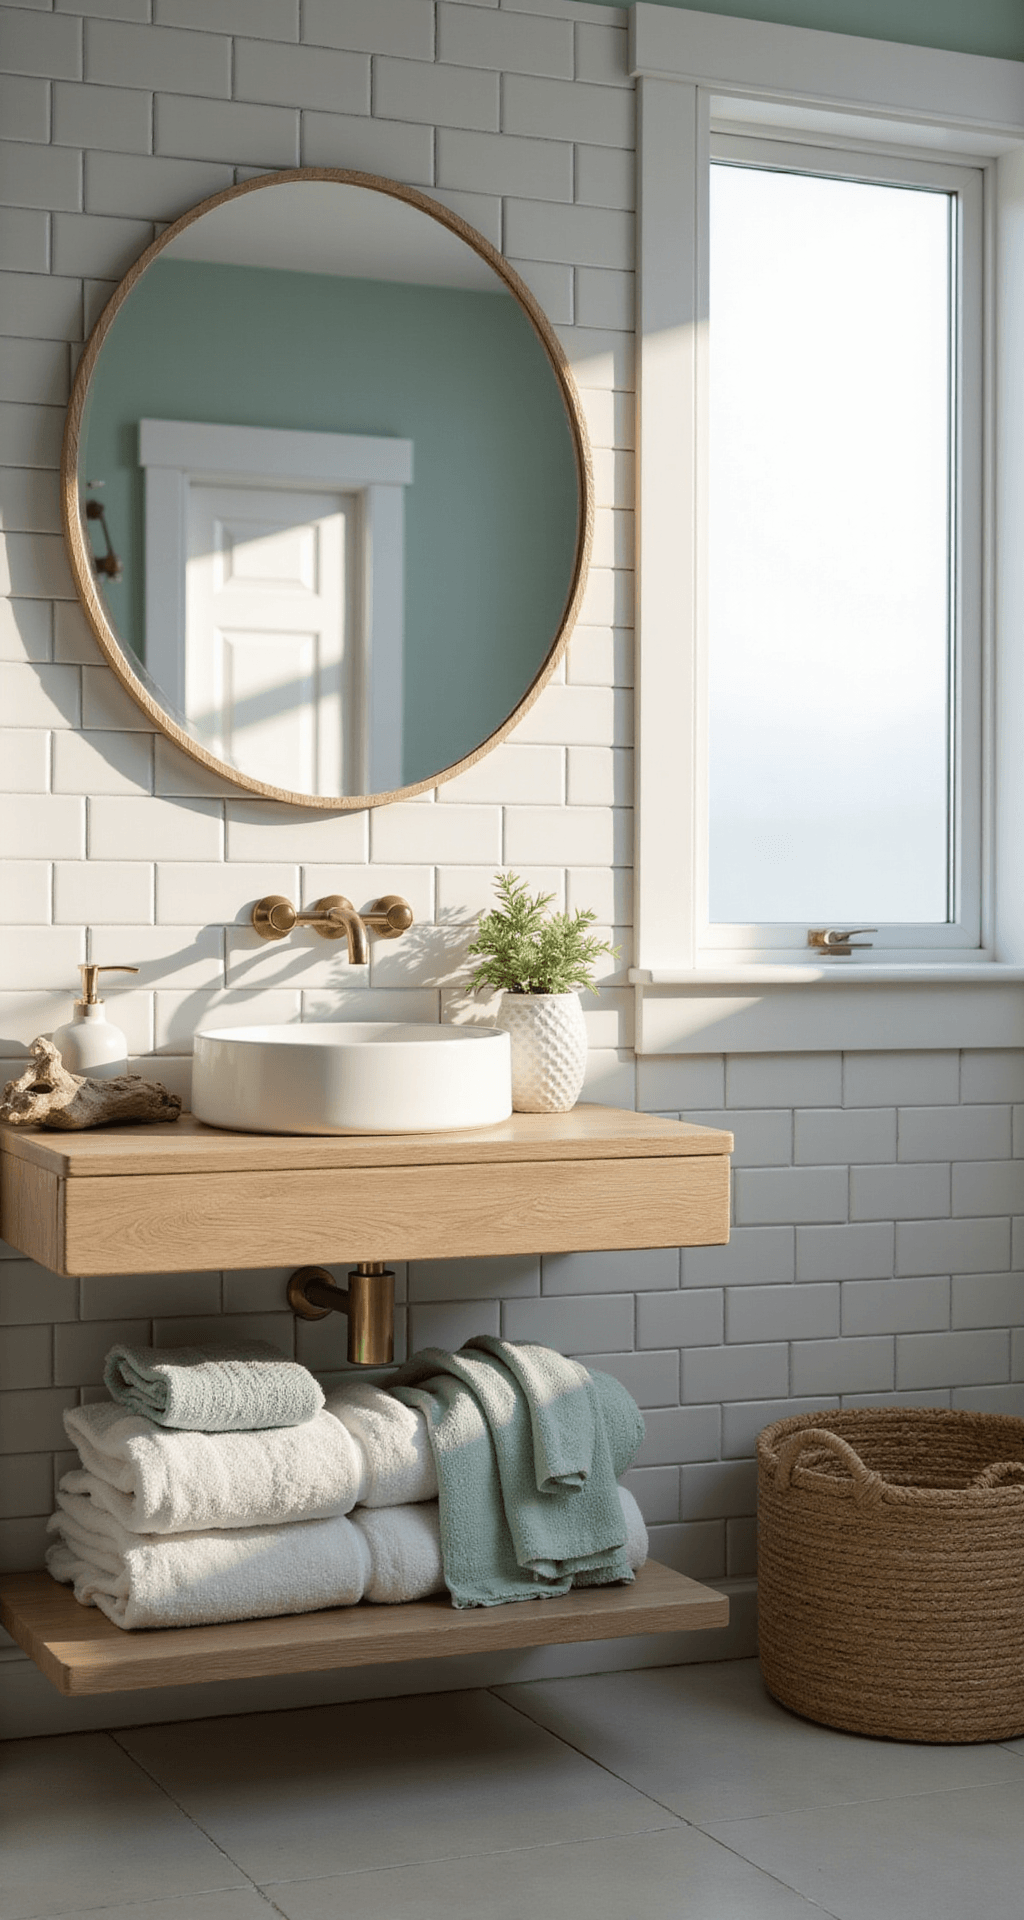
60% should be white, ivory, or sand tones. Your walls, your larger towels, your main surfaces. This creates the clean, airy base that makes everything else pop.
30% is where your blues and greens live. Seafoam. Aqua. Sky blue. Navy if you’re going moody. Sea-glass green.
These show up in your decorative hand towels, your artwork, your smaller accessories.
10% is your “don’t be boring” insurance. Matte black hardware. Brushed nickel fixtures. Driftwood accents. These tiny hits of contrast make the difference between “nice” and “wow, who’s your designer?”
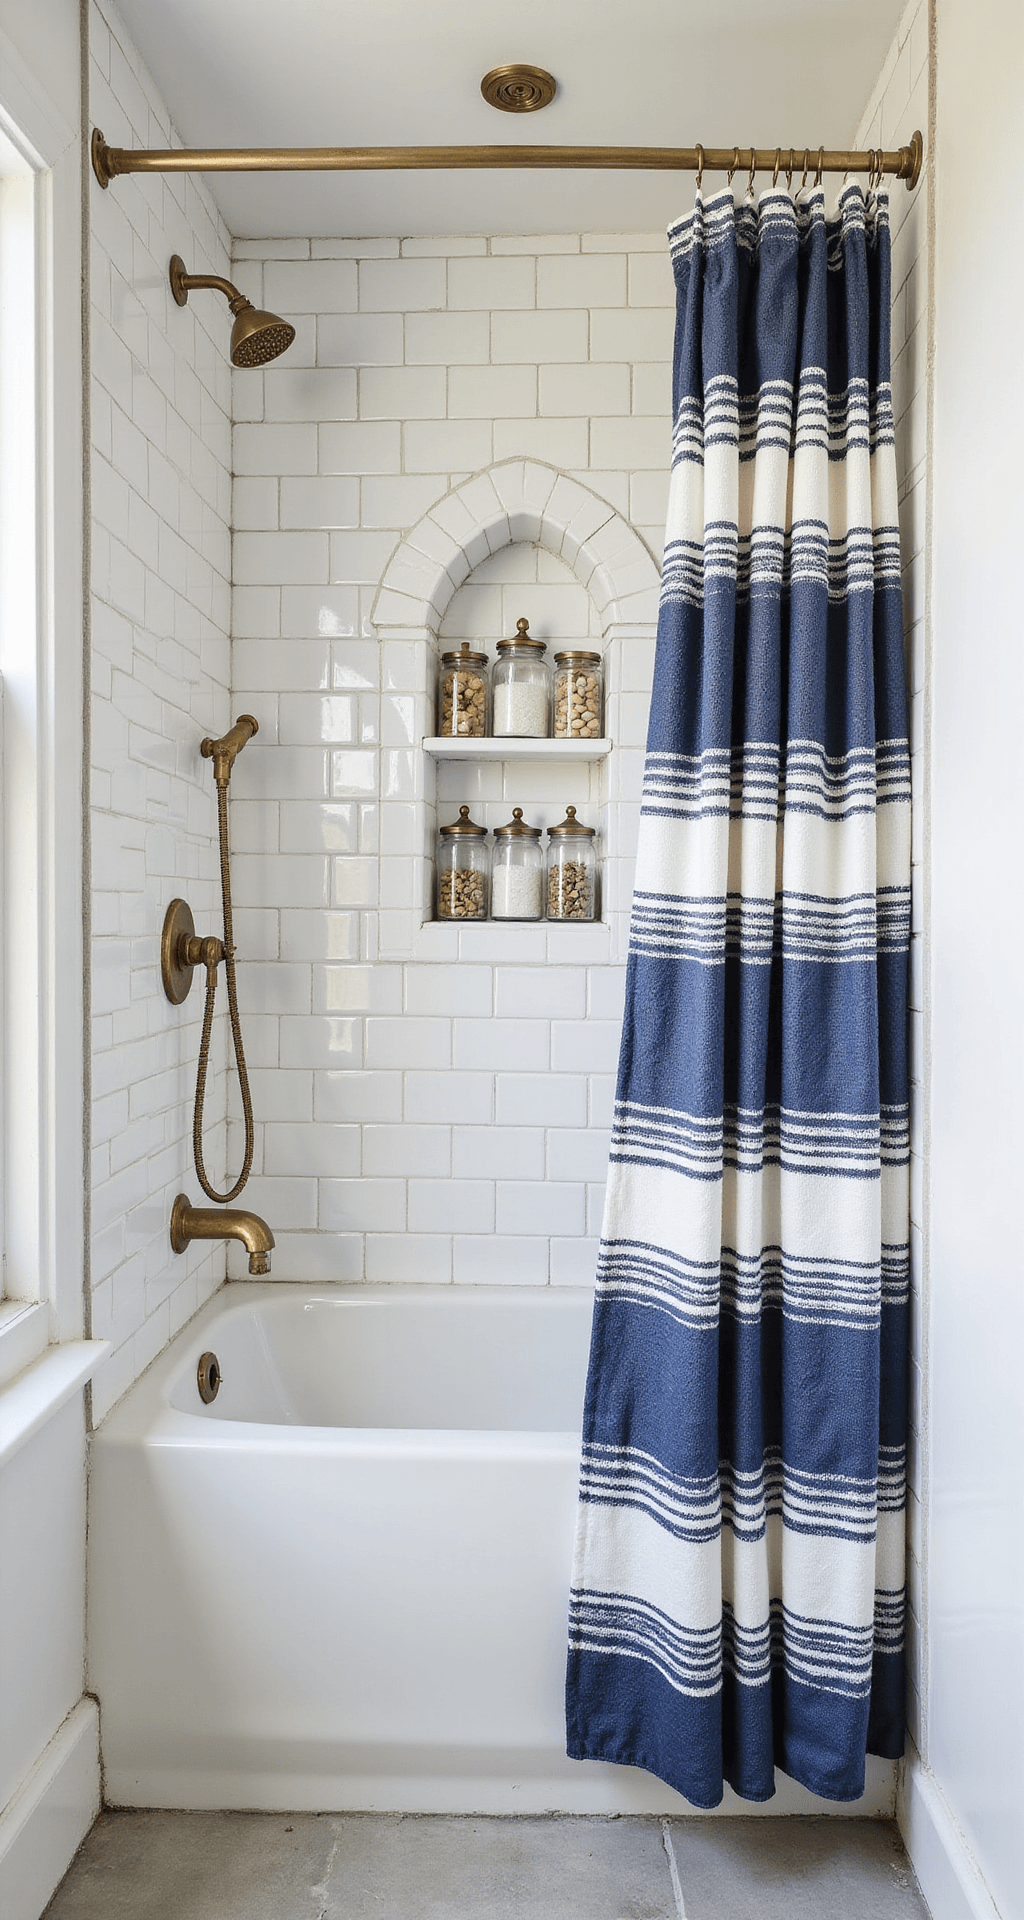
I tested this formula in my guest bathroom first. White subway tiles (already there, thank goodness). Soft gray-blue shower curtain. Navy hand towel on a brass hook.
Suddenly everything clicked.
Texture Layering Without Looking Like a Craft Fair
Here’s where most people go off the rails.
They think coastal = rope + wicker + driftwood + seagrass ALL AT ONCE.
Your bathroom isn’t a beach shack. It’s a functional space that should feel like vacation, not look like a Jimmy Buffett theme park.
The textures that actually work together:
Woven elements (pick ONE main type)
- Wicker baskets under the vanity
- Rope-wrapped soap dispensers
- Seagrass storage bins
- Rattan mirror frame
Soft textiles (layer these)
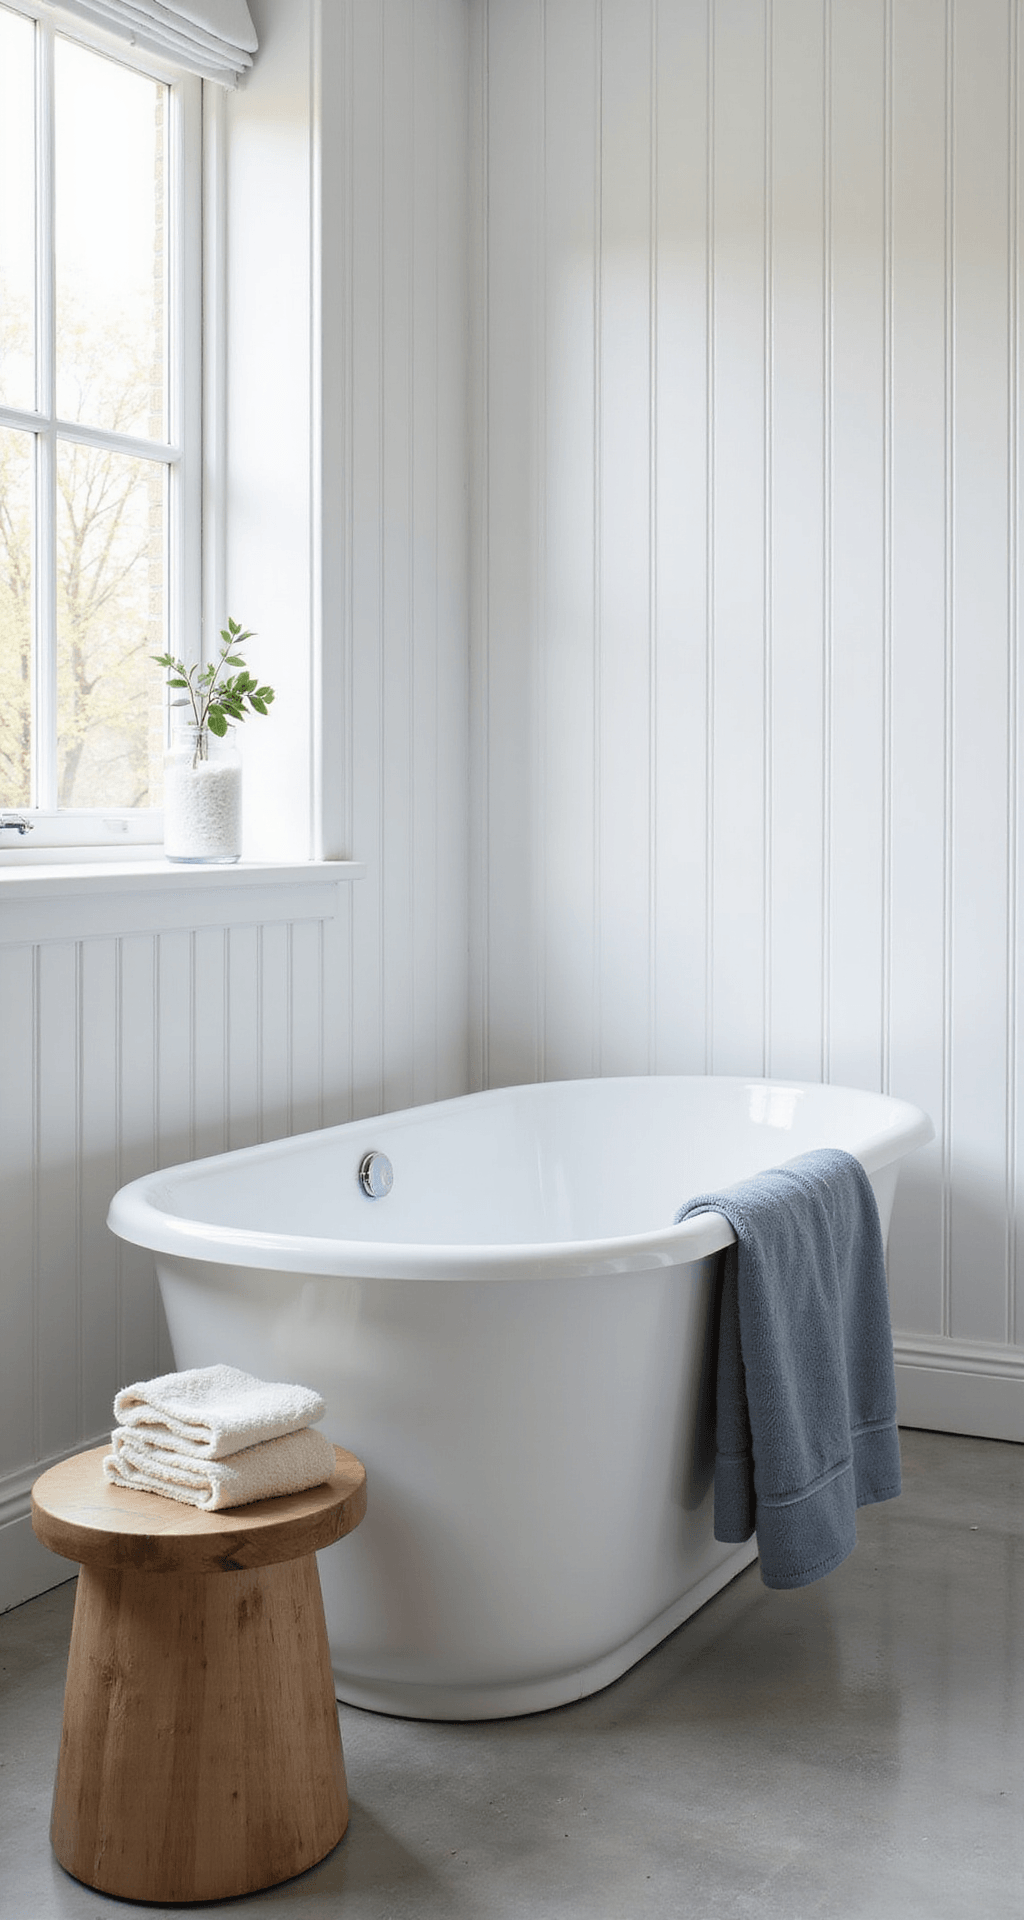
- Turkish towels with subtle stripes
- Waffle-weave bath mat
- Linen shower curtain
- Plush white washcloths
Smooth surfaces (your palate cleanser)
- Ceramic accessories
- Glass jars with shells
- Smooth driftwood (not the splintery kind)
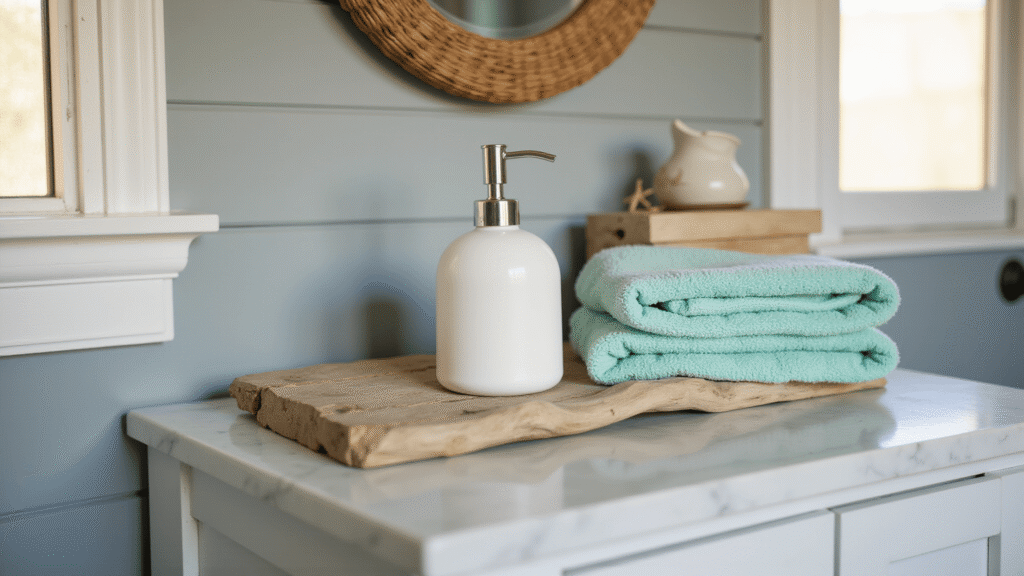
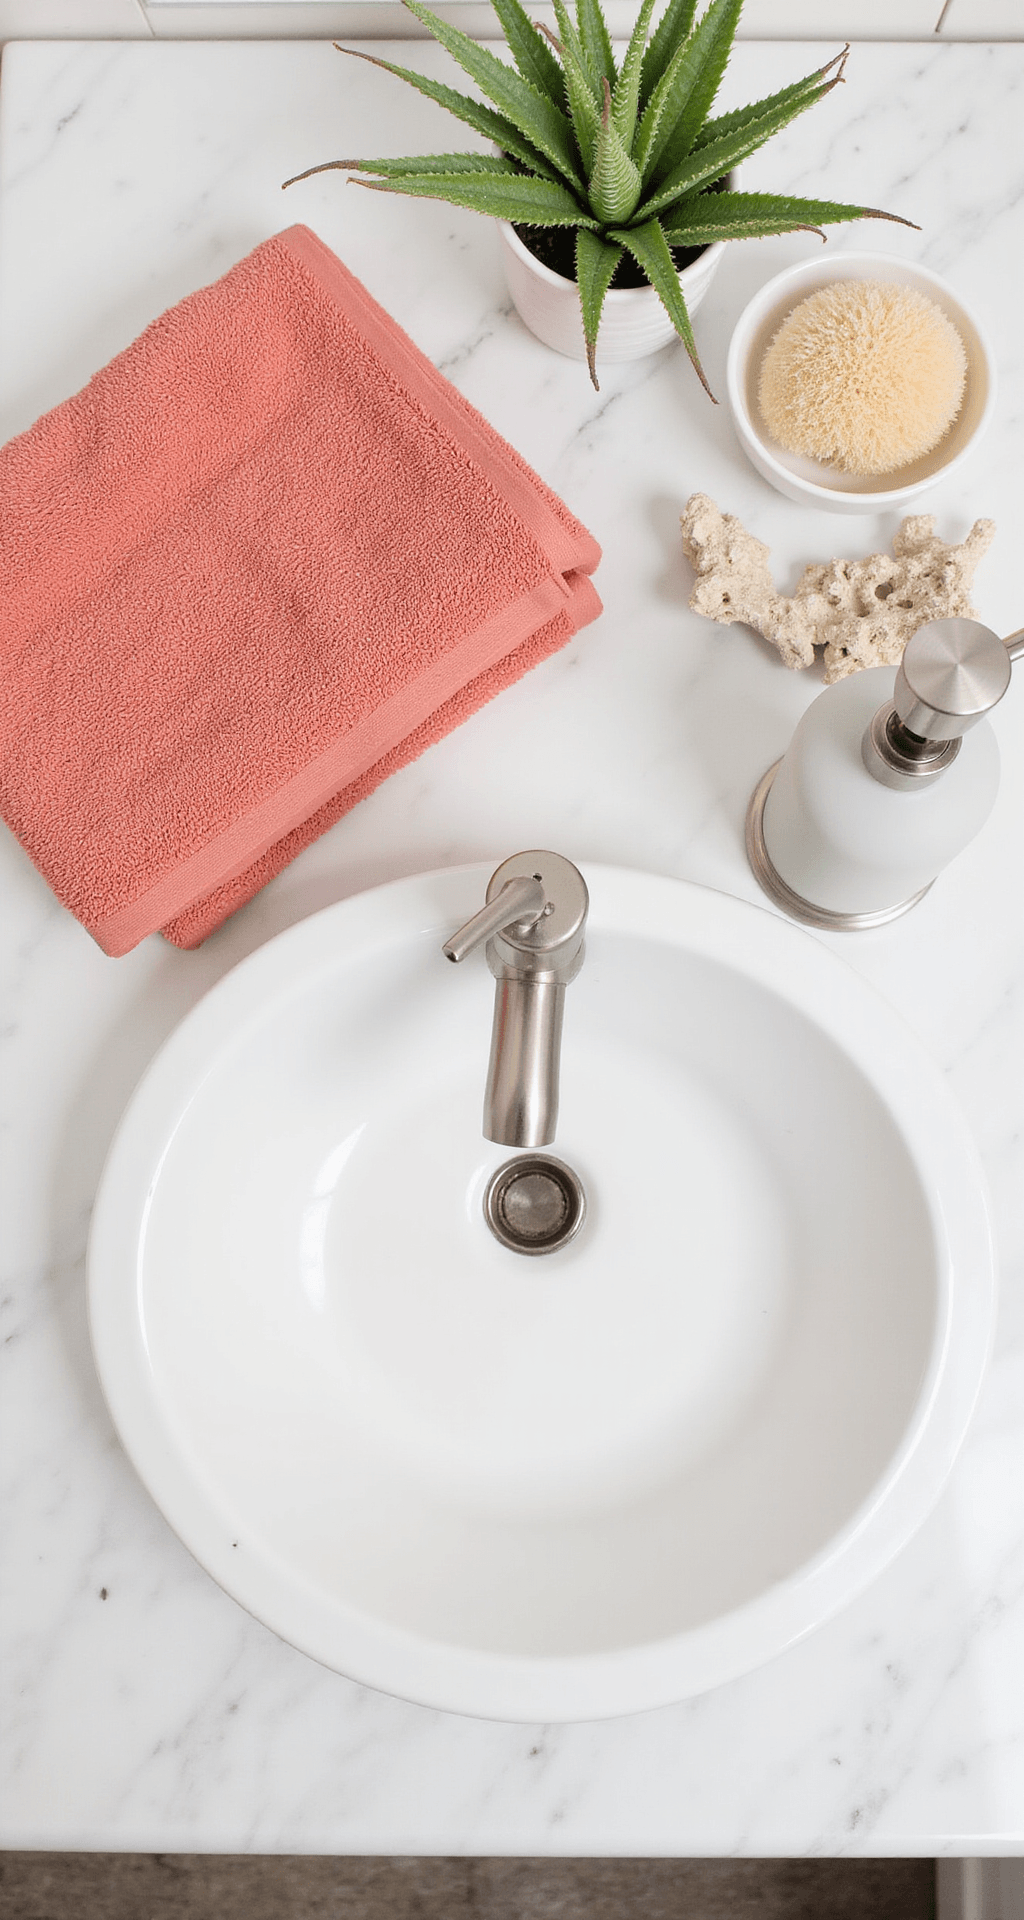
I keep three texture types max in any vignette. Smooth ceramic tray + soft folded towel + one piece of driftwood.
That’s it. More than that and you’re in “maximalist grandma” territory.
The Lighting Situation (AKA Why Your Photos Look Terrible)
Nobody talks about this enough.
You can style the most gorgeous coastal bathroom in the world, but if your lighting is garbage, your photos will be too.
I shoot my bathroom content between 10 AM and 2 PM. That’s when natural light floods through my window without creating harsh shadows that make everything look like a crime scene.
If your bathroom has weak natural light:
- Get a ring light (the kind beauty YouTubers use)
- Turn OFF your warm ceiling lights (they make everything yellow and sad)
- Use a white shower curtain as a giant light diffuser
- Bounce light with white foam board propped opposite your window
The first time I tried photographing my “finished” bathroom, I made the rookie mistake of shooting at 6 PM with just overhead lighting.
Everything looked dingy. The whites looked beige. The blues looked muddy.
I waited until the next morning, opened the blinds, turned off the overhead, and suddenly the same bathroom looked like it belonged in a magazine.
Same bathroom. Different light. Completely different result.
The Declutter That Makes or Breaks the Shot
I’m going to be brutally honest.
That clutter you’ve gone nose-blind to? The camera sees ALL of it.
Before any styling or photography:
Remove the trash can (just move it, you can put it back). Hide every product bottle with visible branding. Decant into plain bottles or get matching dispensers (this one upgrade changed my entire vanity game).
Put away the hair tools. The makeup bag. The random charging cables. Everything.
Your counter should have exactly what you’re intentionally styling. Nothing else.
I know this sounds extreme. But I’ve looked at hundreds of bathroom photos, and