This post may contain affiliate links. Please see my disclosure policy for details.
Simple Fall Decor Ideas That’ll Make Your Home Pinterest-Worthy (Without Breaking the Bank)
Contents
- Simple Fall Decor Ideas That’ll Make Your Home Pinterest-Worthy (Without Breaking the Bank)
- Why Most Fall Decorating Feels Overwhelming (And How to Fix It)
- The Simple Truth About Room Styling Ideas for Fall
- What You Actually Need (The Real List)
- The Non-Negotiables
- The Nice-to-Haves
- My Foolproof Method for Interior Design Tips That Actually Photograph Well
- Step 1: Clear and Clean Like Your Mother-in-Law’s Visiting
- Step 2: Create Your Base Layer
- Step 3: Place Your Star Player
- Step 4: Add Supporting Characters in Odd Numbers
- Step 5: Layer in Texture and Depth
Simple fall decor transforms your space faster than you can say “pumpkin spice,” and I’m here to show you exactly how I do it.
You know that sinking feeling when you scroll through gorgeous fall home photos and think, “My place could never look like that”?
I felt it too, until I cracked the code.
Turns out, creating cozy home decor for autumn isn’t about buying everything in sight at the craft store or having a magazine-ready home.
It’s about understanding a few simple tricks that make everyday items look intentional and beautiful.
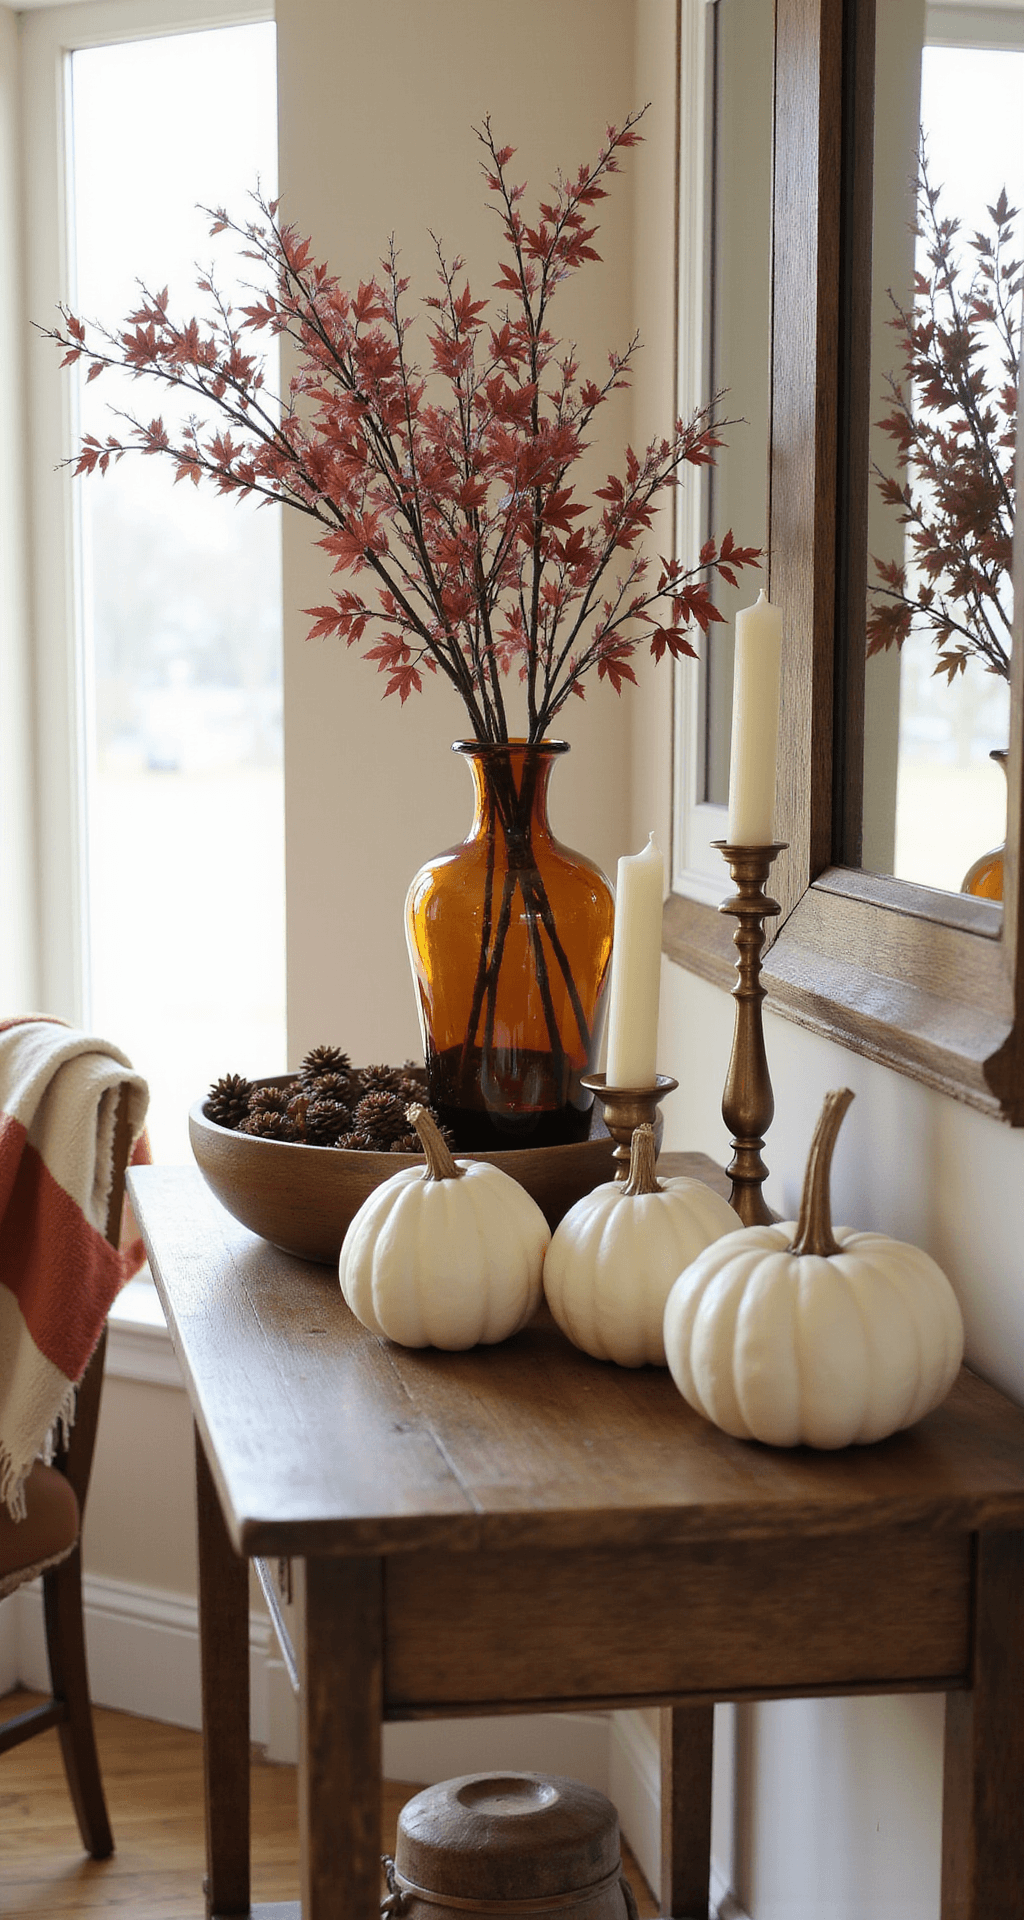
Why Most Fall Decorating Feels Overwhelming (And How to Fix It)
Let me be straight with you.
The reason your seasonal decorating attempts might feel flat has nothing to do with your taste or creativity.
It’s because nobody tells you the real framework behind those drool-worthy Pinterest worthy decor photos.
Last September, I stood in my living room surrounded by pumpkins, stems, and random baskets, feeling utterly defeated.
Nothing looked right.
Everything felt cluttered and forced, like I was trying too hard.
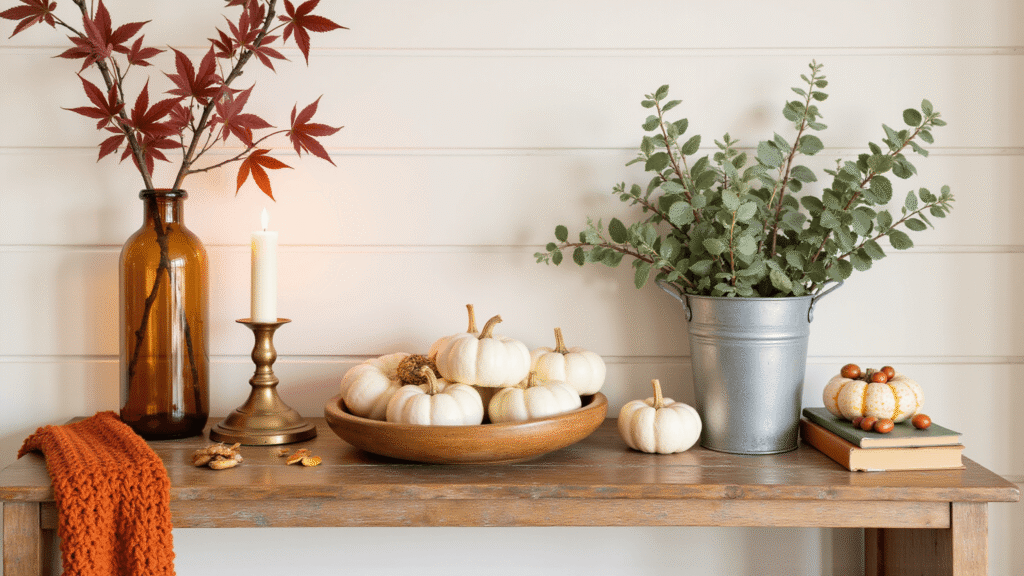
Then I stripped it all back and started with one simple vignette on my entry table.
Three items. Five minutes. Game changed.
That’s when I realized budget friendly decor isn’t about how much you spend—it’s about understanding focal point styling and visual balance.
The Simple Truth About Room Styling Ideas for Fall
Here’s what works:
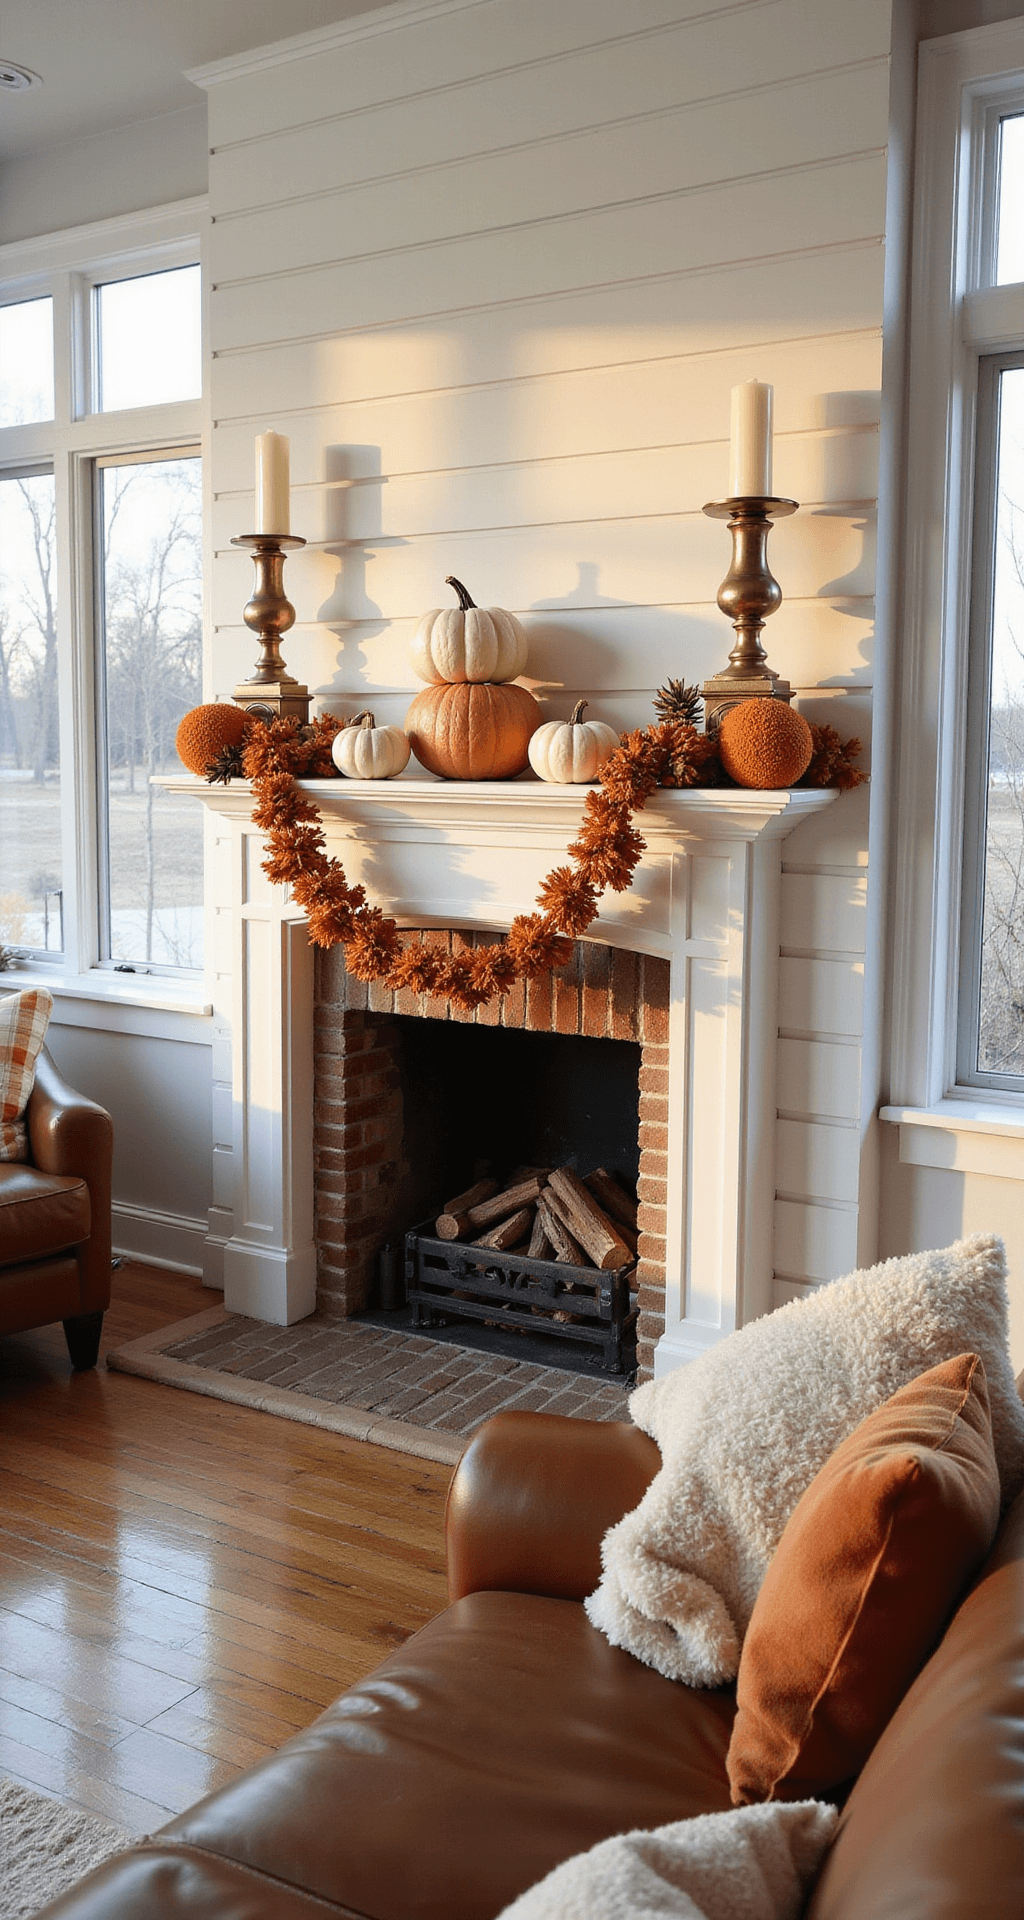
Pick 1-3 spots in each room to style, not the entire space.
Your mantel, coffee table, or entry console are perfect candidates.
Trying to “fall-ify” every surface creates visual chaos that no amount of pumpkins can fix.
I learned this after my first disastrous attempt at home decor inspiration from a blog that suggested decorating literally everything.
My living room looked like a craft store exploded.
Now I follow the triangle rule: high-medium-low arrangements that guide the eye naturally.
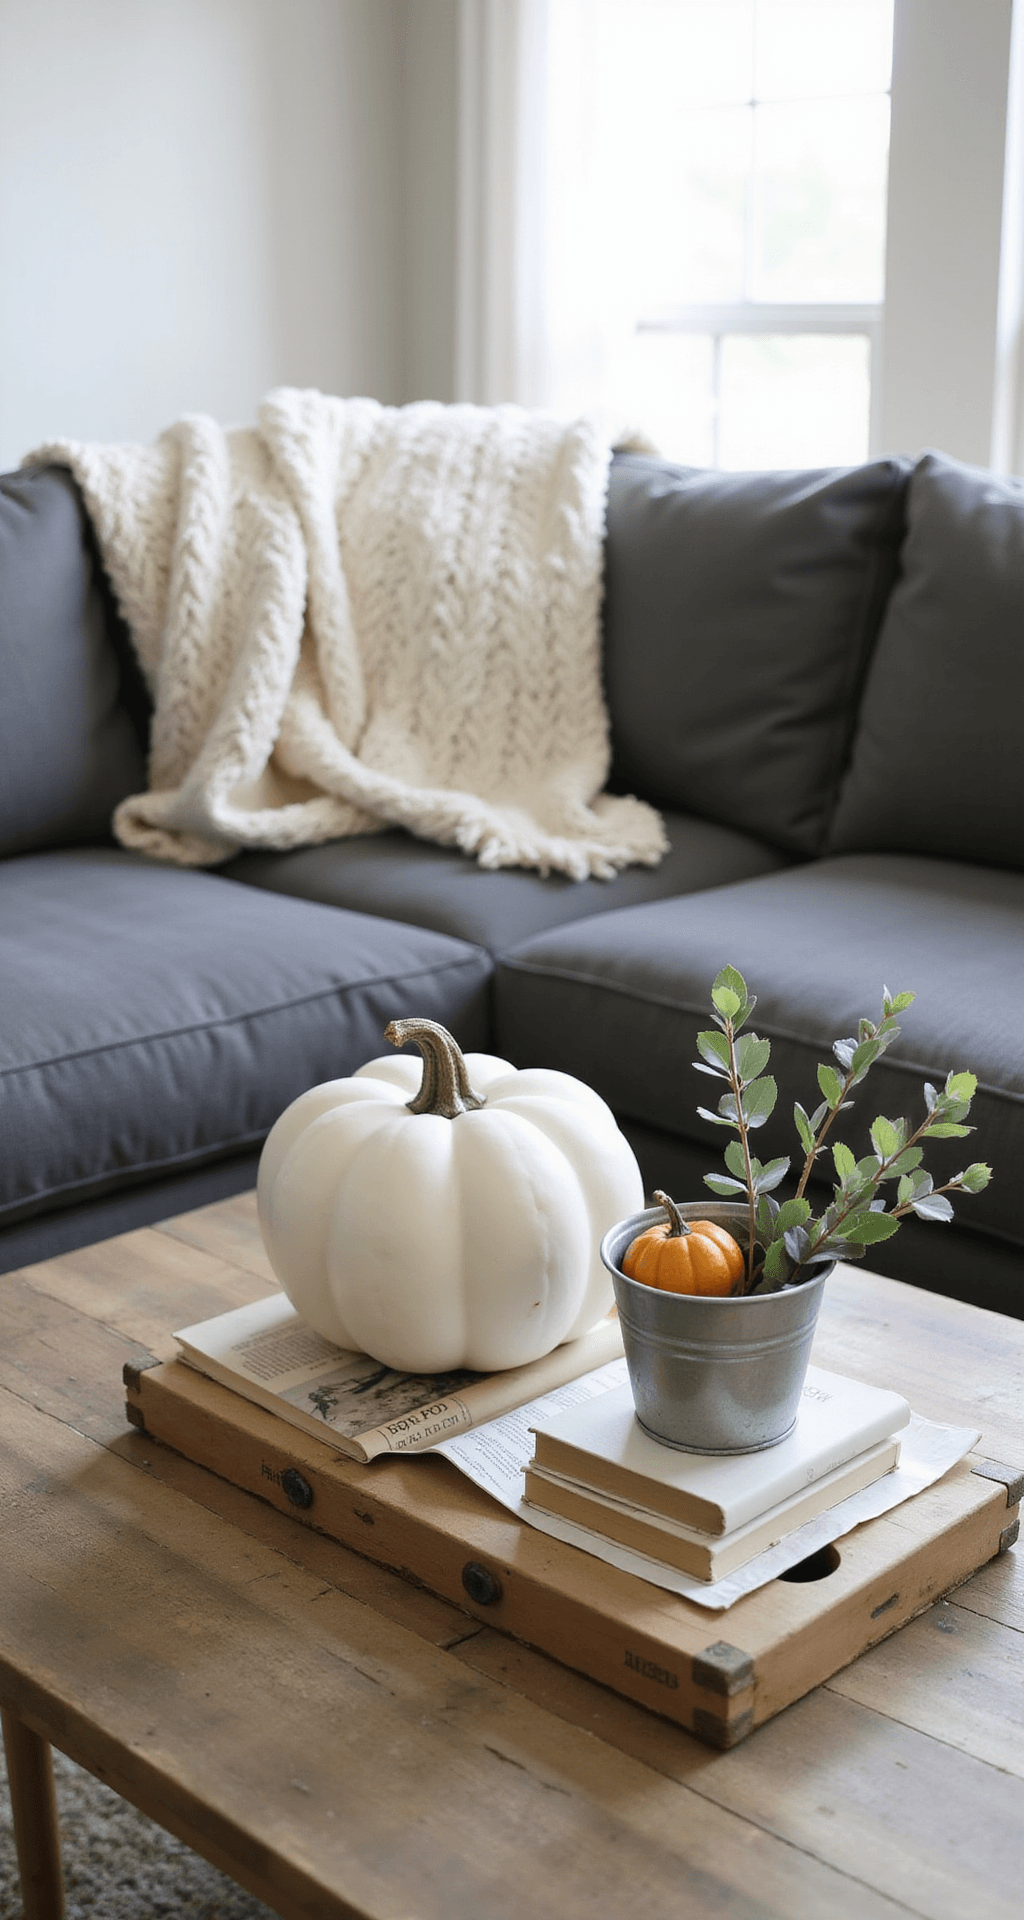
What You Actually Need (The Real List)
Forget those “101 must-have fall items” lists.
Here’s what actually matters for simple fall decor:
The Non-Negotiables
- 3-5 pumpkins in varying sizes (real or faux pumpkins work equally well)
- One textured throw blanket (chunky knit blankets are my go-to)
- A tray or wooden board for corralling items
- Fall stems or branches from your yard or the grocery store
- 2-3 candles in neutral holders
The Nice-to-Haves
- Decorative baskets (wicker or wire)
- Pillows in fall colors (but honestly, your existing ones probably work)
- Lanterns with candles or fairy lights
- Dried oranges, cinnamon sticks, or pinecones
- Books for layering height
Budget reality check: I’ve created stunning vignettes for under $30 using grocery store pumpkins and branches from my backyard.
The $150 upper range includes investing in quality faux pumpkins and stems you’ll reuse for years.
My Foolproof Method for Interior Design Tips That Actually Photograph Well
This is the exact process I use every single time.
Step 1: Clear and Clean Like Your Mother-in-Law’s Visiting
Remove every single everyday item from your styling surface.
Remotes, mail, random coins, that half-empty water glass.
Everything.
Wipe down the surface.
This sounds basic, but it’s where most people skip ahead and wonder why their photos look messy.
Clean surfaces photograph like magic.
Cluttered ones photograph like… well, clutter.
Step 2: Create Your Base Layer
Start with something that anchors your vignette:
- A runner or placemat
- A wooden cutting board
- A tray
- A stack of 2-3 books
This gives your decor arrangements a “home” and prevents the floating-objects-on-a-table look.
I typically use a wooden dough bowl because it works for every season and adds instant texture layering.
Step 3: Place Your Star Player
Choose ONE focal piece that does the heavy lifting:
- Your largest pumpkin
- A gorgeous vase of fall stems
- A statement lantern
- A small wreath
Position it slightly off-center (remember that rule of thirds from high school art class?).
Dead-center styling looks stiff and formal unless you’re going for symmetrical traditional home style.
Step 4: Add Supporting Characters in Odd Numbers
This is where the magic happens.
Add 2-4 more items in varying heights around your focal piece:
- A small pumpkin or gourd
- A candlestick with a taper candle
- A small vessel with stems or leaves
- A natural element like a pinecone or mini bundle of wheat
Always group in odd numbers: 3, 5, or 7 items total.
Your brain finds odd numbers more interesting and natural.
Even numbers feel too matchy-matchy.
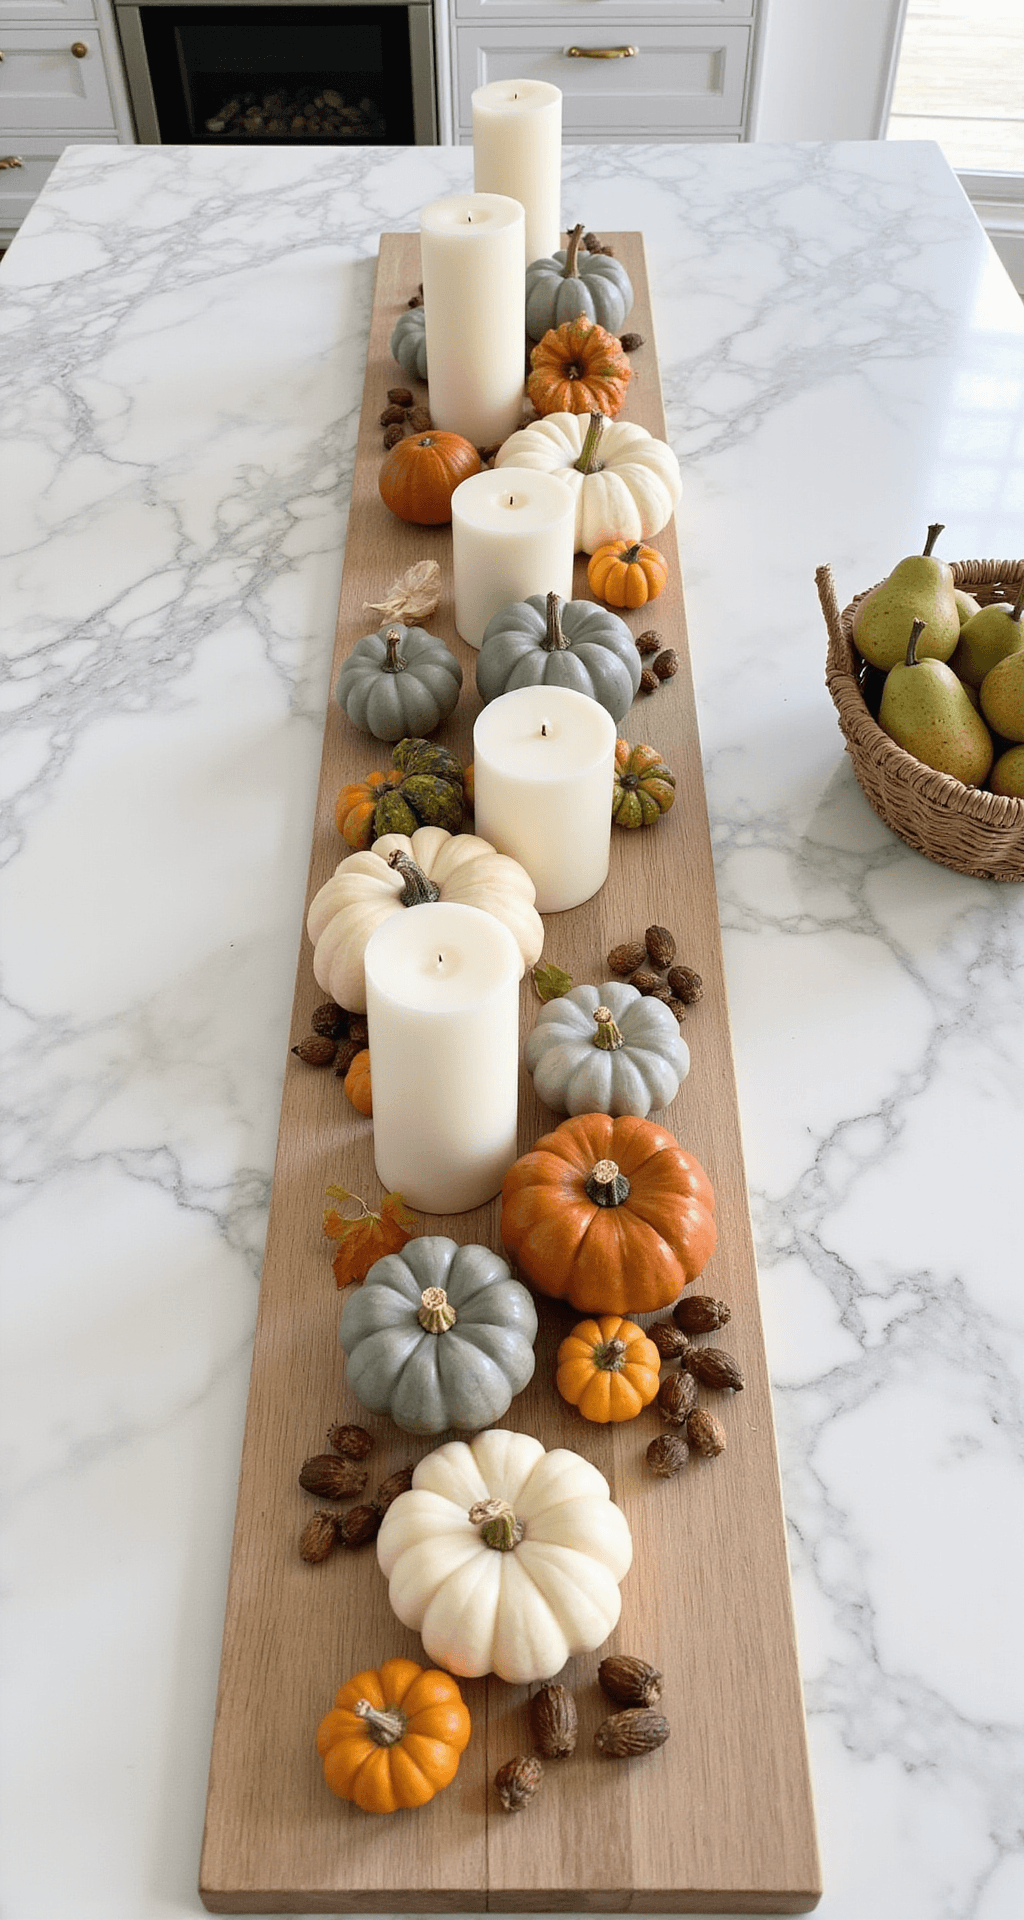
Step 5: Layer in Texture and Depth
This separates amateur styling from home photography that stops the scroll.
Tuck in elements that add dimension:
- Drape part of your blanket casually in the background
- Layer a smaller cutting board behind your tray